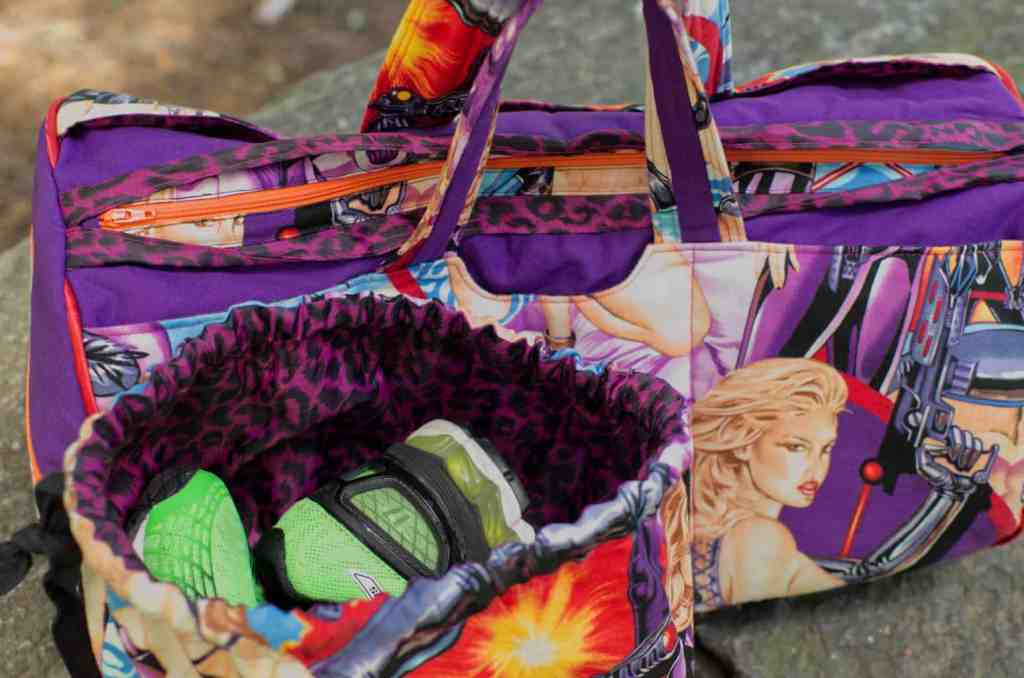
If you’re a regular here in my little corner of t’internet, you might remember that I started planning a gym bag at the end of last year after I got back into running again, and it was going to have girls and latex and guns. Because why not?

(If you missed that post, go catch up here)
Well, things have moved on from there a little bit, exercise-wise (don’t worry, the girls and guns have still happened) and although I’m not running anymore – an old knee injury was giving me jip, as was the number of tourists with selfie sticks on Westminster Bridge during my lunchtime run – I’m still exercising. I remember my final run quite vividly – I was about halfway round, running along the Victoria Embankment with a few guys from the office. It was sunny, the view over the river was good, but I was just so BORED. All of a sudden I couldn’t imagine being able to put one foot in front of the other, repetitively, until I got back to the office. It was like something just hit me, and I was like jeeeeeez this is really boring. I’ve never felt that way about running before, despite being an on-and-off runner for a fair few years. But I just couldn’t bring myself to lace up the running shoes again. So I didn’t.
Instead, I joined the gym over the road from my office and started going to lunchtime classes. Nothing cardio – it was all weights based and strength classes, something I’d never done before in my life. Even though I was aerobically ‘fit’ – as in, I could run without dying – I was muscularly weak. No strength whatsoever. I decided to change that and attended classes three times a week. Even though I’m by no means where I want to be yet, I can see the changes. I can actually do push-ups now, and I can even do a pull-up. Just one, mind you, but given that when I first attempted it I couldn’t get myself off the ground, it’s progress. I now feel like I’ve outgrown the classes, and am having a few sessions with one of the personal trainers at the gym using the super-scary machines and free weights – I could have just followed online programs, but I wanted to make sure that this wasn’t going to happen to me:
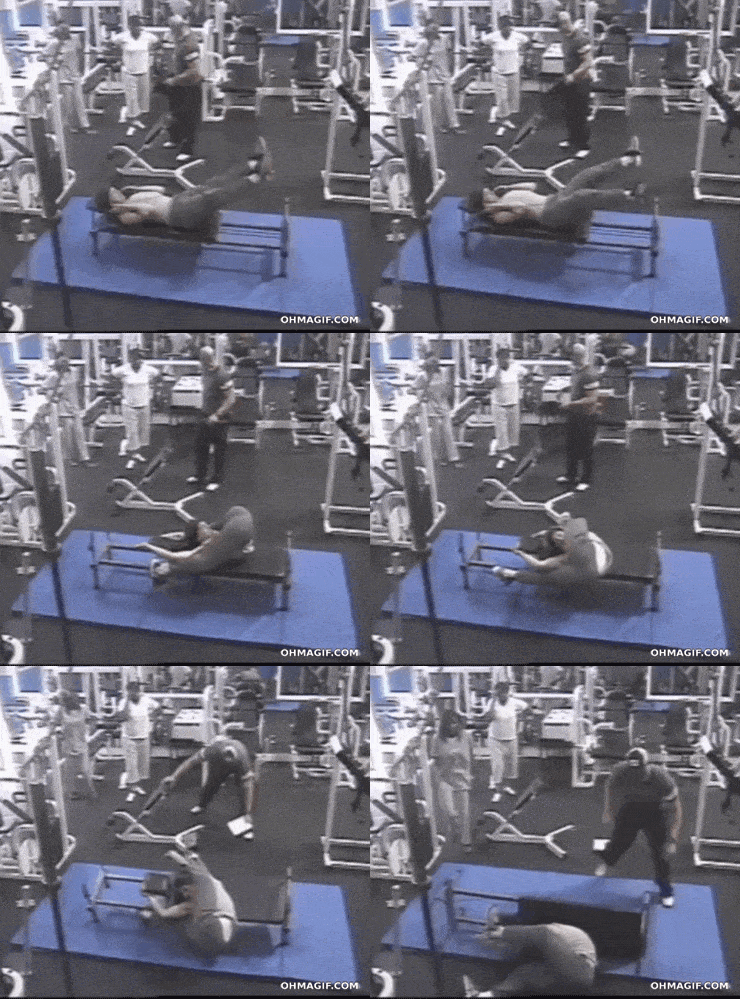
So I enlisted the help of A Responsible Adult.
So far, it’s going well, and I’m enjoying it. Well, enjoying it apart from the-day-after-leg-day where I waddle around the office like John Wayne because my leg muscles no longer work ?
And a new gym routine needs a new gym bag, right? I was using a grotty old duffle bag that I got as a freebie and frankly, it was a bit embarrassing dragging it into the office each day. So I decided to sew myself a new one. Obvs. ??

The pattern I chose is the Daily Duffle Bag form new-to-me pattern company Sassafras Lane, as it was the most similar to the bag I currently had and wasn’t too much like ‘luggage’ as some of the others were!
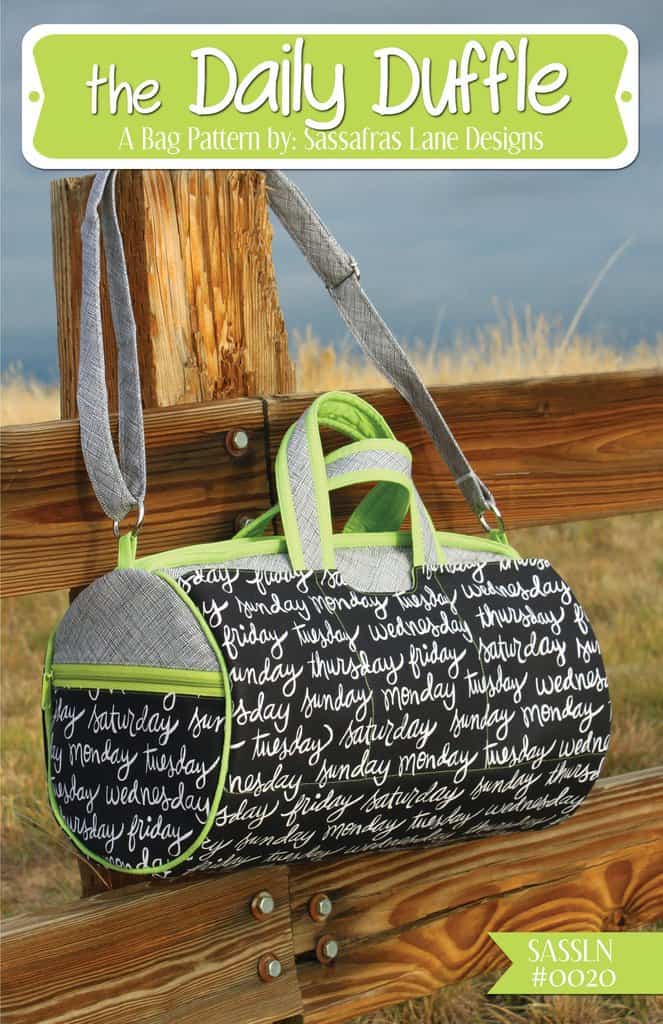
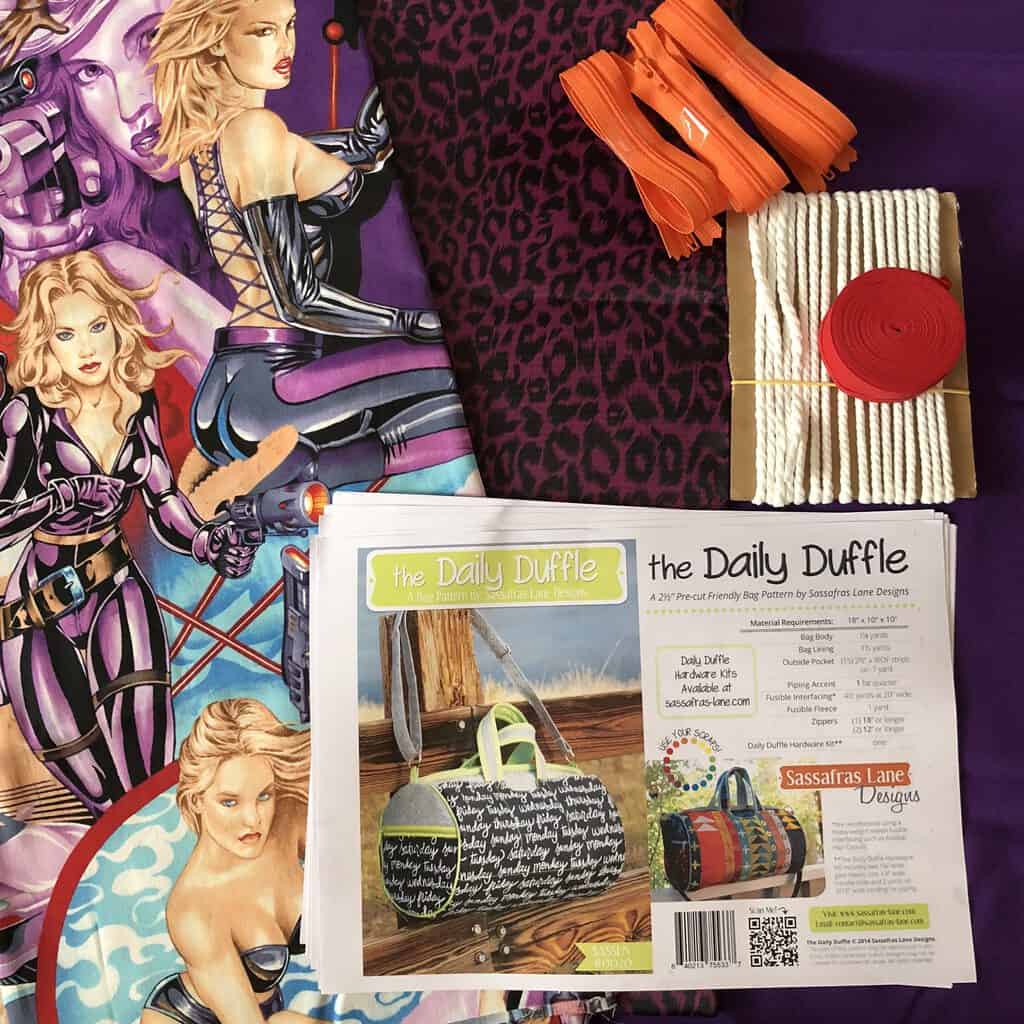
Supplies were gathered:
- Alexander Henry ‘All Fired Up’ fabric (mine is the purple colourway, which I can’t seem to find online anywhere anymore. There is, however, a blue version which you can sometimes find kicking around on Etsy or the ‘bay).
- Leopard print ripstop fabric (eBay)
- 5mm piping cord (I use 2mm cord for piping that’s going to go on clothing, but you need something a bit chunkier for this bag. 5mm was perfect ??)
The Duffle Bag pattern is pdf only, as seemed to be the norm for bag patterns, but what I initially didn’t realise when I bought it is that you have to draw out all the templates yourself. I mean, I guess that’s better than cutting and sticking PDF’s, but it was still a bit extra, especially given the size of some of the templates (over 30 inches long ?).
A gridded cutting mat and tracing paper is your friend here – I use this tracing paper from Amazon (if anyone’s interested) and just a bog-standard A1 cutting mat. Even though I now own a quilting ruler, I didn’t at the time of making this bag, and it’s not big enough for the main bag pieces anyway ??♀️
I systematically drew out templates for each piece as I went down the list, thinking that was the best approach, but in hindsight what I *SHOULD* have done is looked at all the sizes as a collective first. Then, I could have cut just one rectangle at 18 inches wide by 33 inches (the biggest) and then instead of cutting multiple templates of the same 18 inch width but fewer inches long I should have just marked the shorter lengths on the bigger template and folded the end in to the required size when cutting ? ah well. Maybe my delayed wisdom will help someone else making this in the future ?
When it came to actually cutting the fabric, I tried to tick off the cut fabric pieces as I went… but I will admit there were so many similar sizes of that massive 18 inch wide rectangle that I missed one, and then ended up cutting the wrong big rectangle piece out of the wrong fabric ? (and of course I’d cut it too small rather than too big, and didn’t have room to cut another. More on THAT drama in a bit).
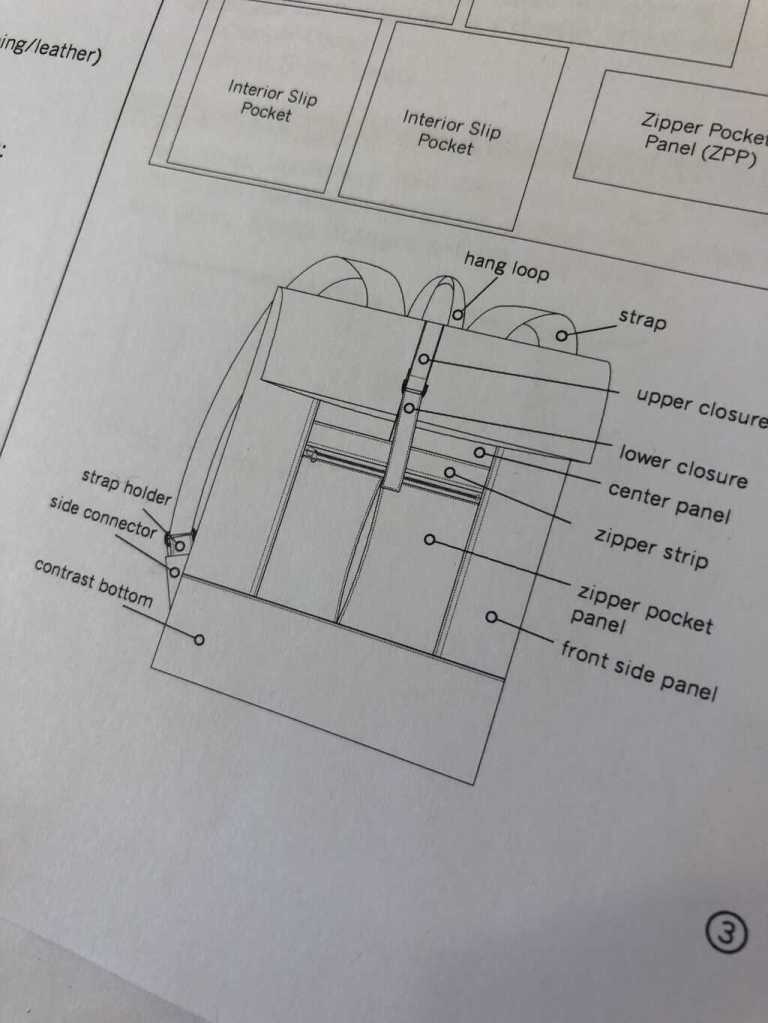
It was also a bit confusing with the pieces in the list being marked as ‘lining fabric’, ‘bag fabric’ and ‘pocket fabric’ as it was hard to picture exactly what was what and where these pieces featured in the finished bag, so that I could decide which fabric I wanted to cut them from. The Range Backpack that I made recently had an absolutely AWESOME diagram of the bag in the pattern instructions that labelled everything, to make it easier to choose your fabrics – this is something that many bag patterns could benefit from.
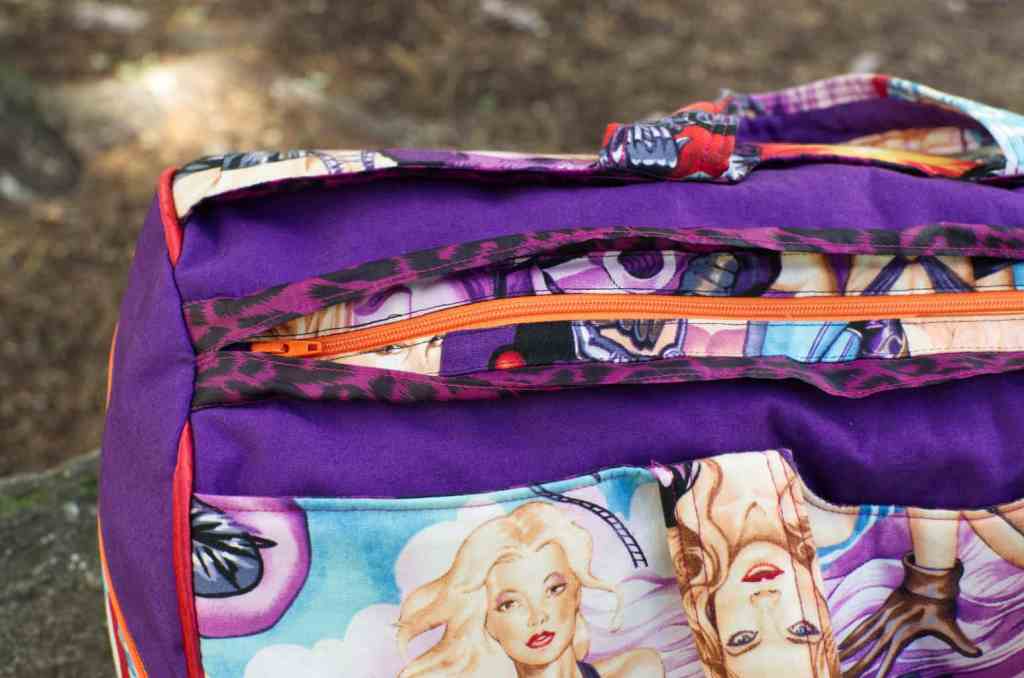
One thing that wasn’t immediately apparent is that you cut the front pocket piece (as in, the piece with my girlies on) as one continuous rectangle that wraps around the whole bag as one piece – so if you have a directional fabric, it’s gonna be upside down on one side of the bag. Funnily enough, the black fabric they use on the bag in the cover photos of the pattern is directional, so I’d like to see the other side of the bag… ? Either the print is upside down, or they have ignored their own instructions in the same way I have and cut two pieces to join together.
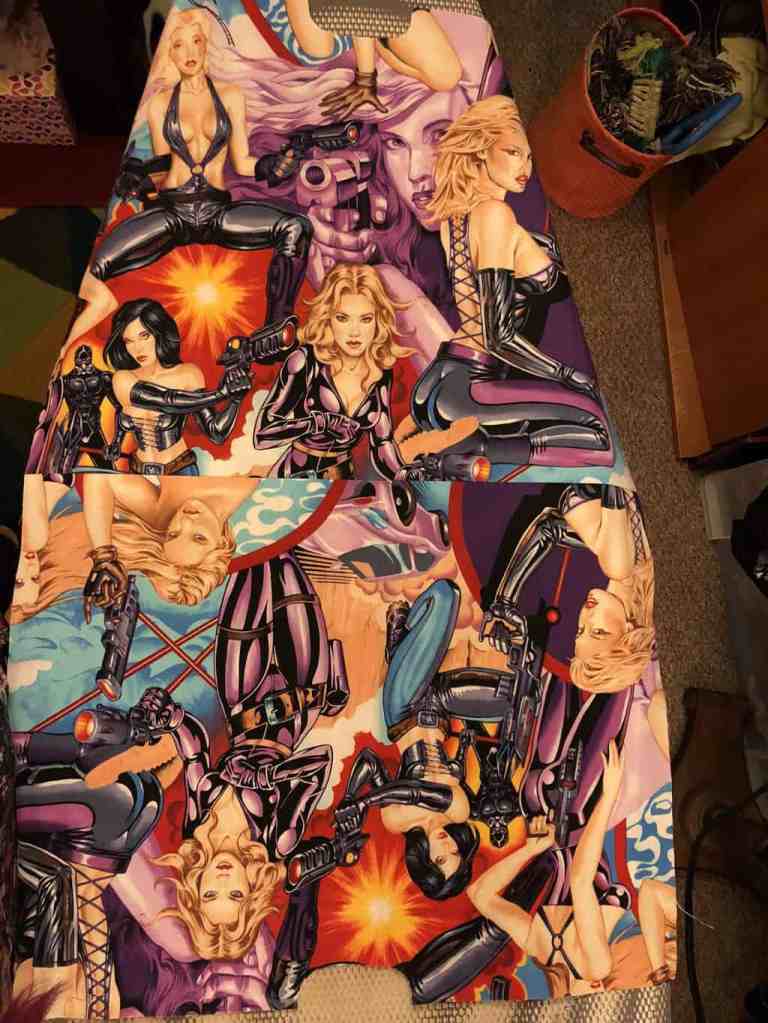
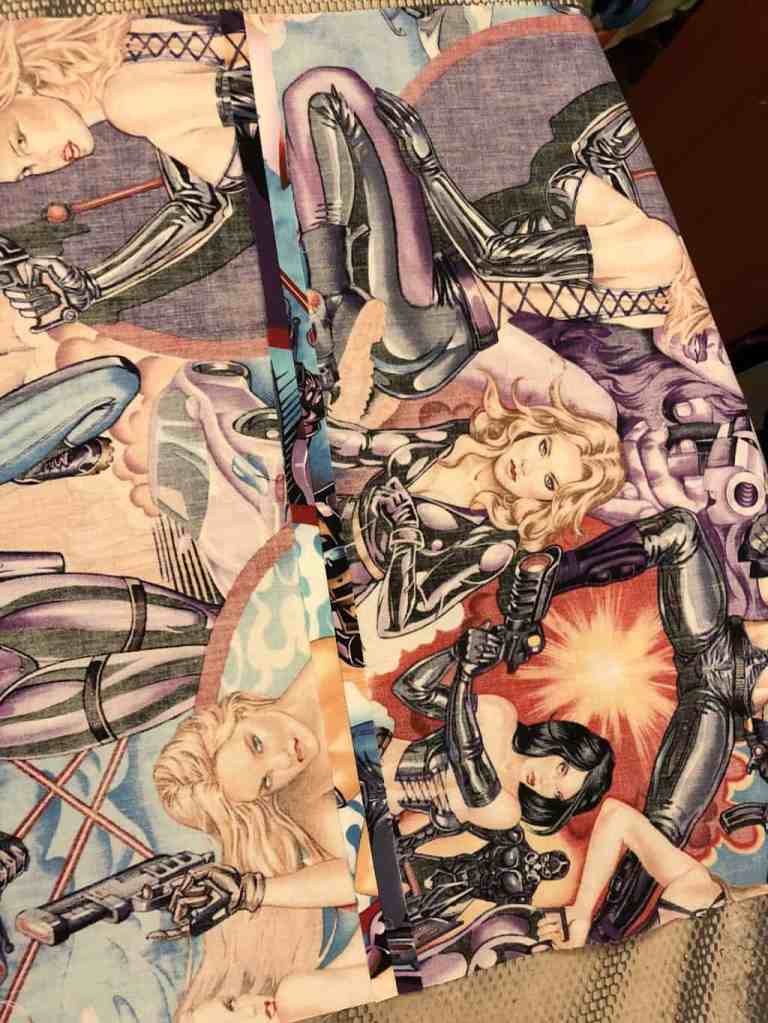
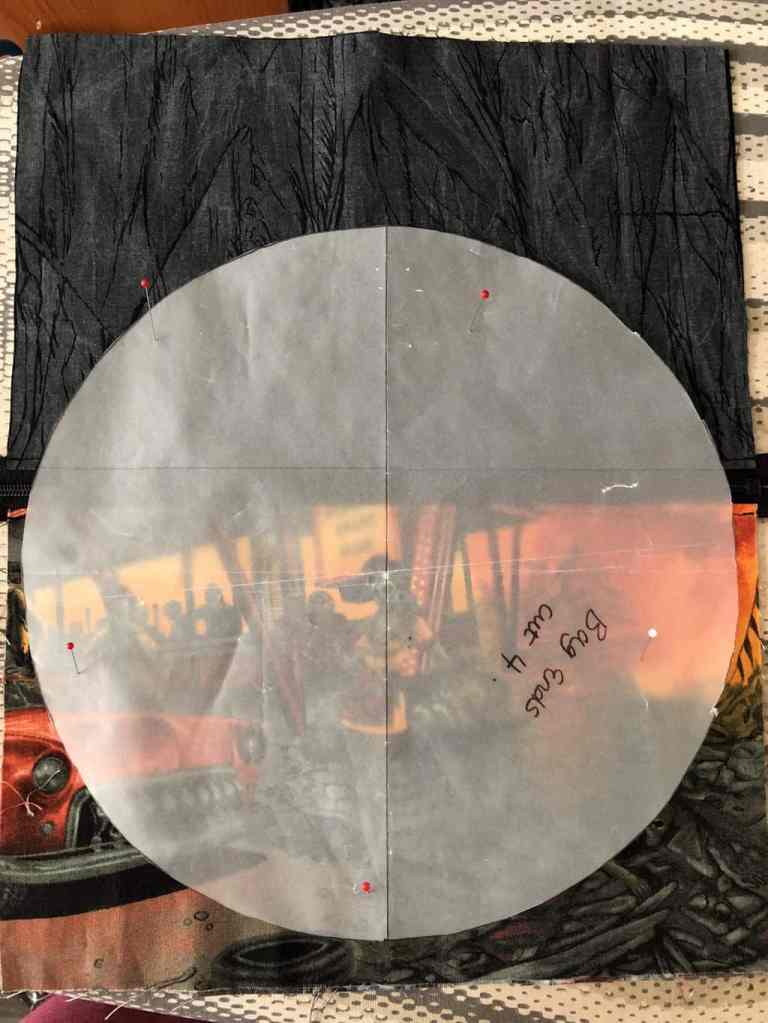
I definitely did NOT want upside down girlies on my bag, so I cut half of the pocket template and added half-inch seam allowance on the bottom so that I could cut two pieces the right way up and then seam them at centre bottom.
So, back to the afore-mentioned visit from the drama llama…

I had one metre of the plain purple fabric and cut the wrong bloody sized rectangle out of it – and had to bodge it to get it to the correct length. Thankfully, most of this piece is hidden underneath the front pocket, so rather than add on a couple of inches at the edge (which would have perhaps shown on the front, I wasn’t sure and didn’t want to risk it) I decided to splice it in to the middle – the ‘underneath’ of the bag, the same way I had joined the pocket fabric underneath.
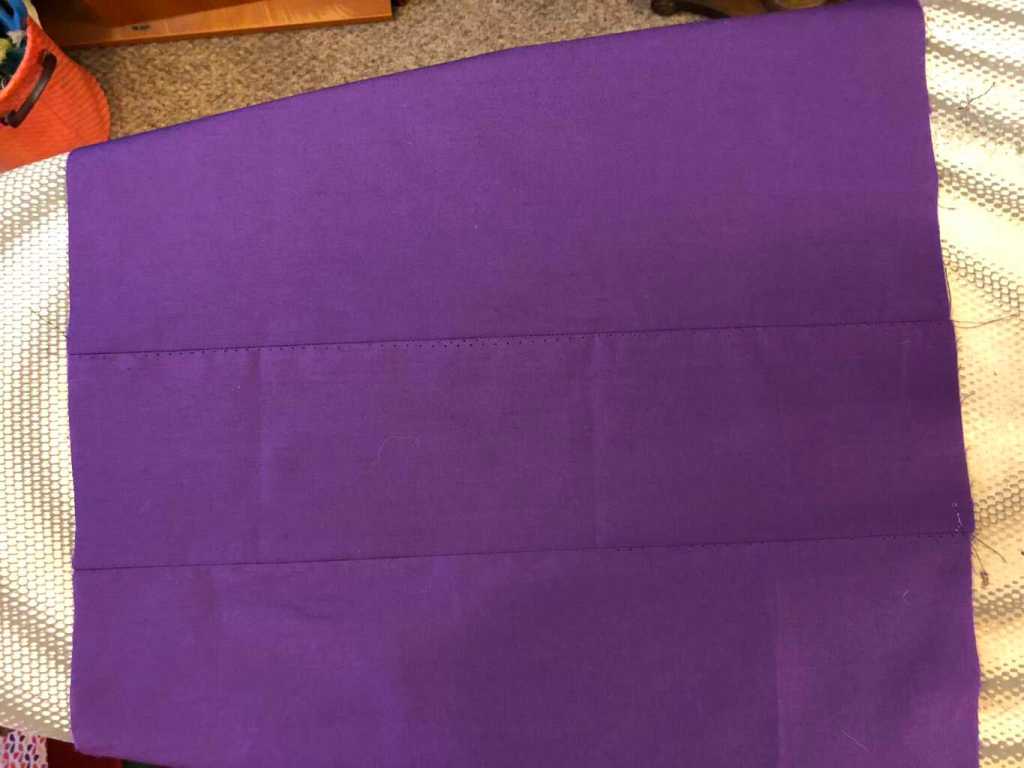
Crisis averted, but annoying nonetheless.
The pattern instructs you to interface most of the pieces, with only the main bag piece and the ends having fusible fleece on them. I was worried that interfacing the bag would make it really stiff, so I chose to use fleece on not only the main bag piece but also the outer pocket, just to give it a little strength without feeling too solid. One thing I wasn’t expecting (or hadn’t really thought about, I guess) is the length of time it would take to fuse the fleece to the panels – you have to press for about 10 seconds in each spot, which is LONG. I regretted my decision to fleece additional pieces immediately ? I always use sew-in interfacing for clothes because I hate the fusible things – and this did nothing to change my mind. The fleece takes ages to fuse (as opposed to just basting sew-in around the edges which is done in about 30 seconds), it never bloody sticks, and when it does stick I worry that over time it will come unstuck.
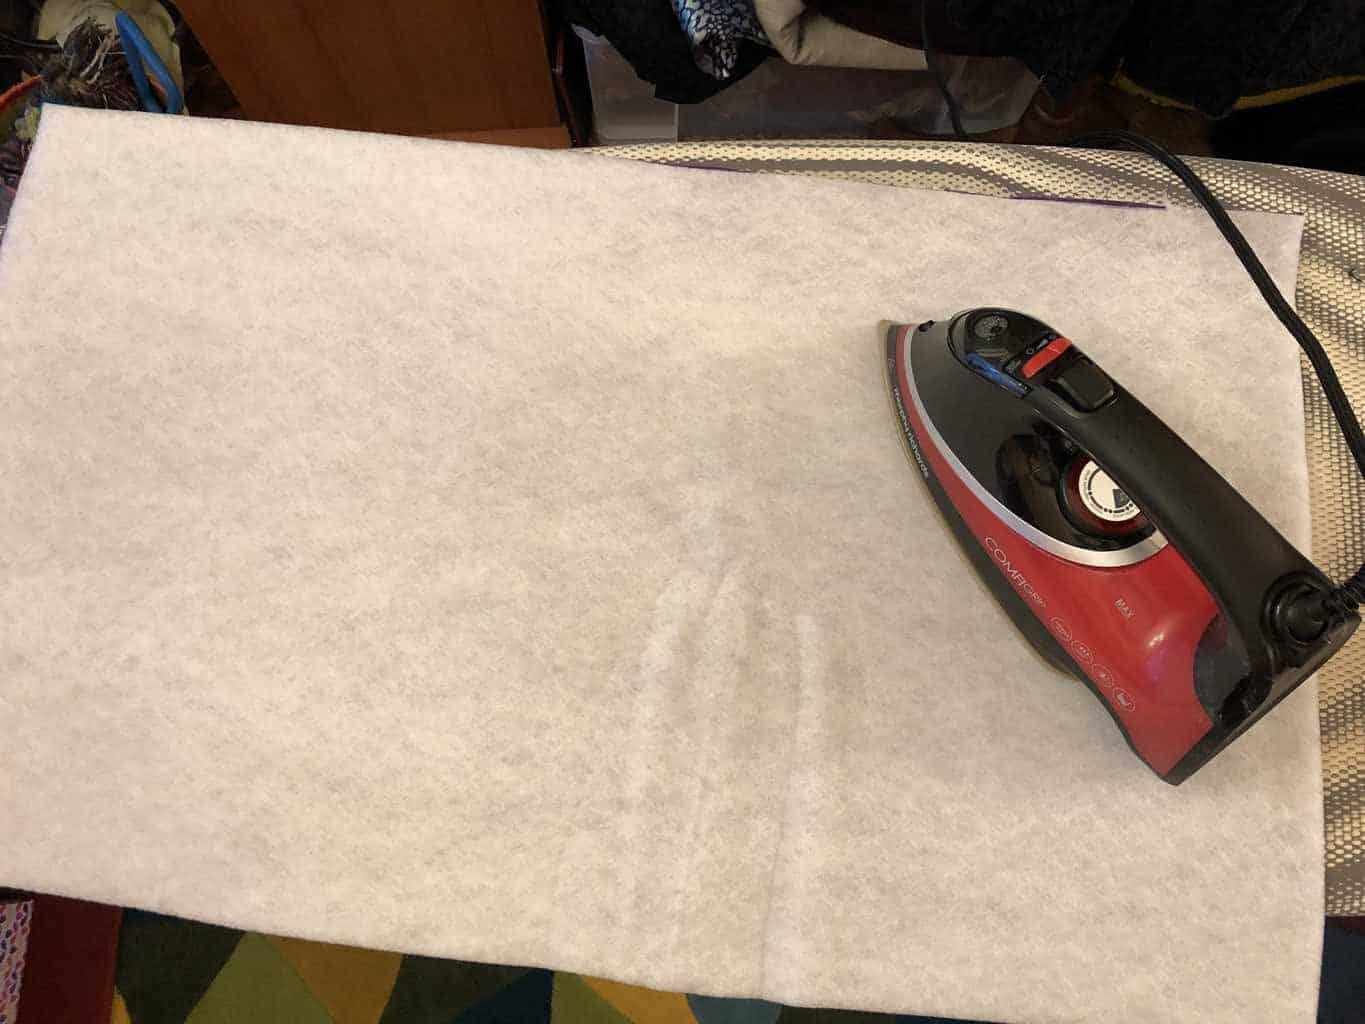
WARNING: This stuff can and will melt.
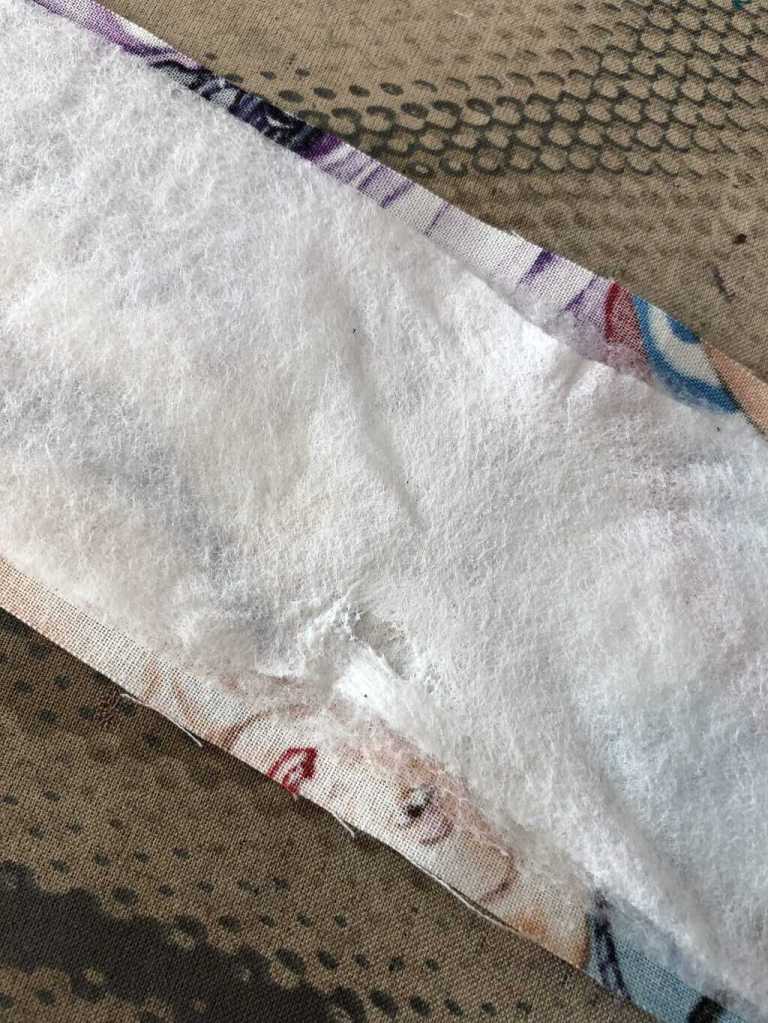
I’m happy to report that the fleece doesn’t appear to have come unstuck, or at least noticeably so. In ignoring the interfacing instructions, my bag is perhaps a little bit on the soft-and-squidgy side – it certainly doesn’t hold it’s shape very well when it’s empty, and if you have something heavy in a mostly-empty bag, it sort of sags in the middle, all sad-looking. If I made it again, I’d probably heed the interfacing recommendations.
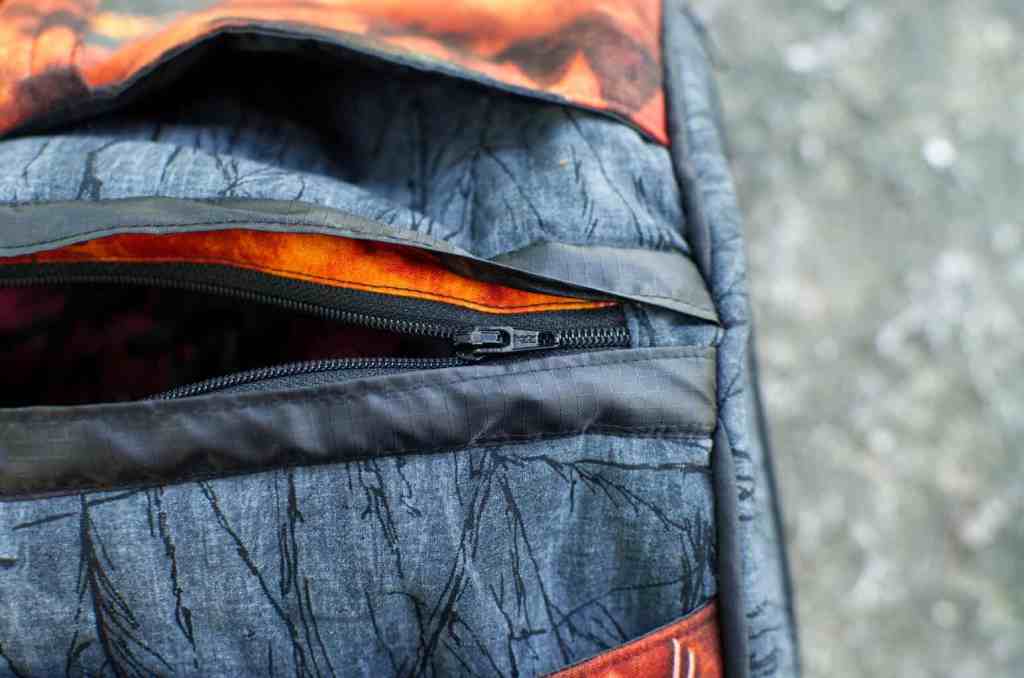
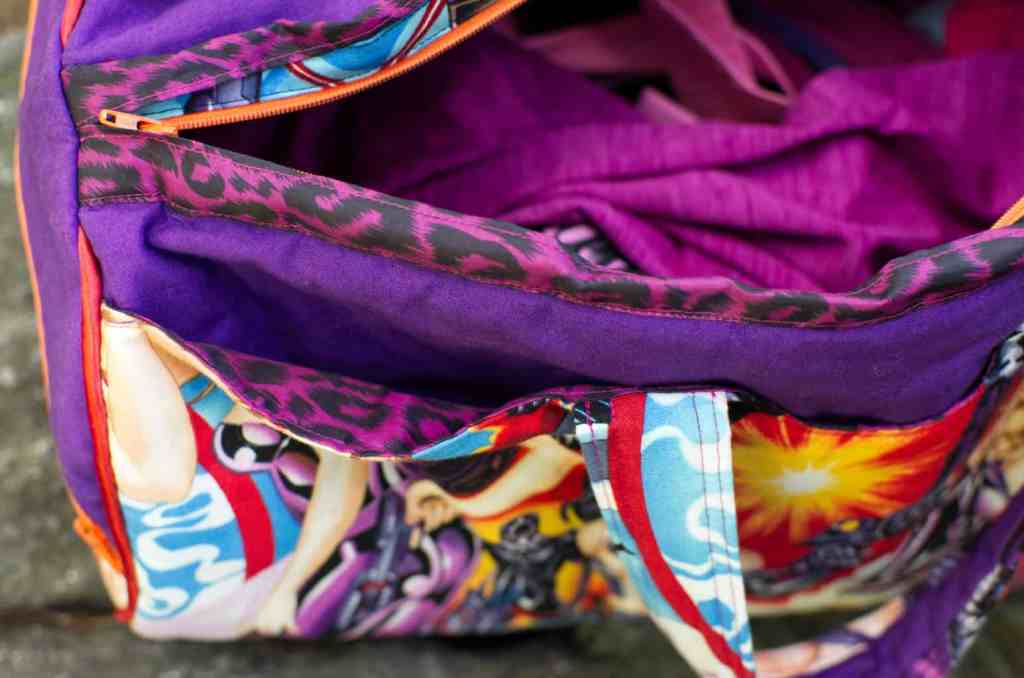
I’m not very experienced at sewing bags, and found some of the construction a bit confusing and couldn’t picture how it would turn out. It all sort of made sense as I went along though (with blind faith), and I didn’t get anything wrong. As I mentioned earlier the hardest part is figuring out where each different fabric will show – I ended up with an unexpected flash of the leopard fabric by the zip, but it’s ok. Leopard print is ALWAYS okay (but something to bear in mind when you’re choosing your lining fabric!)

The instructions, despite their new-to-me methods, were actually pretty damn clear and thorough and hard to mess up.
I was hoping that all seams would be nice and tidy and enclosed, but there are raw edges within the bag around the circular ends. I guess I *could* have faffed with enclosing them in bias tape or something but they’re not actually too noticeable (I trimmed them down) and bias tape would have probably been an almighty head-doing experience. The next best finish I could think of was overlocking, but there’s a fair few layers there, so I just let them be as they are.
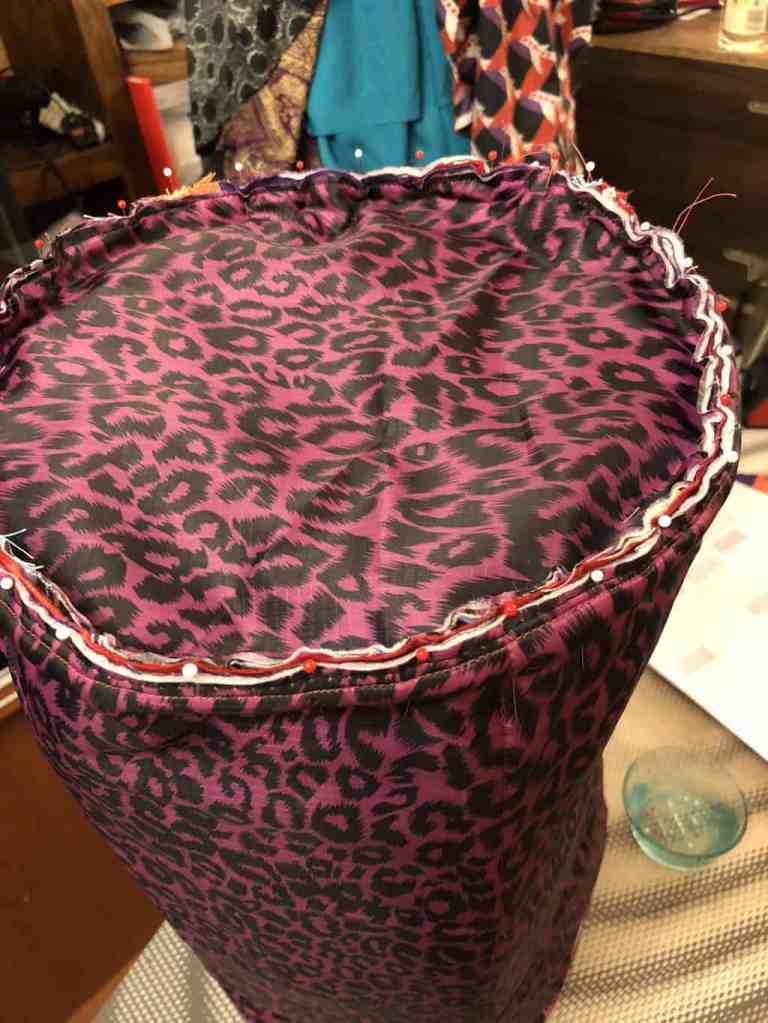
And besides, it’s an absolute BEAST to wrangle through the machine at this stage, so the less I had to deal with it the better ?
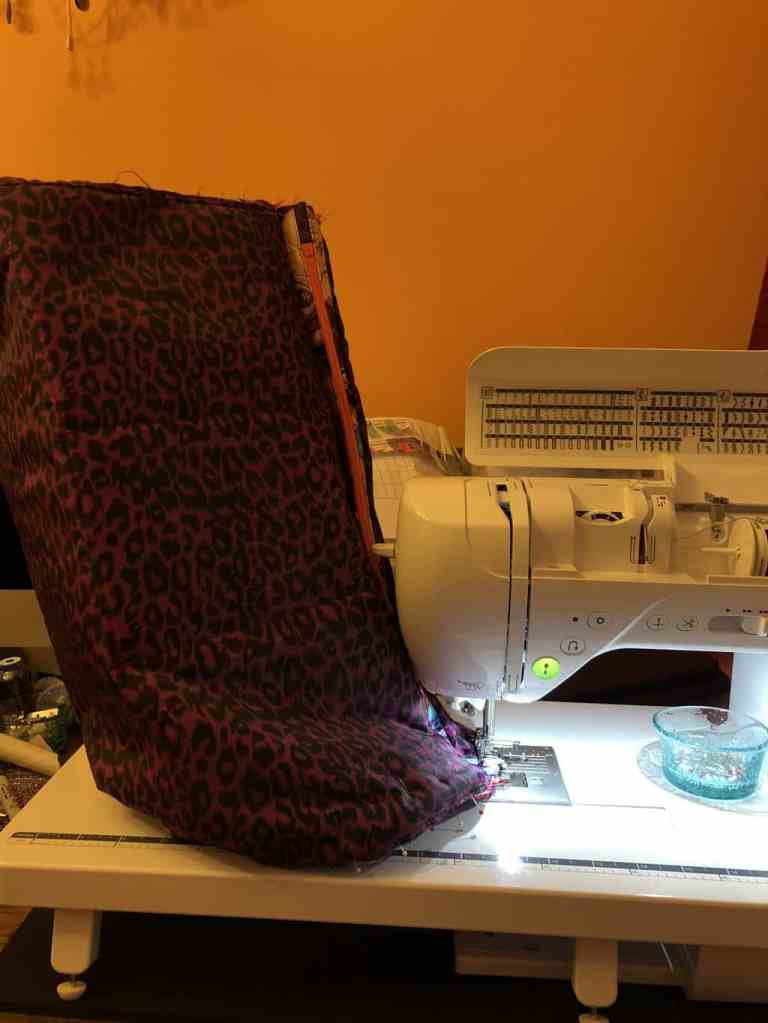
One thing I learned pretty quickly is that ripstop fabric DOES NOT FEED THROUGH A MACHINE VERY EASILY. Especially when it’s face down, against the feed dogs. It’s just too slippery, the feet can’t grip it, so I ended up sort of pushing it though (when I couldn’t have it face up) which resulted in odd length stitches depending on how hard I was pushing it ??♀️??♀️
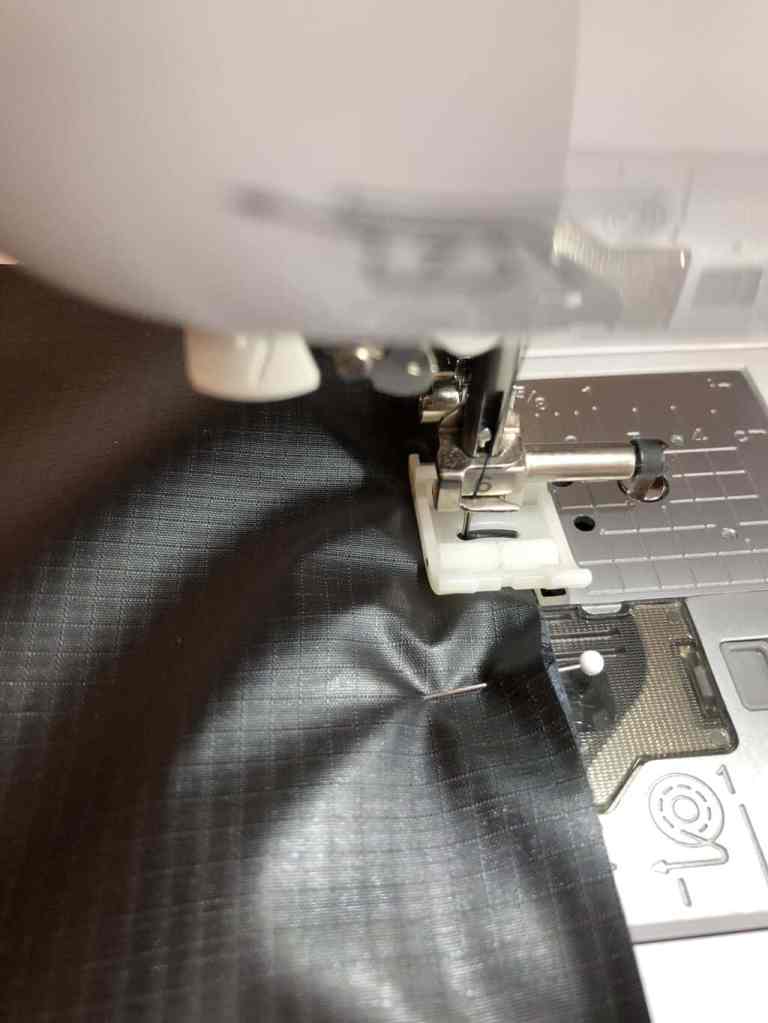
Even with a Teflon roller foot, it was a mission.
I had to wait almost two months for that ripstop to arrive from China, but it was SO worth the wait. The only thing with using ripstop as the lining is that you (probably) can’t press it. I’ll be honest, I didn’t actually try, but my spider-sense told me it would end badly. So I left it well alone. I didn’t pre-wash it, either – and I’m now sort of wondering if I will regret that because as I was fusing the fleece to the back of a couple of bits of it, the pink transferred to my ironing board ? I chose ripstop because I didn’t want anything as absorbent as cotton for the lining – if there were any leaks, I wanted to at least try and stem the flow a little bit. It’s not waterproof sadly (the eBay listing says that it is), but it’s better than cotton.
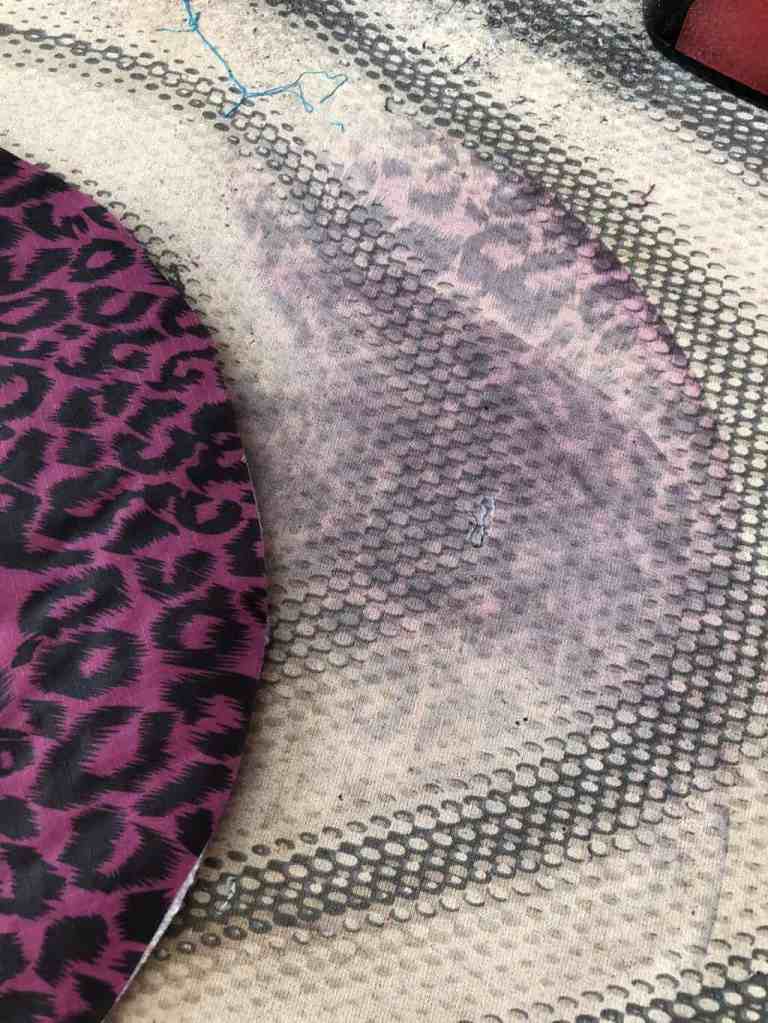
It may seem obvious, but with all those layers you’re gonna need a bad-ass chunker of a needle in your machine to get through em all. When I was stitching the outline of the pockets, my needle broke – twice – and it was only then I realised I was still using a lightweight needle. I had forgotten to change it from my previous session ??♀️ ALWAYS CHECK YO NEEDLES, GUYS.
You think I would learn after this, but no. A couple of days later, while stitching the circular edges of the bag, I actually broke ANOTHER needle. ? and the tip of it went down down down into the depths of the machine so I had to go taking the needle plate off and everything. Well, I can’t remember the last time I cleaned inside my machine, but by the look of it you would think it hadn’t been done since the dawn of time ? I couldn’t see the needle tip for lint, fluff, dog hair (?!) and dust. Clumps of dust. Everywhere. Out came the tweezers and a good fifteen minutes of extracting followed. Upon putting everything back together, the machine purred like a kitten. Previously (it’s amazing how you don’t notice the gentle decline) it sounded like a classic car that was long overdue a service. So, fifteen minutes well spent, and I retrieved the needle tip (and then put the proper weight needle in, before I broke another one ??♀️)
When I was sewing the circular ends of the bag, I got one of the girly panels upside down – you have to kind of really think about how it’s all gonna turn out when you’re placing your zip down on your fabric to stitch (I got a little confused over whether to place it on the wrong side or right side), and when I flipped the zip round to the right side, it had all gone Pete Tong. So I unpicked the zip, re-did it, and carried on.
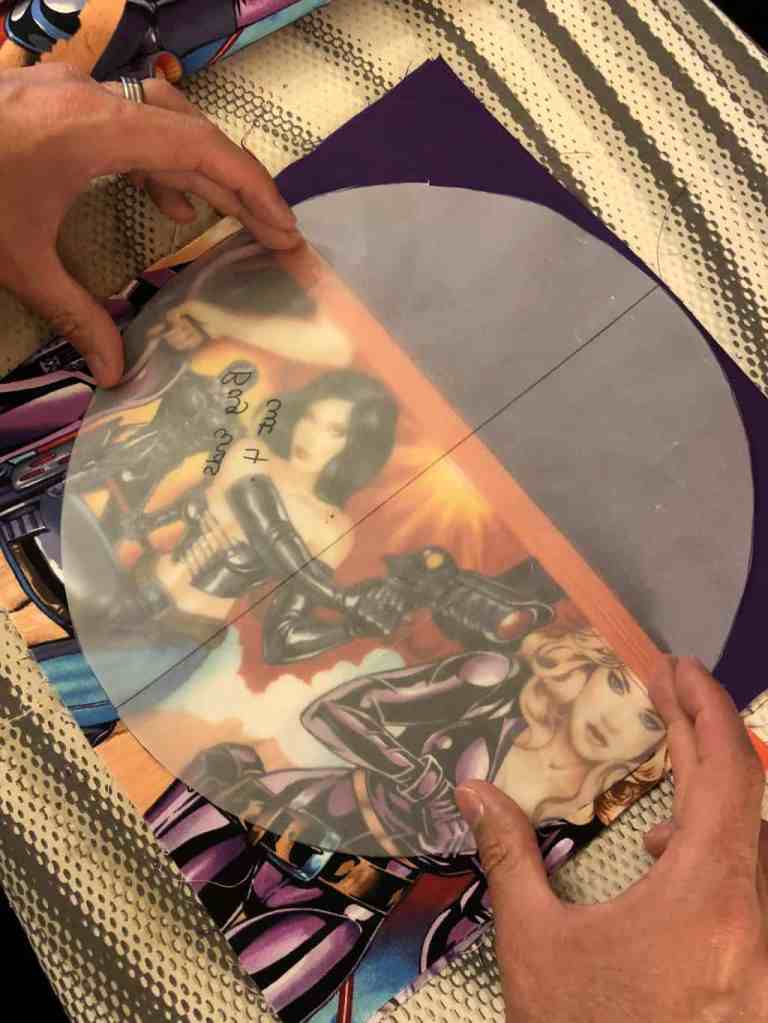
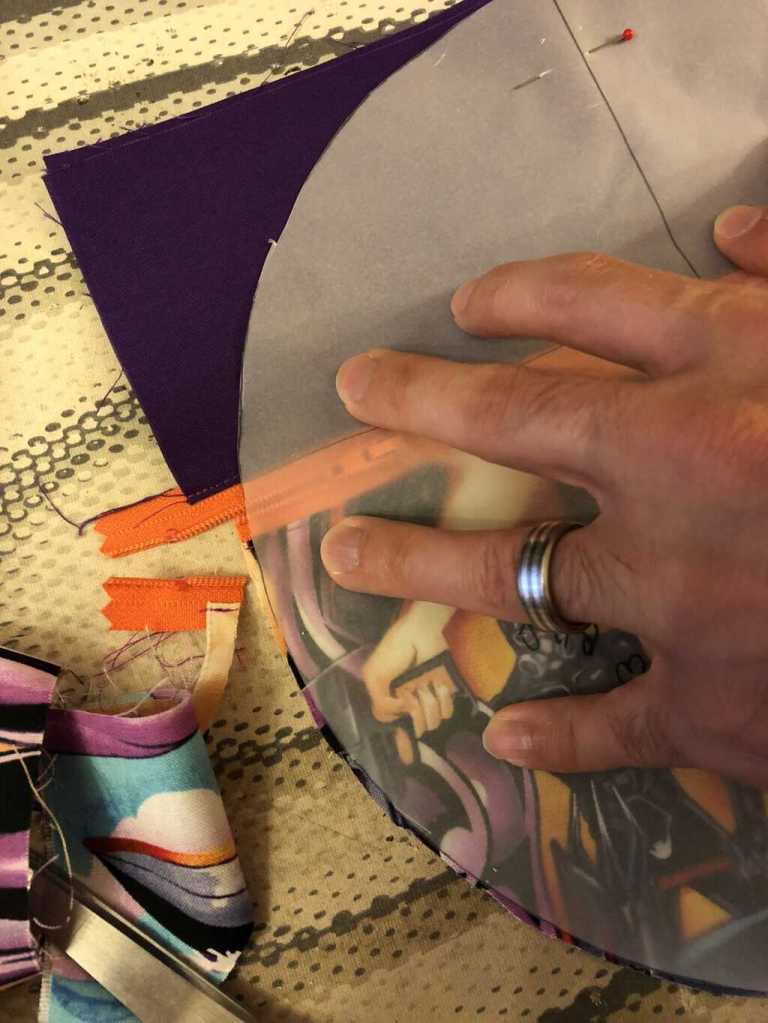

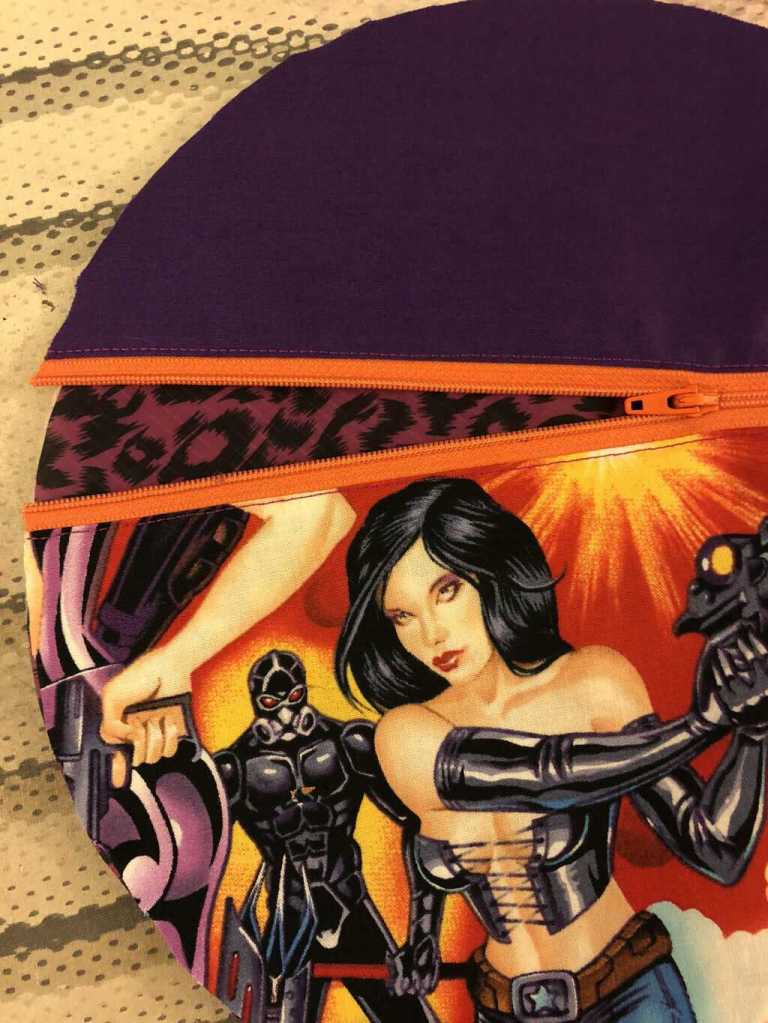
The only thing I found… weird about the construction is that the zip is held on to the main bag by just one row of edgestitching. It sort of doesn’t feel like a lot, but I guess because of the handles, the zip isn’t actually under a lot of strain. After a fair amount of use, it’s not showing any danger of coming apart, so I guess we’re cool.
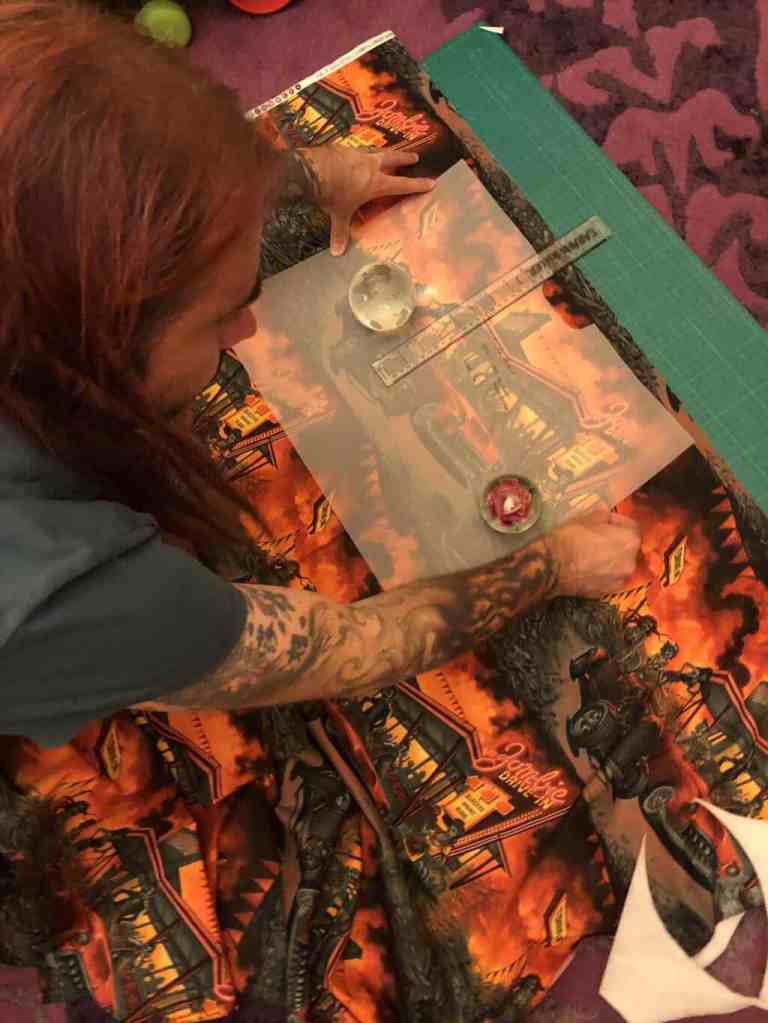
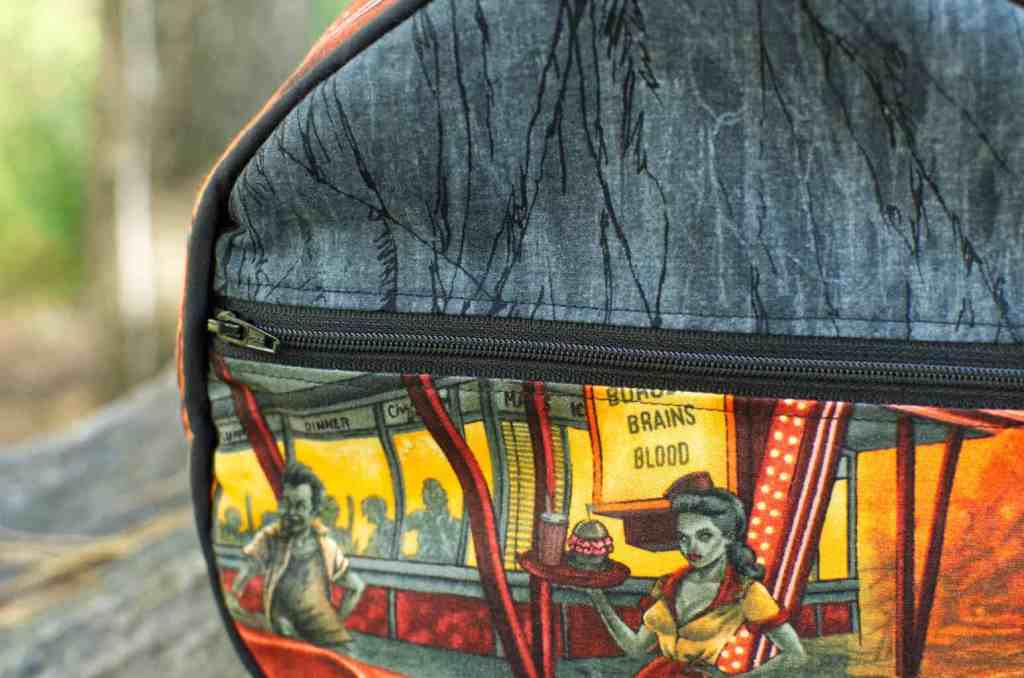
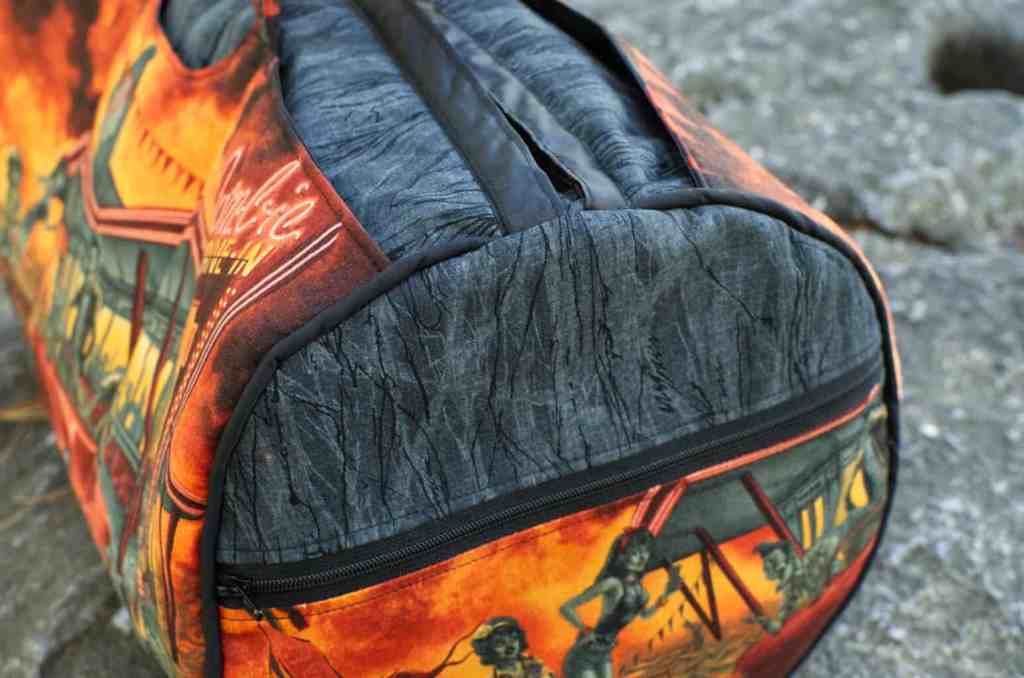
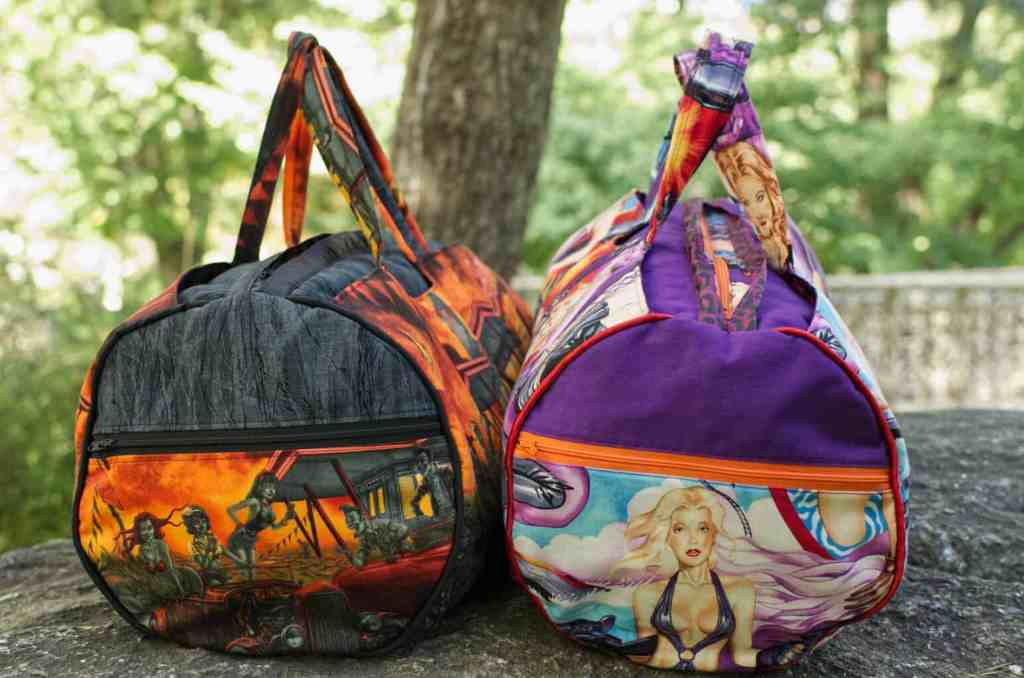
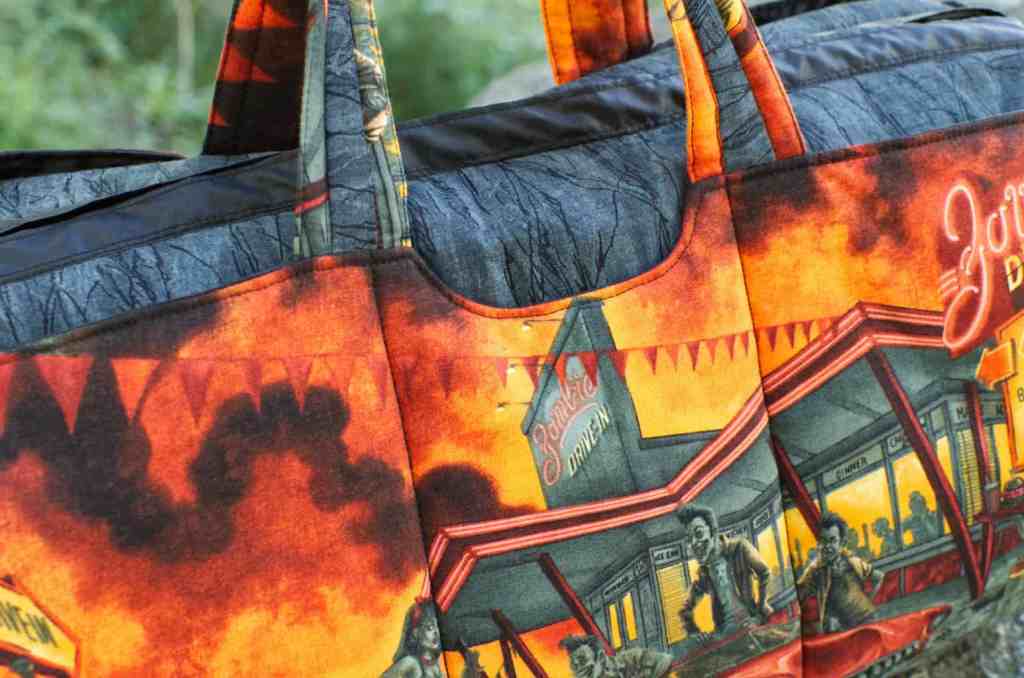
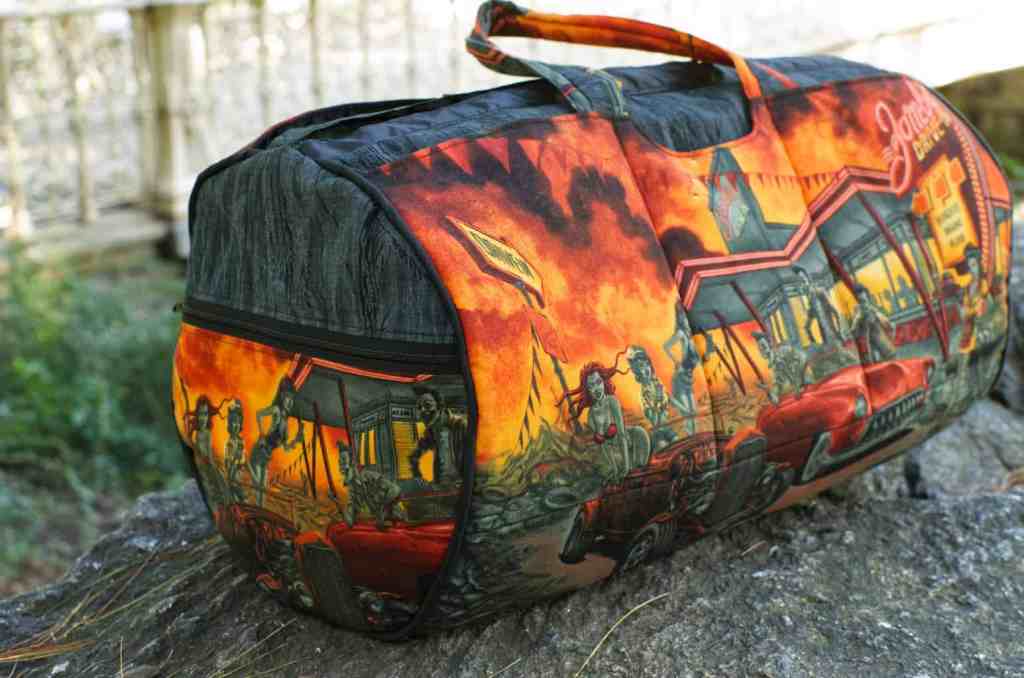
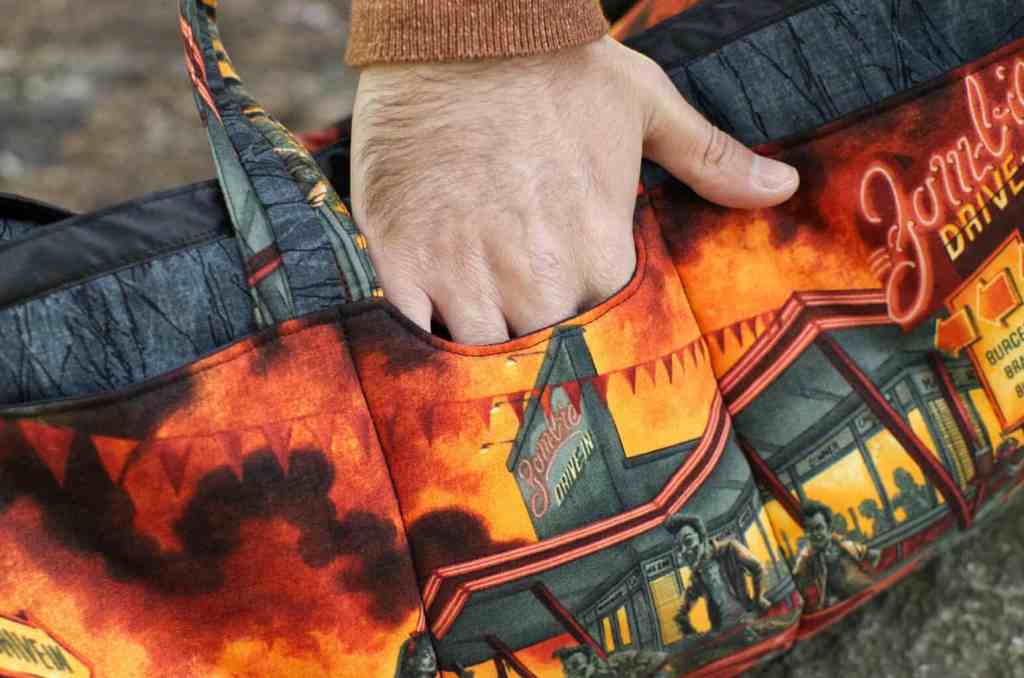
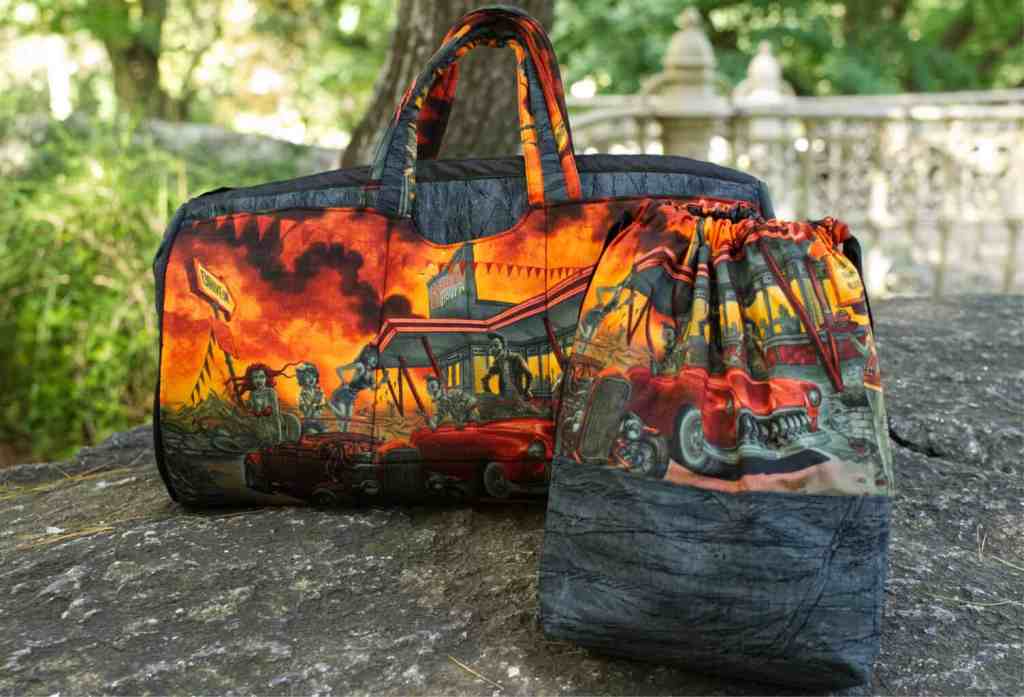
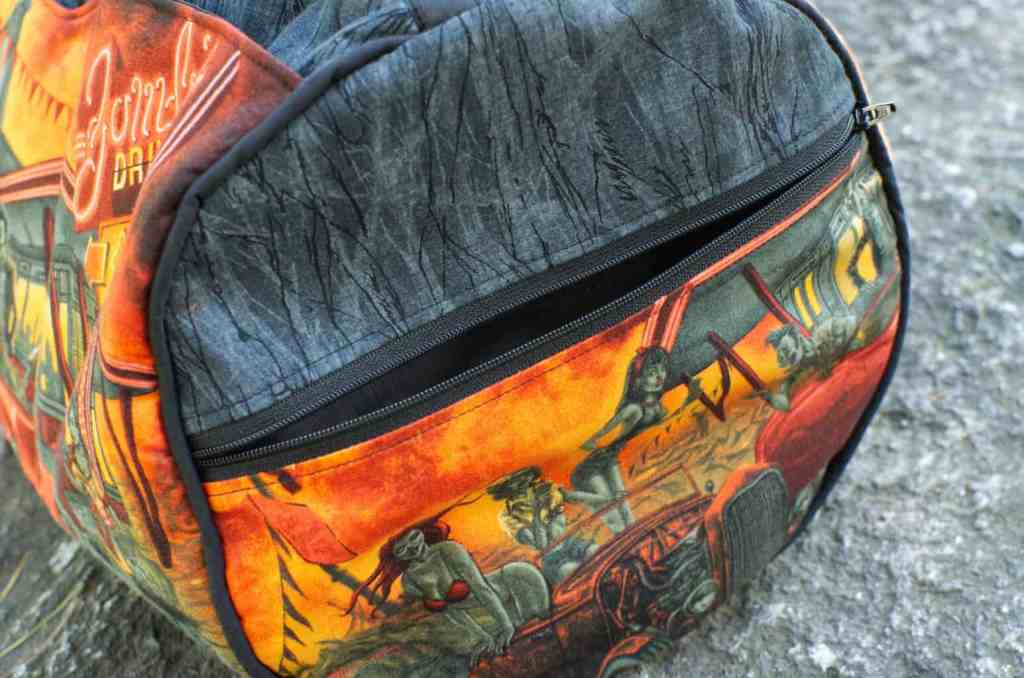
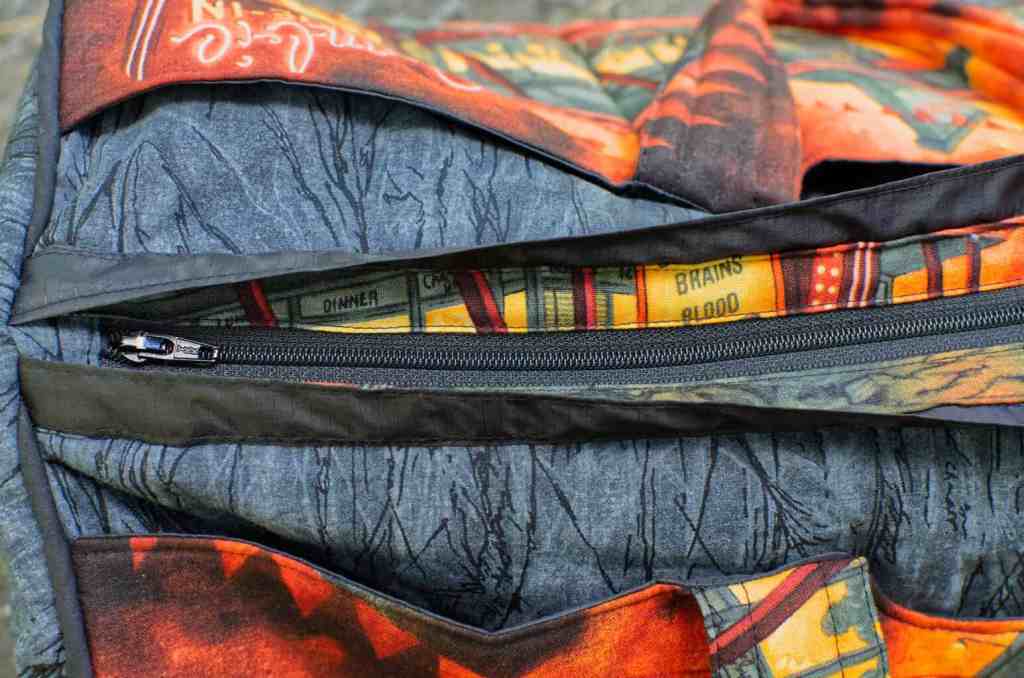
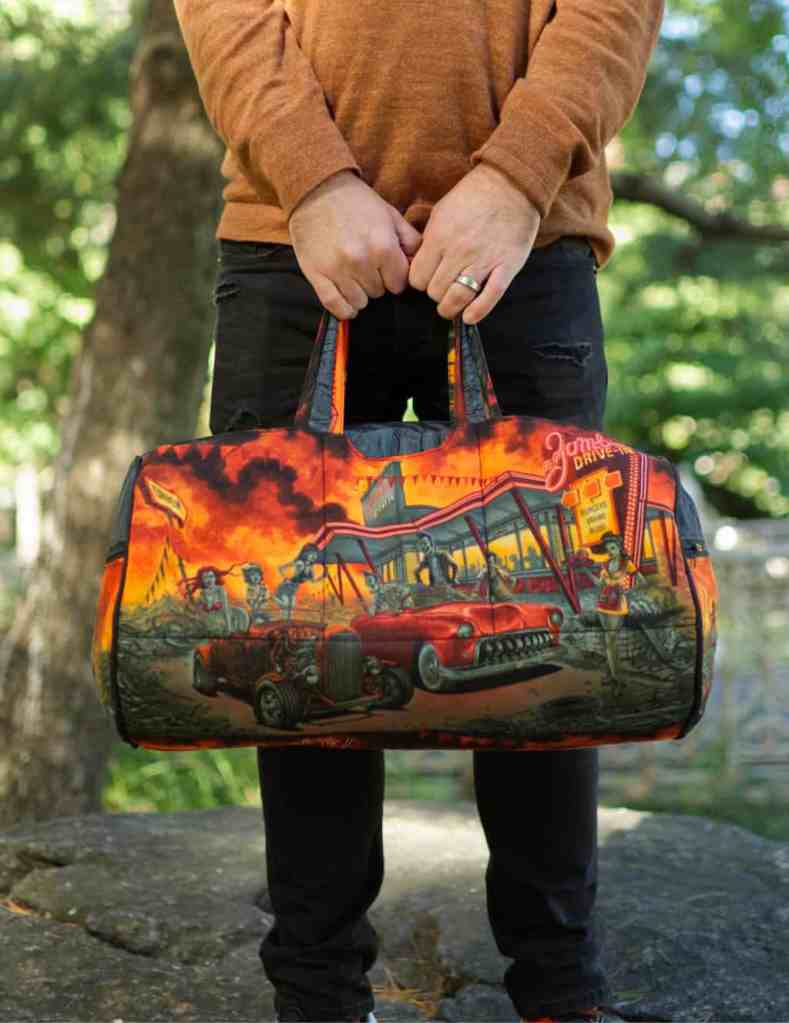
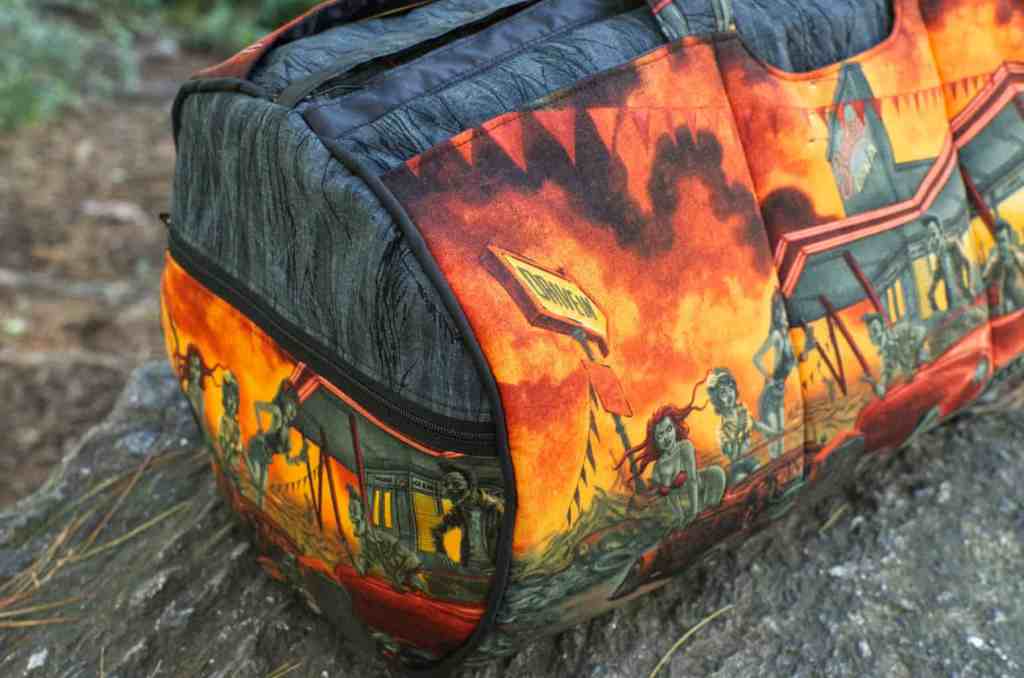
Once I’d made my bag, of course I had to move on to making one for the husbeast. His was going to have zombies on – I’d finally found something to use the Alexander Henry ‘Zombie Drive In’ fabric for. I’d been eyeing up that print for a while, but because it’s got a very linear (and almost ‘blocky’) design, it looks a bit weird on clothing. But it was perfect for this bag. I snaffled a remnant of the grey-and-black quilting cotton off eBay for something scandalous like a fiver, and it coordinated perfectly. Because I want to sew all the things and I’d already moved on to something new, I made him cut out the panels for the front of his bags (that’s fair, right?!) which he did without complaint ?? (He’s definitely a keeper ?)
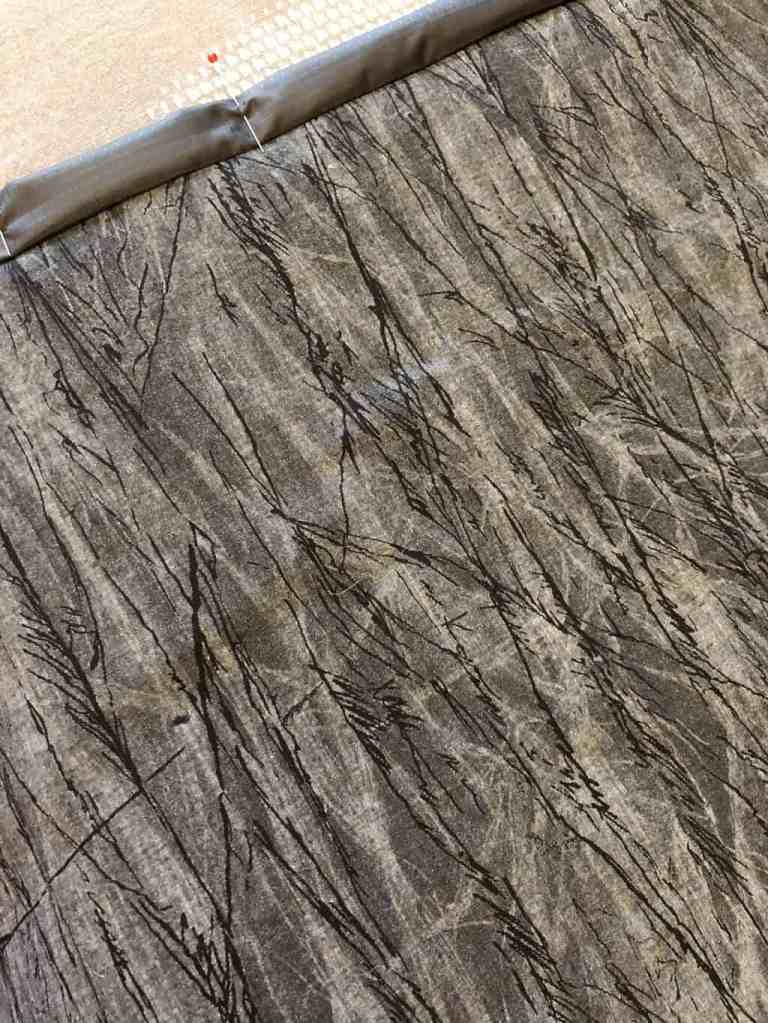
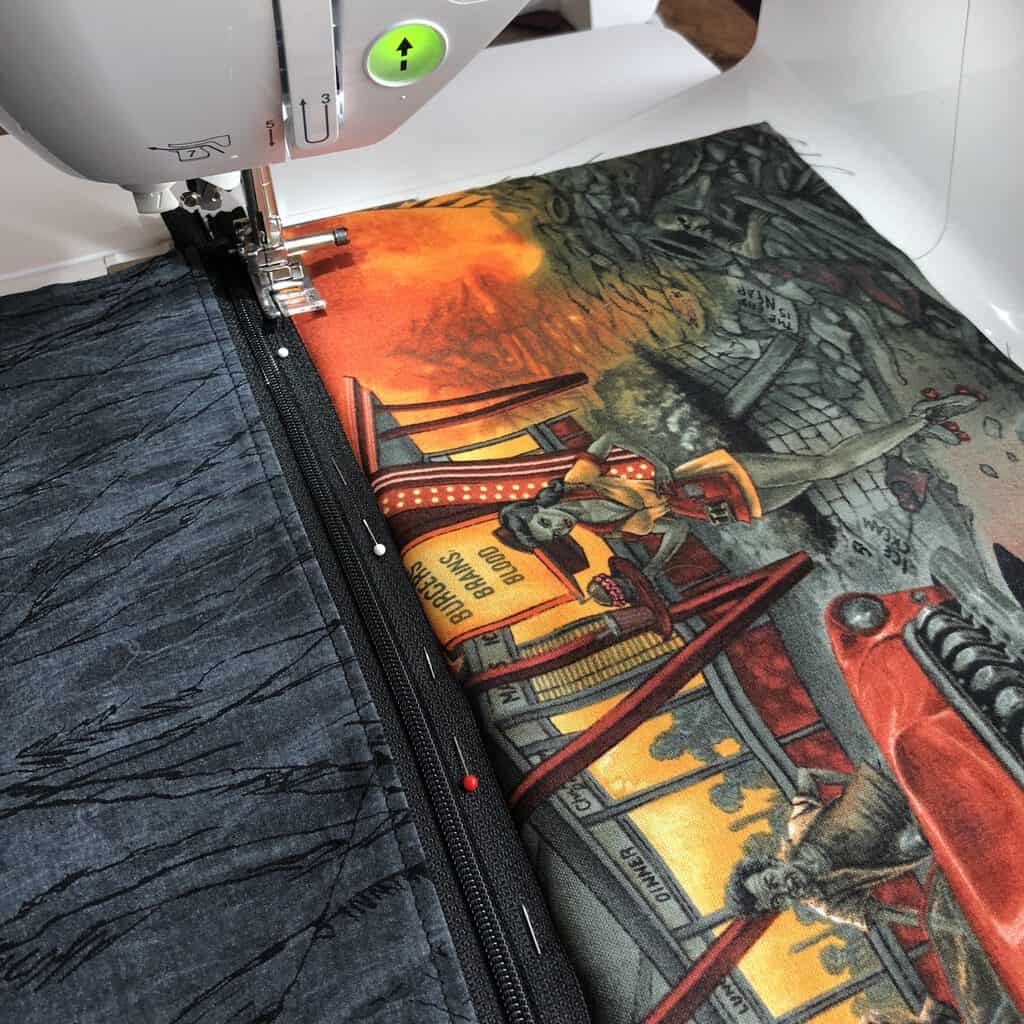
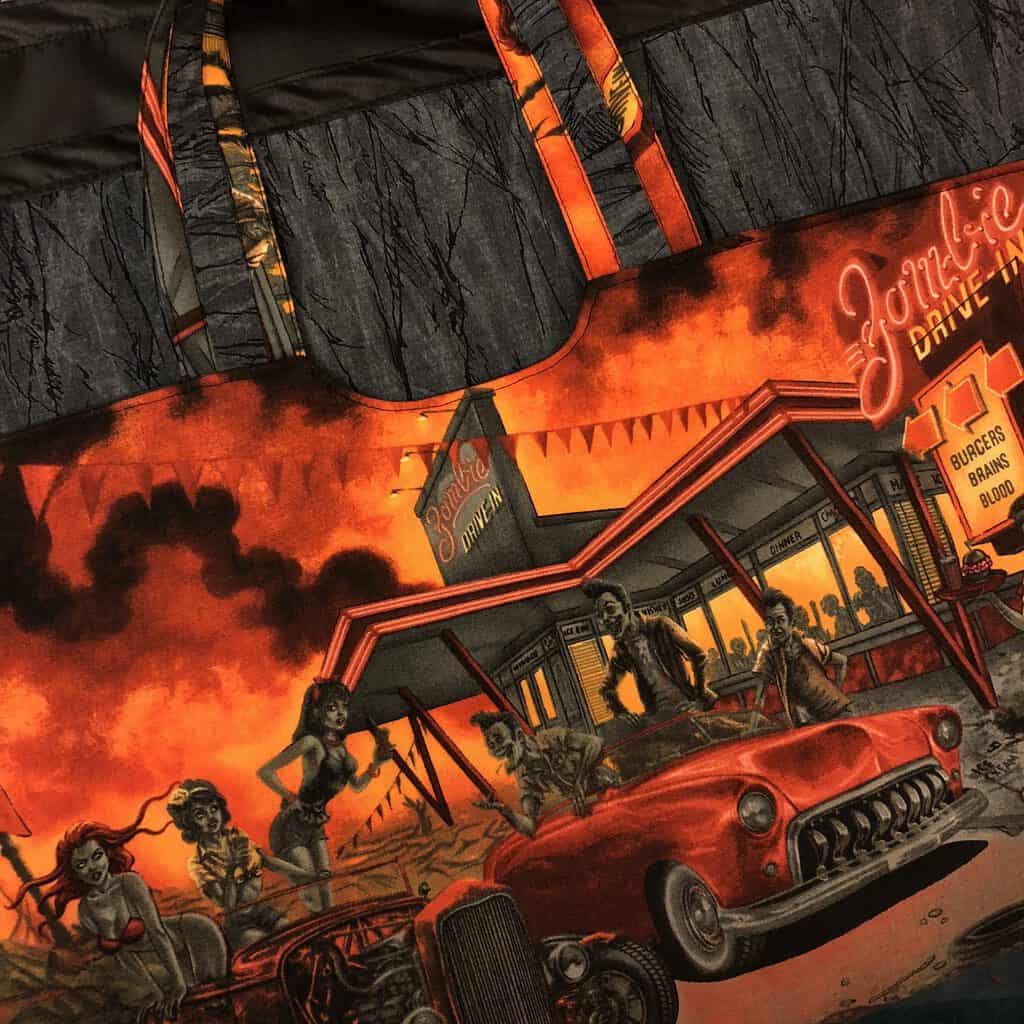
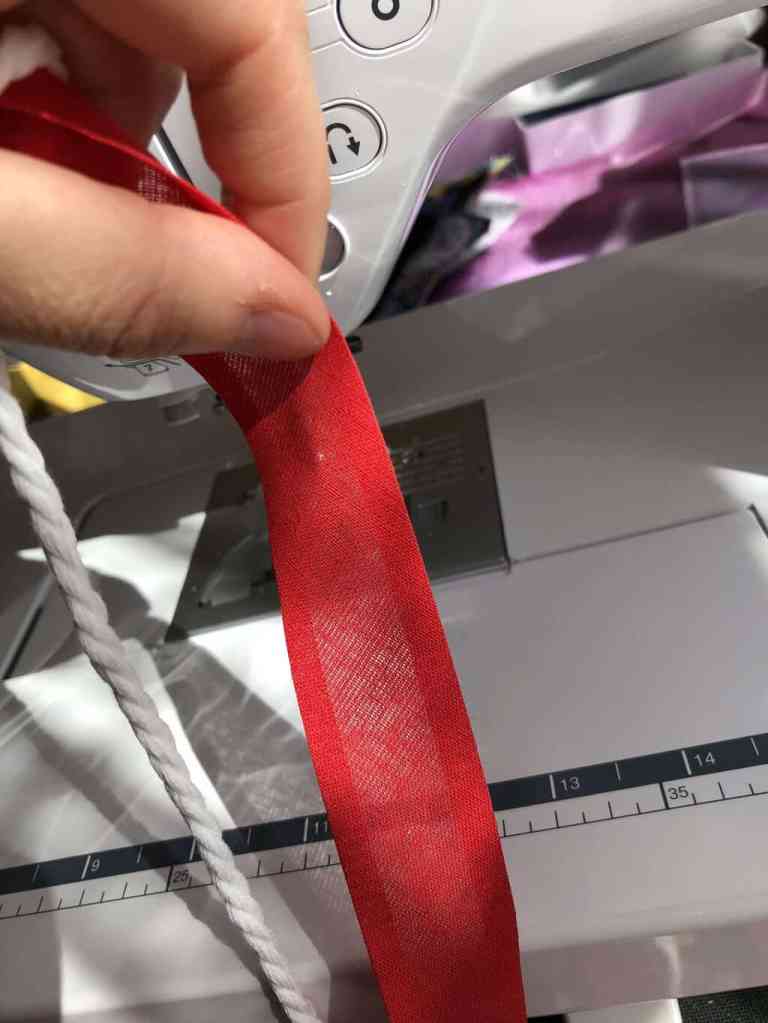
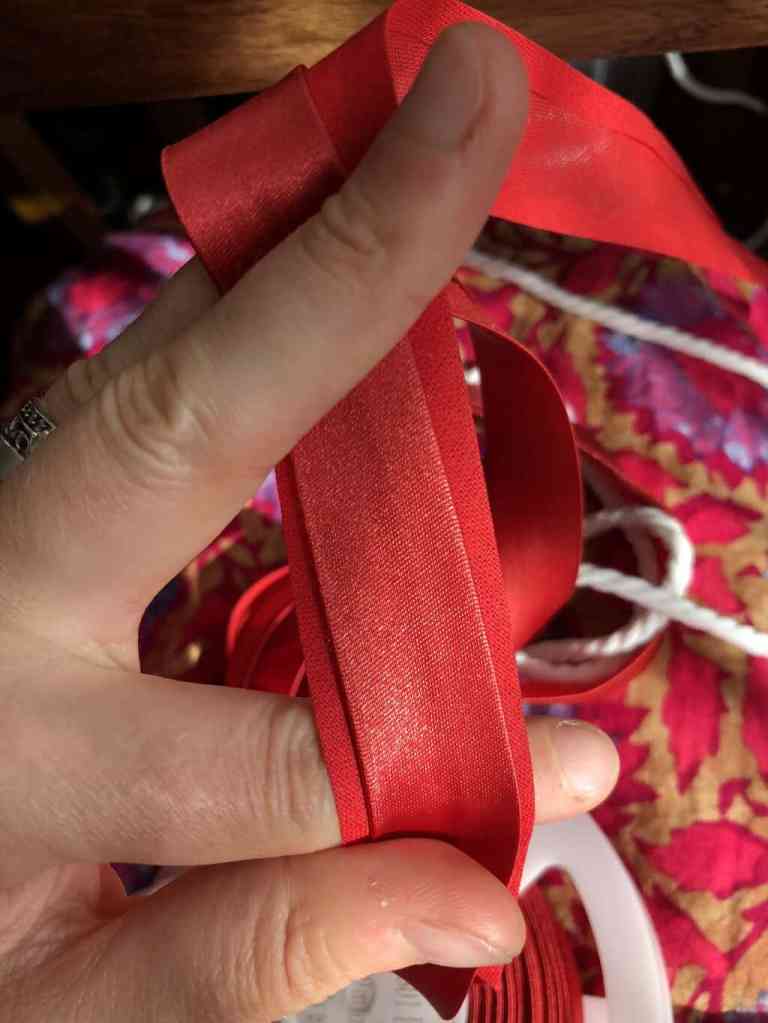
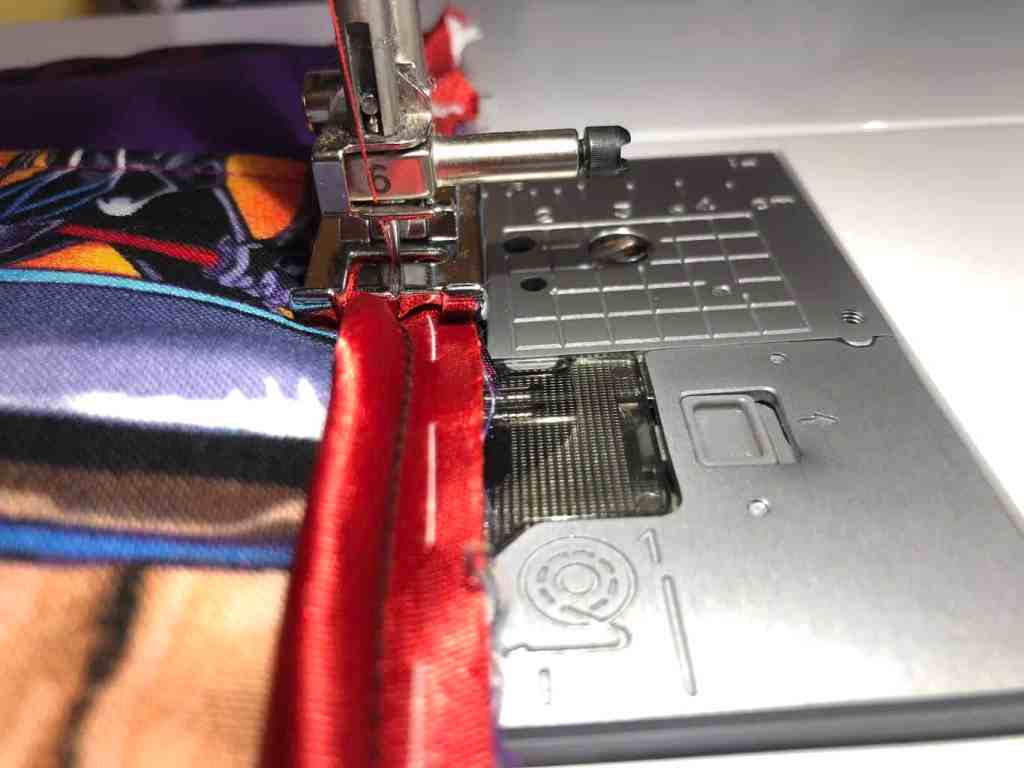
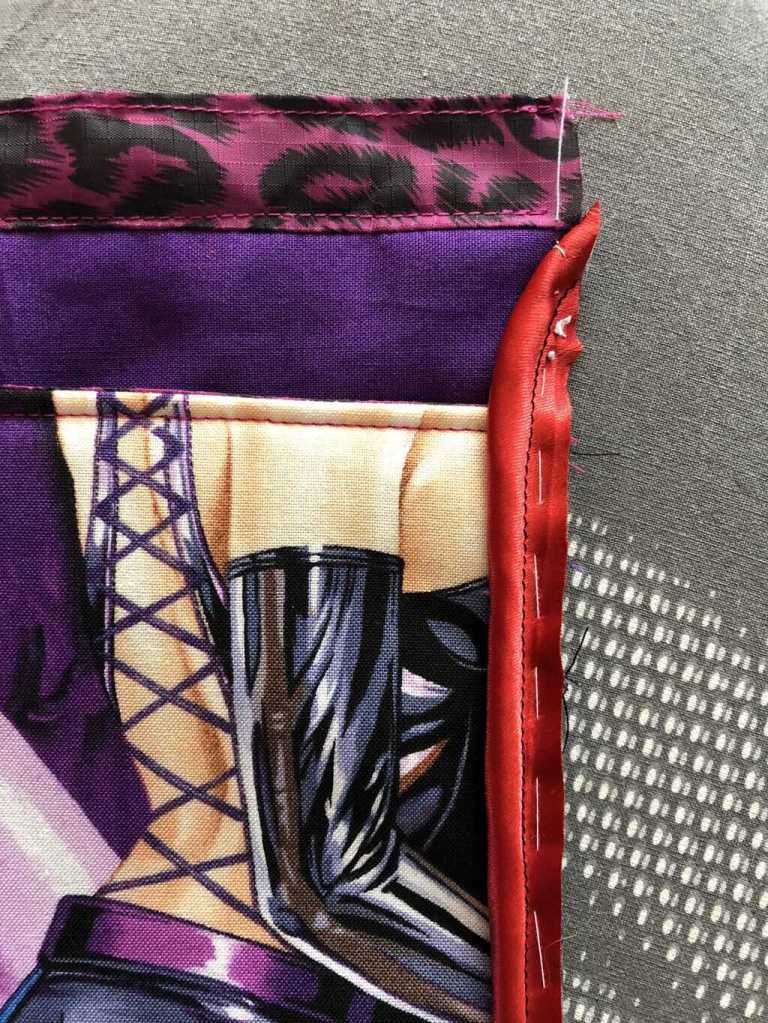
Something that I learned from my bag (and thankfully managed to correct for the husbeast’s) was that satin is NOT the way forward for the piping around the edges. I made my own piping for both bags – red was always the way to go for mine, but I tried my luck with a brick-red-sort-of-terracotta-shade bias tape that I bought from eBay for the husbeast’s. It didn’t look good, so in the end, I decided black was the best option. I was going to use a red cotton bias tape for my piping, but it proved to be a little see-through – you could see the white of the piping cord through it ?? Not wanting to halt progress on the bag to wait for something else to be delivered, I rummaged through the stash and found some red satin bias tape. Yep, that would do. Turns out, it looks pretty – to start with – but after use, the satin has got plucked, and snagged, and just generally looks a bit ratty now. The cotton bias tape on the husbeast’s bag, however, still looks as good as new ? So if you’re thinking about some nice shiny satin piping for your bag – step away.

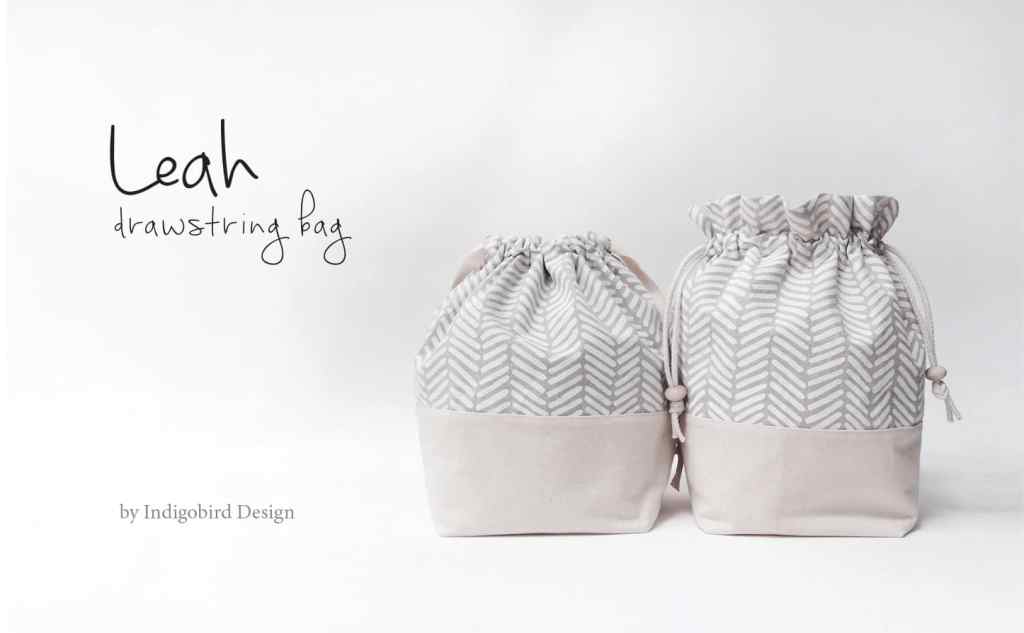
I even went one step further to make matching toiletries bags for these bad-ass bags, and I’m totally happy that I did. They’re not really specifically toiletries bags, they are just drawstring bags that could be used for anything (they fit a pair of trainers quite nicely, actually), but we use them for toiletries. The pattern I used for this is the ‘Leah’ drawstring bag by Indigo Bird Design (you can find it here), this is the large size (you get three sizes in the pattern).
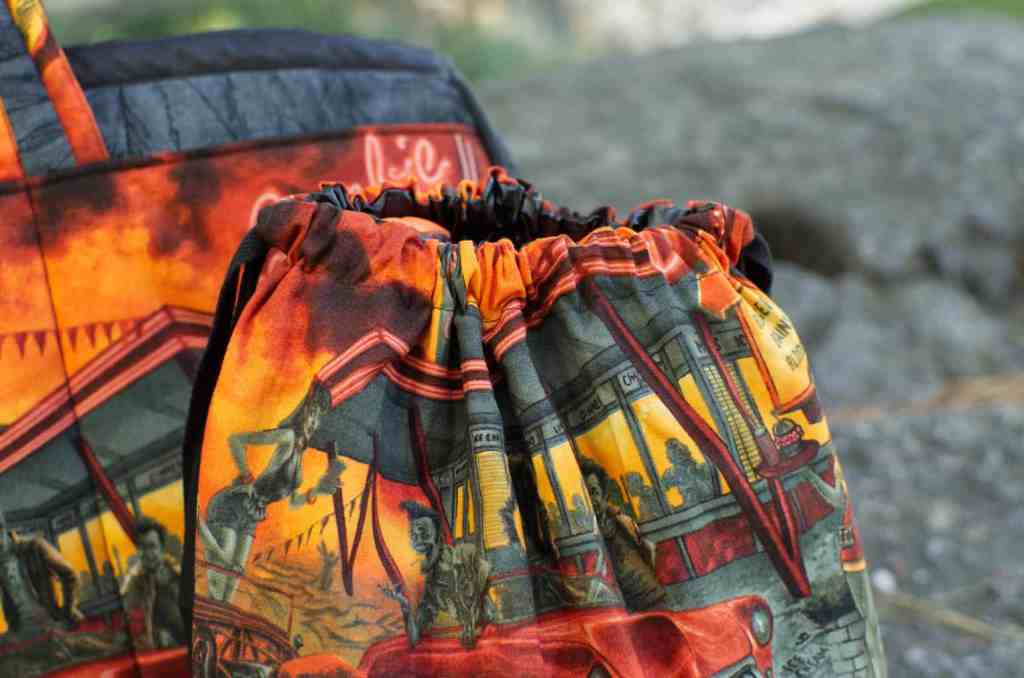
I get so many compliments on my gym bag, and I think it’s one of my most favourite things I’ve ever made. I really feel I’ve nailed the colour/print combos on these (much better than on the Bionic Gear Bag I made a few weeks back, which didn’t quite mesh together so well). When I used to carry mine on the train to work, I’d see so many guys eyeing it up on the sly ?
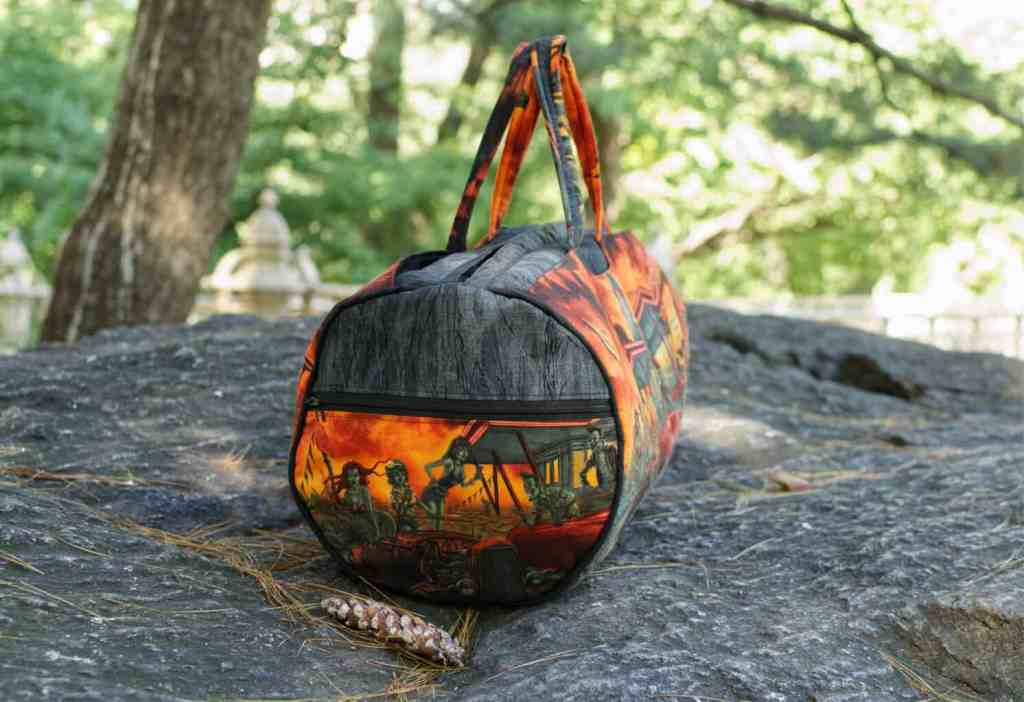
These bags went with us to New York last year – I wanted to take the blog photos of them in Central Park (and that’s exactly what we did!) – but they actually came in useful too, though. They held all our running kit separately in the suitcase (we ran the Brooklyn Greenway Half Marathon while we were there) and when I realised that I’d bought way too much yarn and fabric to carry home with us, they served as an extra item of hand luggage on the plane ? Yep, in the photo below, the bag is just STUFFED WITH YARN ???
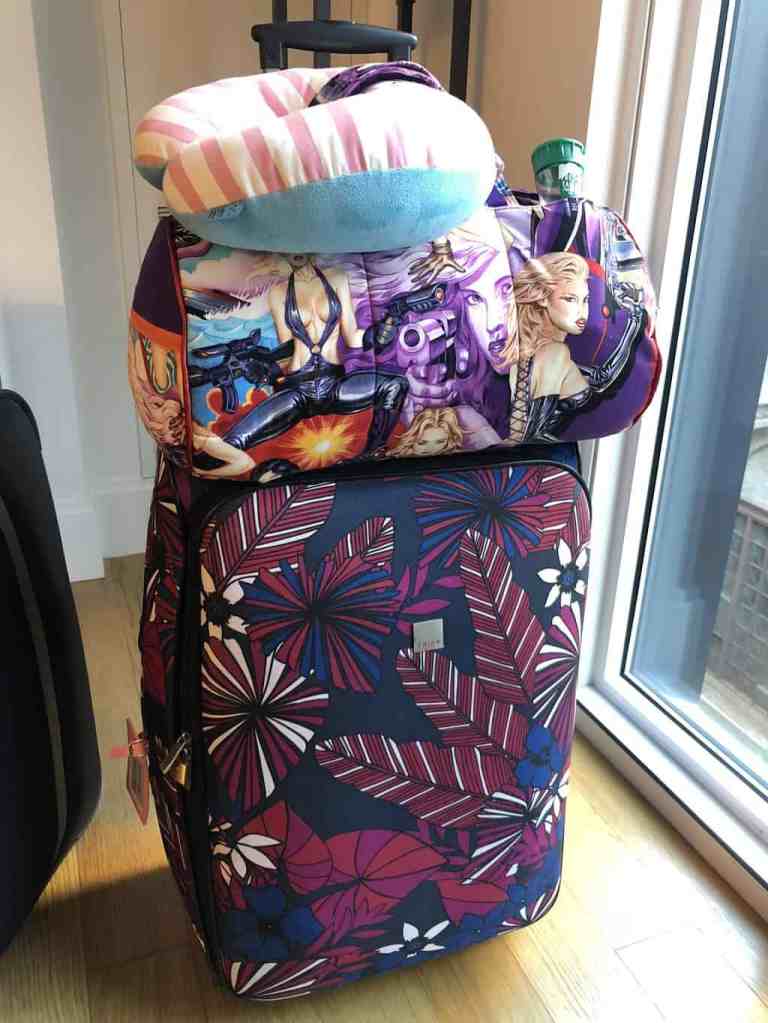
The pattern states that I’m allowed to sell items made from this pattern, so I’m thinking of sewing a handful of one off bags and putting them on the Etsy store because SO many people have asked if I sell these ?
Well, you’ve made it to the end. Finally ? If you read my just-over-three-thousand-words all the way through, thank ya ? I know a lot of you guys like the longer blog posts, but I do sometimes wonder if I talk too much ???♀️ I’m just such a details nerd, lol.

Stay classy guys, and thanks for stopping by.
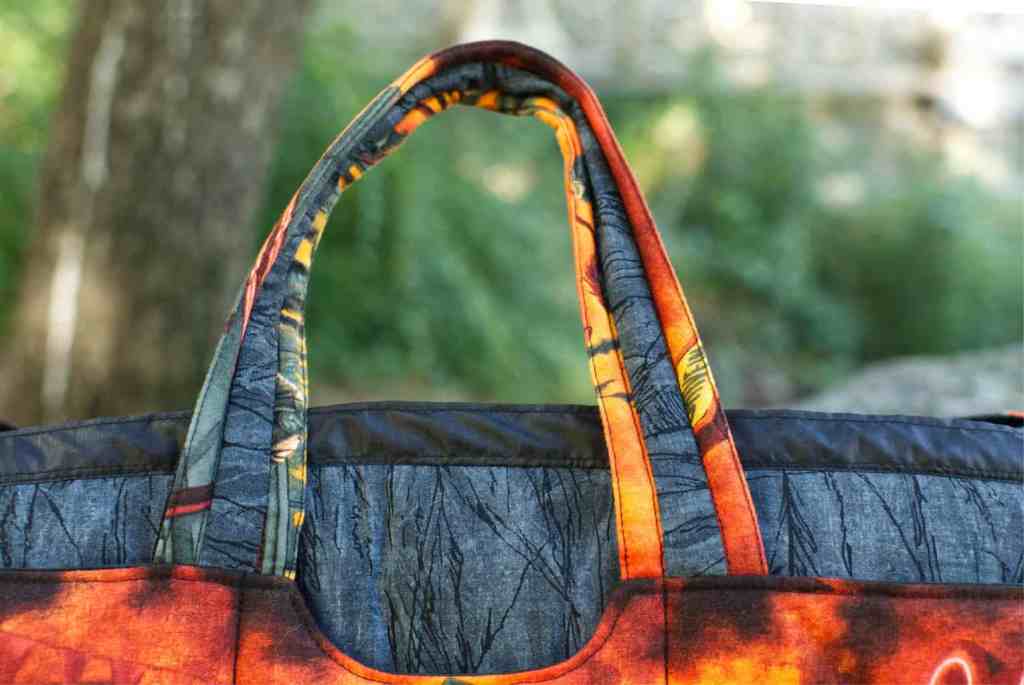
Here’s a LOT of photos of the finished awesomeness ?







Next week on the blog is like, the most tardiest post EVER – a Trend Patterns dress that I actually finished last summer, but hasn’t had it’s moment yet!
Subscribe below to have it drop straight into your inbox! ??

18 responses to “Papa’s got a brand new bag”
They are so impressive, and I can quite imagine they would draw people’s attention. Only having made a couple of bags I know it was a case of following the instructions & seeing what resulted. Unpicking a zip?! That’s dedication! So well-finished. 10/10!
LikeLike
Thank you Fiona! ? Yes! It was exactly that – follow what they’re telling you and hope for the best ? At least by the time I made the second one I had more of an idea what I was doing ? Really pleased with how they turned out! ??
LikeLike
No, you don’t talk too much; I love your blog with its honesty and warts ‘n all approach. I’m a bit of a bag lady, so this post is right up my street. Love ’em both
LikeLike
Ahh thank you Bren – I’m glad you enjoy the longer blog posts! And yep, warts and all (and blunt honesty ?) is what you get from me lol. I’m almost finished with a By Annie duffle bag which you’ll probably like too – it’s got some gorgeous colours on it! ?
LikeLike
Hello my loves,
I made a very simple , I’m ashamed to say , but…bodice lined top and I lined the skirt incase it clung to my chubby legs . it was a sew &sew pattern B5837, far below your skills, but oh so easy and a sweet cut out “hole” in the back, I put a piece of cotton lace into the hole as showing a round hole of my back at 60+++ is not the best option , but I love the outcome. I’ve tried to send a picture but cant seem to. But I was very happy and had lots of compliments.
I’m so pleased the shops going great, I keep looking ready for an xmas order . I’ve always just made up draw string bags with out a pattern but they never come out looking as good as your pattern one does, so I’ve just ordered the pattern from your email.
Take care and enjoy your sewing and your life xx
Cindy x
LikeLike
Hi Cindy!
Yay for sewing successes! And sometimes, simple is best ☺️ I love the Grainline Scout tee, and there’s nothing fancy about that! The cotton lace sounds beautiful – you can always send a pic to hello@wanderstitch.com if you like ?? I’d like to see it!
Ah, I’m glad you like the drawstring bag! It’s a good little pattern, I hope you get success from it. I’d never sewn a drawstring bag before and managed these ones, so the instructions must be good ?
Let me know how it goes! x
LikeLike
Love the bags. Don’t mind all the words. It’s those gifts that wind me up but that might be an age thing. Will just have to keep scrolling past them.?
LikeLike
Hi Margery!
So glad you love the bags, and happy that you don’t mind the longer blog posts ? Hmm, I wonder if (in this day and age, surely there must be) there’s some sort of on-off toggle button for the gifs so that you can choose to read with or without them… I’ll have a look and do some research! ?
LikeLike
you can block them- just click on it to see the option. I sometimes find one or 2 a bit epilepsy-inducing lol
LikeLike
Haha, I try not to pick the ones that look like they might bring on seizures ??
LikeLike
I love your posts look forward to Sunday night. I like the gifs they make me laugh. You take all the fabric that I would never think to use and make it look fantastic
LikeLike
Ahh thank you Nicola! I’m so glad you enjoy them ? I do love a good gif ? sometimes I can spend hours browsing for them ? Thank you for your lovely comments, I do love a good Alexander Henry print! Stay tuned for a not-so-boring ironing board cover ??
LikeLike
Purple is the BEST COLOR! Excellent choice. And I love the matching shoe bag – I always hated putting my shoes in with my clothes; if it was clean clothes, I worried about my shoes making them dirty, but if they were sweaty, I worried about them making my shoes smell gross.
I’ve made several bags in the past and I like it as a “palette cleanser” type product if I have a failed clothing project. You don’t have to worry about fitting or adjustments, you just follow the instructions. My favorite bag pattern company is Swoon (https://swoonpatterns.com/product-category/patterns/bags/)
LikeLike
Purple is THE BEST. Agreed ?
I would worry about clean clothes getting dirty, but my gym and running trainers already smell pretty gross I’d imagine ???
YES! That’s what it is – a palette cleanser. You’re totally right. No fit issues, no hemming, no buttonholes. And sometimes you get to smack things with a hammer as well ??
Ooh yes I think I actually own a couple of Swoon patterns ? It’s a bit like garment sewing patterns – even though I haven’t made many bags, I seem to already have a collection of bag patterns that I may or may not get around to sewing ???
LikeLike
Super bags and great post!! I love your fabric choices.
LikeLike
Ahh, thank you Wis! ? Hope you are doing well! x
LikeLike
OOoh I love how individual these are to you and your beast, I feel like anyone glancing at these can get to know you a little!! Also, you made TWO of these monsters? In a row? O_O Lady, you sound strong to me.
LikeLike
Haha, it was actually easier to make two in a row, because the method (and pitfalls!) of the first one was fresh in my mind! They are SO cool, aren’t they! I love them so much! ?
LikeLike