When I saw that Minerva had started stocking the By Annie patterns, I got a little bit excited.

There were many patterns that I liked, but the Round Trip Duffle bag stood out – I was heading to Paris in a few months, and it would be just perfect to take with me!

I’ve made bags before, but nothing of this size – I’m more used to toiletries-sized bags. But that didn’t put me off – I figured it would just be the same techniques but on a larger scale ??♀️ That was sort-of right, but there was more hardware involved in this one. It was easy to install, mind you – no dramas!


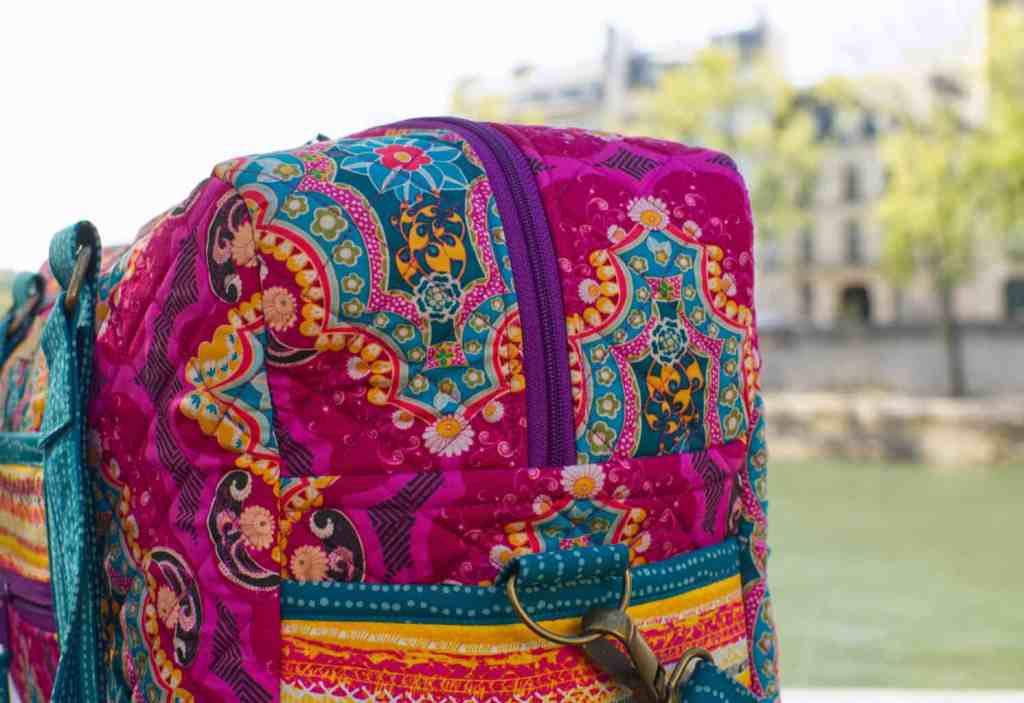
I chose some Art Gallery poplin that was just my colours – vivid pink, turquoise, all the warm happy colours! – along with some coordinating fabrics for the lining, pockets and straps. I also got most of the notions from Minerva too, but some things (like the plastic for the base of the bag, and a couple of bits to complete the matching set of hardware) I had to pick up from Sew Hot. Sew Hot also sell the ByAnnie polypro strapping by the metre (Minerva sells the pre-cut packs), if you happen to buy a pack that doesn’t quite contain enough for what you need (yeah, ask me how I know that ?).
I went for brass hardware because it coordinated better with my fabric, but LOOK AT THIS RAINBOW HARDWARE ?

I’m gonna figure out a way to get this into my sewing life ?
Here’s my collection of supplies for the Round Trip Duffle:

For the base of the bag (which at the start of construction was not very apparent where this was gonna go – yes I know on the base, but hopefully enclosed in some way?!), I bought some ‘stabiliser’ from Sew Hot which turned out to be plastic aida, basically. You know, the stuff they give you to do cross stitch on with a chunky blunt needle when you’re about five years old ?
The one thing that pushes up the cost of sewing this pattern is the ‘By Annie Soft & Stable’. It’s pretty pricey at around £25 per metre (145cm wide) ?, but you can’t skip it because it’s what gives the bag its shape. It is pretty spendy, but worth it.

It tends to come in pre-cut packets, though Minerva is currently selling it by the metre, too. I got the 0.9m x 1.45m precut pack, which wasn’t *quite* long enough to cut my two pieces from that the pattern asked for ? Determined not to be beaten, I cut one of the pieces and then pieced together the leftover scraps to create something big enough to cut the second piece from. The soft and stable is about 4 or 5mm thick, so I butted the ends up against each other and went over them with a zig-zag stitch. I’m pleased to say that this worked out perfectly! Sure, you’re left with a slightly indented ridge where the stitching is, but the pieces were to be quilted anyway so you wouldn’t notice it on the finished bag. It saved a lot of money, so it was a sacrifice I was willing to make!


If you don’t have a quilting ruler, I’d definitely recommend that you consider getting one for tackling larger projects like these – unless you have quick and easy ways of cutting out pieces that are 45″ x 22″ (yep, really ?). Even with my quilting ruler (which only goes up to 24 inches), it was hard. Then, you have to quilt those massive pieces too – I stuck with one-inch diamonds, which seemed like the easiest option, but it’s really quite a mission to wield pieces that big through the sewing machine unless you have loooooads of space – which I don’t. I’d love a sewing room, but all I got is the dining room table ??♀️ Even though I marked some lines for the diamonds (not all of them, because that would have taken FOR-EV-ERRRRR) eventually the lines go all wibbly and you have to get yourself back on track again. Oh, and quilting EATS thread! One teeny tiny 100m spool of Gutermann isn’t going to cut it – I speak from experience. It’s also kinda difficult to not get the bottom layer all baggy either – I pinned around the edges (and a few in the middle for good measure too) but this wasn’t really enough. Short of glueing it – and I feel that glue spray is indeed a thing? – I didn’t really have a better idea…


It took what felt like an absolute AGE, but I finished it. (Pro tip – a longer stitch length will get you to the end faster!)
Oh – know what else you’ll need? One of these:

A walking foot. It feeds both the top and the bottom layers of fabric, to stop them being tricksy and shifting around as you’re sewing.
After all that quilting, I thought I was ready to start sewing the bag, but nope ? The prep on this bag is chicken oriental, lemme tell ya. Once you’ve quilted those two beasts of fabric, you then have to cut them up into smaller pieces, and then you have to stitch around the edges of each one of those at 1/8” to ‘seal’ them. So I did that, which took another age. Then I could start the bag, right? Wrong.

After that, there was some interfacing to cut and fuse, and then some bias tape to make. Usually, I just cut the bias strips myself using my quilting ruler, but the instructions had you do it a particular method. I thought I’d give it a bash – turns out I shouldn’t have bothered. They have you cut a square, cut that diagonally in half, and then sew two edges together and cut strips from it. The first bit went well – I stitched my two triangles together to make a parallelogram, and it all went wrong from there. I cut my strips from the wrong edge – so ended up with just binding rather than bias binding. I did not cut my strips on the bias. This wouldn’t have happened if I’d have done it my own way ? I had no more fabric to re-cut another square from, so I carried on making the binding, thinking it would just have to stretch around the corners whether it liked it or not. Then, I sat down to my knitting (to distract myself and to lick my bias-wounds) and thought… did I really not have any more fabric? I hoard scraps like the husbeast hoards shiny things, so if there was anything left over I would have kept it. FOR SURE.
I’d only done half a row of knitting, but I got up and started rummaging around the fabric bin, just in case. YOU GUYS I HAD SOME. I FOUND IT ?? It was a weird shaped piece, but definitely enough to cut at least a few bias strips from. I got the cutting mat back out and set to work. In the end, I actually managed to cut enough strips to match the amount of the first lot ??

Incorrect tape on the left, the proper tape on the right ??♀️
Just when you think you’re gonna get started on the main bag, they have you start out with all the straps. And there are a LOT of them. I’m not even joking when I say it took me an entire morning – plus a bit – to get them all done. You first make the channels from your cotton fabric, then you have to thread the strapping/webbing through. Then topstitch. Then add the hardware, and stitch so many little supporting ‘X’s that you’ll go cross-eyed and will see them in your sleep. After my morning’s work though, I was pretty impressed with how good they looked – the hardware was really profesh ??


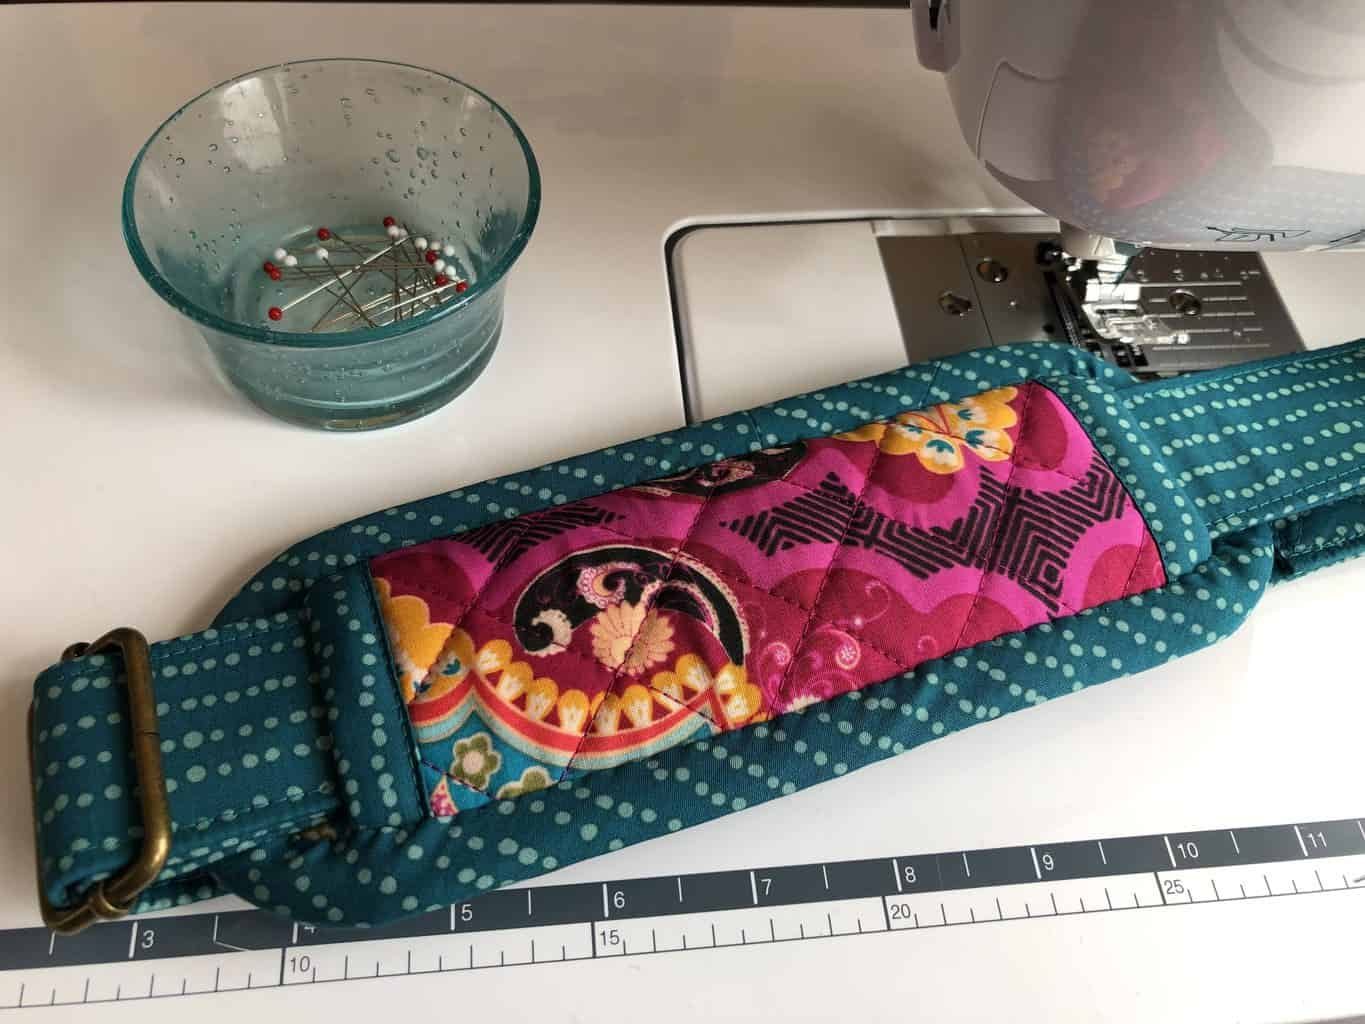
Just when I thought I couldn’t’ impress myself more (?) I made the little shoulder-pad-strap-thing. This really was next-level sewing for me – even though you have to sew THREE layers of the foam together, and then bind the edges. Mines a little off centre, but if I hadn’t pointed that out you wouldn’t know ??

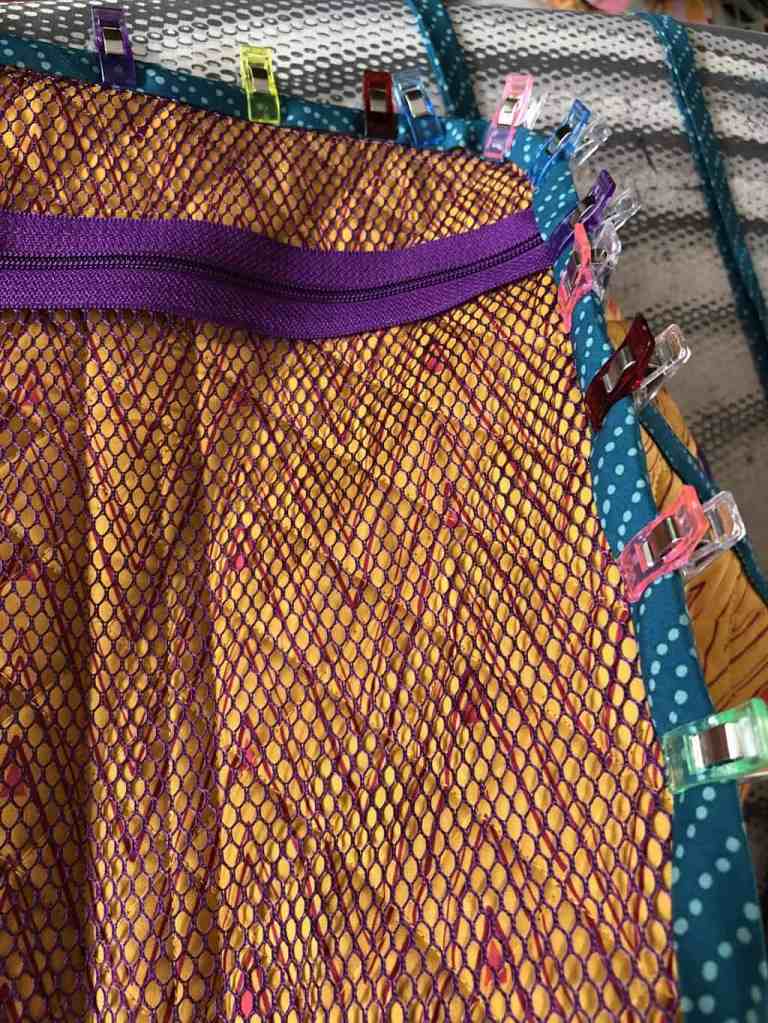
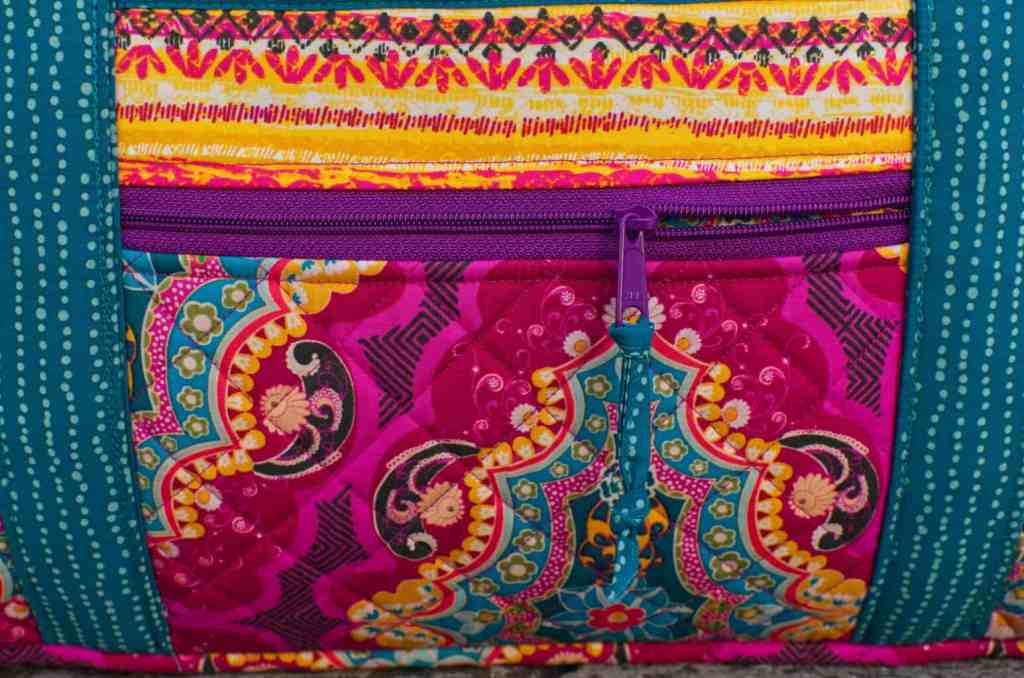
It’s a LONG time before you get to see the bag coming together. Your next step is to make the pockets, and layer these on top of their respective sides. I used the By Annie zips (which coordinate in colour with her mesh, which I’ve used on the inside pocket) but they are essentially a size 5 (I think) zips with wide tape. They’re classed as ‘purse zips’. They are double-slide zips, and although you need the full length of one for the main closure zip, you can buy an extra one and just cut it in half for the two pocket zips, using one slider for each half. That way you get nice matchy-matchy zips!

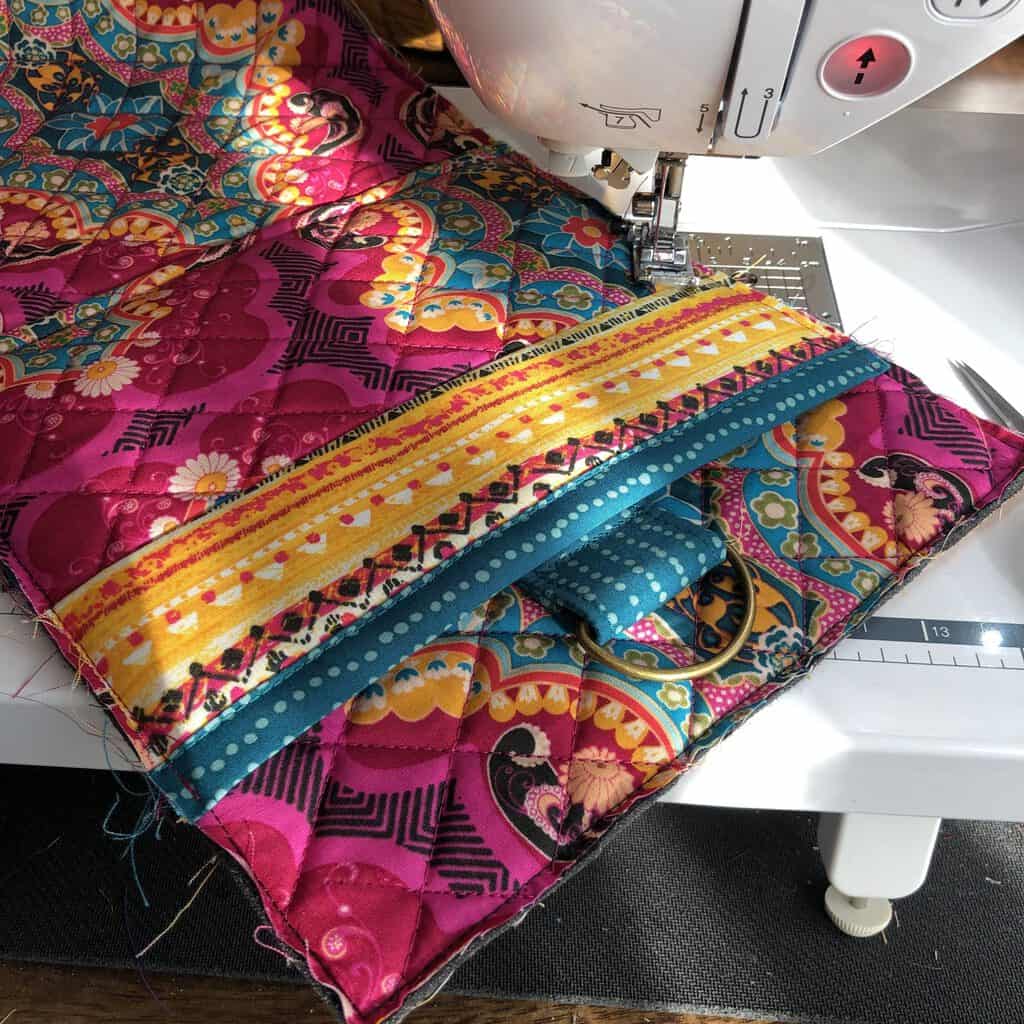
Once you’ve made all the pockets and layered these onto their sides, you’re sort of on the home straight. One of the last things you do before assembling the bag is sewing the handles on the front and back of the bag – you’re going to need a beefcake of a needle for this ?? Anything flimsy is just gonna snap straight away – you’re driving it through a couple of layers of foam, plus webbing, and probably at least 10 layers of fabric. I’m not even joking. Amazingly (and thankfully) my machine didn’t actually have *too* much drama with this – and I didn’t even use my walking foot (although that would probably have helped!).


The interior of the bag has one full-size mesh zipped pocket, and a slip pocket on the other side. Plus there’s a couple of pockets on the outside, so you’ve got plenty of space to store your things safely.

The centre zip panel is the next (and last) thing to get sewn. Even though the lining is sewn to the back of the main fabric (what you would call an underlining in dressmaking terms, rather than a separate lining shell) the zip is installed in such a way that there are no raw edges showing on the inside (which I suspect is why you need one of the wider purse zippers rather than a regular dress zip, to cover the seam allowance). You make the zip panel as a big squished ‘O’ shape, and then this fits around the rectangular shape of the front and back. When you’re trimming away the excess fabric, don’t do what I did:

Yep, I cut the zip ? I bandaged him up with some matching thread and thankfully he survived – but just go careful, yeah?
You’re made to wait until the absolute last minute before you see this bag as a whole – you sew the middle O shaped panel right sides together with the front and back panels so that you’ve got raw edges showing on the inside of the bag. You then bind these, to make them look nice and tidy – one side with the machine, and then I went round and hand sewed the second side down. I don’t actually mind a bit of hand sewing, it’s kind of therapeutic ☺️


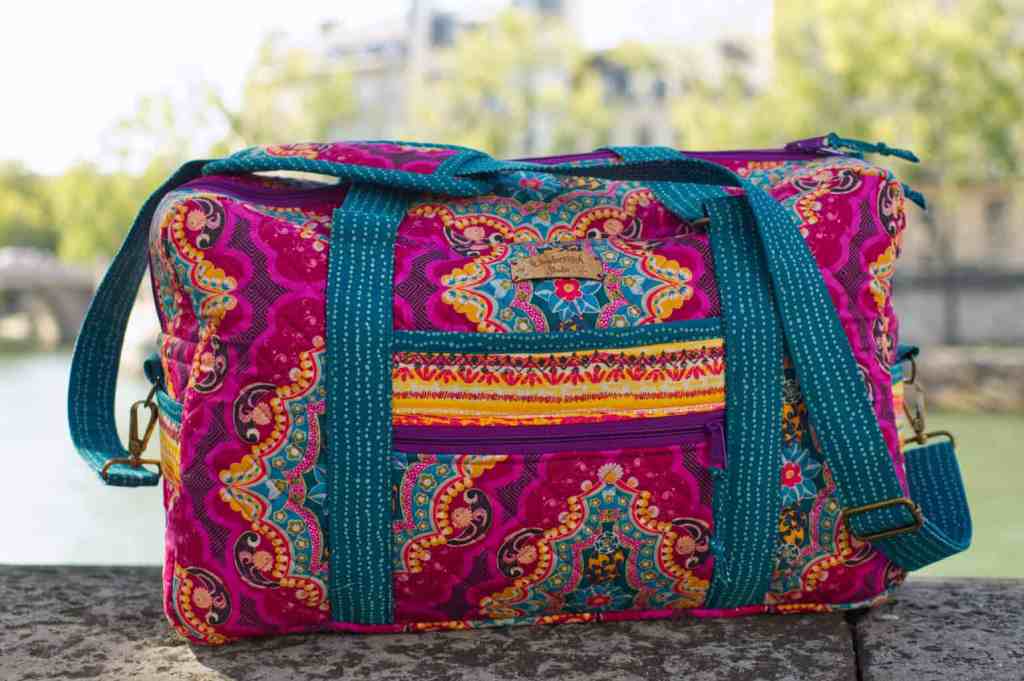
And then I added my finishing touch ??

I bought some cork leather tags from an Etsy seller to use on things for our own Etsy store – I couldn’t wait to try them out so this duffle bag received the first one! Sadly, I caught the label on something as I stepped off the Eurostar and ripped one of the corners ? Next time, I’ll trim off the holes and sew around the edges of the label – those holes seem to be the weak point ?
This bag was definitely worth all of the time and effort – I love it! By Annie patterns read more like a checklist than a traditional ‘instructional’ clothing pattern – the whole bag is broken down into bite-size steps (and I MEAN bite-sized), which makes it feel a lot less daunting. Especially if you’ve never made anything like this before. It’s like – bind this, stitch this, press this. Super small steps. And I like that you get tick boxes as well so that you can easily see where you got up to last time you were sewing it.
I actually really, really enjoyed making this bag, and feel like bag making could become addictive. The hardware really makes it look professional, despite it being super easy to install. I can see that it’s a really slippery slope into different fabrics like leather, and more hardware (because more is more, right?) ?

Sewing-wise, it took me a whole day, plus a few hours. That’s not included the cutting time (which was substantial) or the quilting time, (which was truly epic). I reckon maybe three days, all in for the bag.
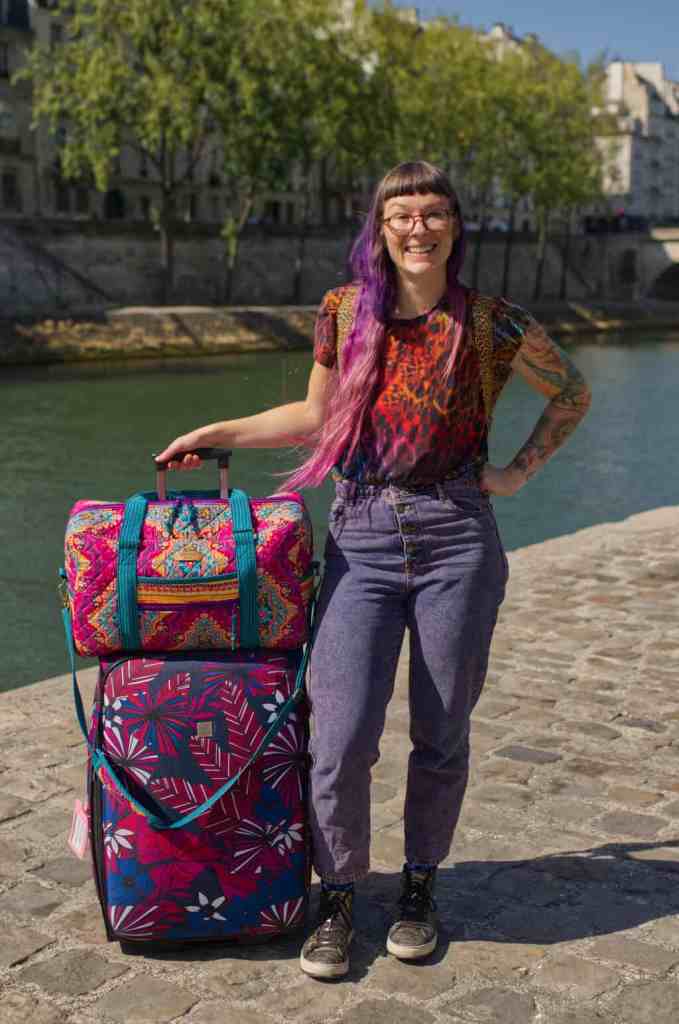
The bag came to Paris with me and held up really well! The best thing for me is that trolley sleeve – mind blowing! I know that this is a thing with other luggage, but I’ve never had a bag that has this. I remember walking in New York with our suitcases and having to stop every now and then to rescue the bag that was balancing precariously on the top of the suitcase and threatening to fall off fairly frequently… ?

I think I can safely say that you should expect to see more bag making from me in the future ?
What I’m also thinking of dabbling in, not that I have time for this at all, is quilting – BUT, starting out with a jelly roll quilt so I don’t really have to spend too much time cutting! (Is that cheating? ?)
This pattern, in particular, caught my eye ?

And so did this roll… look at those colours! ?

Perhaps a project for the Christmas break?! ?
Talking of Christmas, we ain’t far off. Winter cycling is in full swing, and despite it being cold, it’s actually quite calming. The dark gives the world a whole other vibe. I’ve changed my route slightly to avoid a busy road and discovered a path that has actually made my ride home from work 100% more enjoyable – through the Royal Naval College in Greenwich, which looks totes majestic at night:

And which also happens to be the filming location for Thor: The Dark World…
…and many other famous films. Plus you get a really beautiful view of Canary Wharf all lit up, and for a minute you can lose yourself looking at it all and taking it in. I try not to drift too much though, so I don’t mow down the pedestrians ???♀️
This bag also featured on the Minerva Blogger Network, and you can see the post (and get links to all the materials used) here.








Coming to you next week: I’ve been experimenting with my Cricut and some iron-on vinyl, and I LOVE the results! Subscribe below to have the post drop straight into your inbox! ??


26 responses to “Excess Baggage”
Wow – that is a real labour of love! I love the bag and I’m very impressed, with your patience and dedication!
LikeLike
Thanks Gill! It was quite a project, that’s for sure 🙂 But I’m really pleased with how it turned out and I love the fabrics!
LikeLike
Holy crap, so much work has gone into this bag! It was totally worth it ?
LikeLike
Haha, yep! It was a real beast, but it sure was worth it. I definitely recommend you give it a go 😉
LikeLike
The bag is truly beautiful but man is the haberdashery spendy, I would have been put off by £25 for the soft & stable, I wonder if it’s as expensive in the States? I’ve used car headliner in the past for firming up bags which I picked up at my local fabric shop for next to nothing, it’s around £7 or £8 on Amazon. but I can’t say whether it has the exact same functions as I’ve never used the soft & stable. You’re right about bag making though it is addictive, I’ve made a Necessary Clutch Wallet & a geobag, (look it up – free pattern by PattyDoo, it’ll blow your mind!), this weekend & have plans for more to come. I think it’s because you don’t have to bugger about with fit!
LikeLike
I think the Soft & Stable is slightly cheaper in the states, the same as their quilting cottons are cheaper than ours. Because it’s an imported product that’ll put the price up too Do you mean car headliner as in the leathery stuff that you see when you look up inside a car? Or is there foam behind that? I think probably any sort of squishy foam would do, Bosal In-R-Form (or something like that) seems to be a worthy alternative but I’ve not done a price/meterage comparison yet. If it’s cheaper I might get some just to see how it compares. OMG – the geobag! That pattern is EPIC! I love it! I love the leather samples they have on the website. Is the bag lined? No wonder you’ve made so many!
LikeLike
Wow, that bag is amazing!
Try curved safety pins all over the middle of your project when quilting; they’re cheap and easy to use and it really helps to avoid the ‘bagginess’. :o)
LikeLike
Oooh thank you Tania – I had no idea that curved safety pins were a thing!! :O Thanks for the tip – I’ll definitely use this!
LikeLike
That looks gorgeous! I love the colours. I’m making my first bag at the moment out of faux leather and although it’s got a bit sweary at times, I’m enjoying making something different ?
LikeLike
Ahh thank you Romy! 🙂 Ooh yeah faux leather is a different sort of beast – hopefully it’s going okay though?! Which bag pattern are you using?
LikeLike
Jeez Louise! It’s gorgeous, but I don’t get the whole bag thing. I’ve made a few, [much simpler] and they get used a lot, but I can’t say I enjoyed it. And quilting is the devil’s own…
Love that rainbow hardware though, very stoosh!
Try Empress Mills for a great selection of waddings and battings, I bet you can find something the same for a lot less. I think stuff aimed only at quilters tends to push up prices.
LikeLike
I think I enjoyed everything about this bag EXCEPT the quilting lol. It will definitely get used on my (infrequent) holidays though!
I’ve used Empress Mills before for interfacing I think, so I’ll check out what sort of wadding-y stuff they have. You’re right, I think the dedicated ‘quilting’ stuff bumps the price up a LOT
LikeLike
You have some staying power my girlie x but the result is more than fabulous, I love it. No one else will ever have one the same, just the reason we spend hours sewing and cutting away to be just that little bit different, and that’s just who you are one unique lady with her own style and a matching hubby to guide you both through love and lifestyle mysteries.
Love it , take care , cindy xx
LikeLike
Hi Cindy!
Thank you for your lovely comments 🙂 You’re so right, we are creating our own unique things when we get the needle and thread out… and I love it.
Hope you are well 🙂
LikeLike
You did a wonderful job of this bag. You should be very proud of yourself! Happy sewing!
LikeLike
Thank you Susan! I actually really do love it, and would happily make another… though I’m not sure I travel often enough to warrant a second! 😦
LikeLike
Your bag is totally awesome. This pattern is on my to do list. Bag making is so addictive; it’s my favourite thing to do. I’m running out of places to stuff all my bags, so I thought if I made a big one, I could put some smaller ones inside. That’s my excuse, anyway. I’ll head over to your Minerva blog to get all the deets.
I love Art Gallery fabrics, both the jerseys and the wovens. I have a set of that gorgeous rainbow hardware for my next planned bag, but have now chosen blue fabric, so it won’t work with it. I’ll just have to buy more fabric, lol.
I’ve tried that parallelogram binding method, which i s supposed to be superior to our normal bias making method. I failed both times. For me, my usual method is quicker, as I know what I’m doing and it works.
I also piece foam stabilisers. I’ve tried several and my favourite so far is Bosal-in-R-Form, which comes in both single and double sided fusible. I bought the double sided once by mistake and got myself in a right muddle.
As for cutting large pieces with short rulers, I bought a 1m long metal ruler from Wicks, dead cheap. I mark with that, then cut with my rotary cutter and quilting ruler. I find it helps me to be accurate
I use 505 adhesive spray.which is temporary, washes out, and is repositional. A quick tip is to spray it onto the batting/stabiliser, so no marks transfer to the fabric, as wet spots can mark. I leave it for a few seconds after spraying to dry off a bit. It stinks, so do it outside if possible, or have some ventilation. Also, keep it well away from your sewing machine 🙂
I look forward to seeing your first quilt. I love jelly rolls, but you don’t need to worry about all the cutting with your Cricut. It can do the work for you, although can be a bit wasteful of fabric.
LikeLike
Thank you Bren! 💜 I really do love this bag – I’d be very happy to make more, but I don’t think we travel often enough to warrant making them 🤔😂 I love your plan of making one big bag to store all the smaller bags you’ve made!! 😆
I’ve not used Art Gallery jersey, but I’ve got my eye on some to make a dress with so it’ll be hitting my sewing machine at some point soon no doubt. And YES, you absolutely now need to buy more fabric to coordinate with the rainbow hardware – otherwise it’s just a waste, right?
I’m glad I’m not the only one that doesn’t like the weird bias binding cutting method… I know for SURE I would not have got it wrong had I have just done it my way!! Do you think the fusible stabiliser is better than the non-fusible? I’ve not used the fusible, does it cause wrinkles?
What a FABULOUS idea about getting the metre ruler… I’m gonna have to do that I think because it was bloody hard to mark out such large pieces 😫
I’m still planning that quilt, and saving inspiration on social media… but it’s very much ‘too many ideas too little time’ for me at the moment!!
LikeLike
I love this bag, but just reading this blog post made me feel exhausted and there’s no way I’m ever actually sewing a bag ?
LikeLike
Haha, it WAS worth it I promise, and it’s kind of addictive once you’ve made the first one 😂 Go onnnnnnn try it lol 😆
LikeLike
Great job on that bag, it’s beautiful! Quilting tip – that little bar sticking out of the walking foot is a guide. Mark the first line, sew along the marking, then position the foot of the bar on the sewn line, whatever distance away you want the next line. The bar can be moved from side to side as needed. Hope that makes sense.
LikeLike
Thanks Nancy! 💜 I tried to use that little bar as a guide… but it kept shifting! 😫 Any tips on how to stop it from moving around?!
LikeLike
Hi Sarah, yes the headliner is the foam behind the leathery stuff & yes the Geo-bag is lined & is really simple to make, the instructions & video tutorial are in German but very easy to get the gist.
LikeLike
Ahh okay I see, I was getting a bit confused thinking it was going to be the leathery stuff 😂😂😂 The Geo Bag looks really cool, I think I might have to add this one to the list!
LikeLike
The only fusible I’ve found that can go wrinkly is fusible fleece. Sometimes it does and sometimes it doesn’t and I don’t know what causes it.
LikeLike
Ooh that’s interesting – do pieces within the same brand/same chunk of fabric crease randomly too? I wonder if it’s particularly fussy about how long you hold the iron on it for? Or whether steam is used? Or whether a gust of wind blew outside while you were pressing it 🤷🏻♀️😂
LikeLike