This is a sponsored conversation written by me on behalf of Cricut. The opinions and text are all mine.
https://influencers.tapinfluence.com/assets/cogs/core-v4.js var ts=document.getElementById(‘ti-pixel-tracker’); var axel = Math.random() + “”; var num = axel * 1000000000000000000; var ti=document.createElement(“img”); ti.style.display=”none”; ti.src=”https://tracking.tapinfluence.com/trk/GbT3N/7sN4k/p.png?p=V4bGt” + String.fromCharCode(38) + “i=ZJamq” + String.fromCharCode(38) + “ord=”+ num + String.fromCharCode(38) + “s=” + encodeURIComponent(document.referrer); ts.parentNode.replaceChild(ti,ts); JSON.stringify({“program_id”:”a5516c1a-de27-11e9-9665-0604a9fe185a”,”post_id”:”1e5a3784-df01-11e9-b28f-0604a9fe185a”});
Hi guys!
Remember a few weeks ago I posted that I’d just got a Cricut Explore Air 2? (Go read here if you missed that!) Well, Cricut also gave me an EasyPress 2 to use in conjunction with it, and I’ve been having some fun ?

The EasyPress 2 is, essentially, a really big iron. As in, it’s a metal plate that gets hot. But it’s much fancier than an iron and way better suited for applying iron-on motifs and designs to things than a regular household iron would be. It comes in three different sizes, so you don’t have to use a massive plate if you’re only sticking something small – and likewise, you can use the biggest size for a T-shirt or bag rather than having to move around a tiny plate ten times. I got the biggest size, 10 x 12 inches because I knew I would want to use larger motifs on T-shirts and tops.
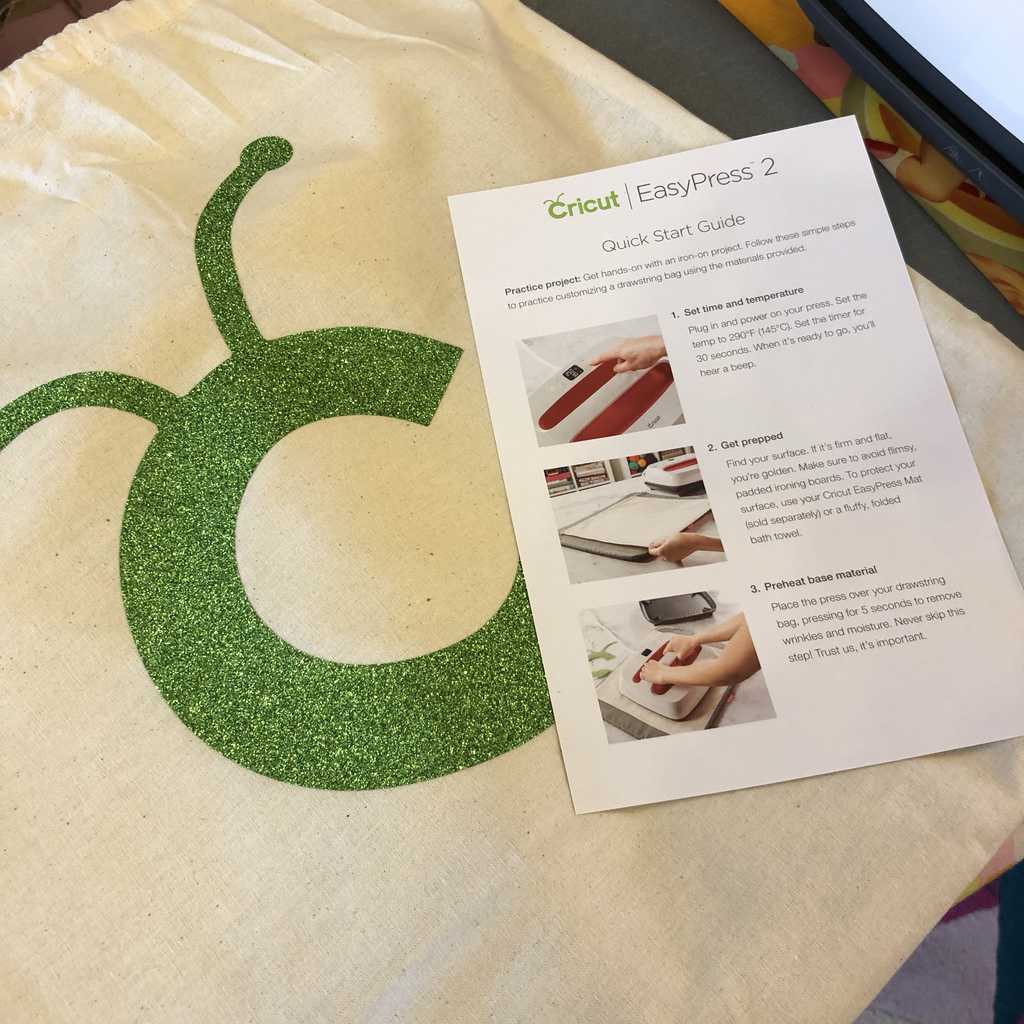
What I loved about the Explore Air 2 was that they gave you a project in the box to get you started – and I was pleased to see that the EasyPress followed this same line too. They give you a cotton drawstring bag to keep your press in (once it’s cooled down, obvs) and a glittery, lime green ‘C’ to iron on to the bag as a practice run. I feel like a bit of a fangirl saying this again because I said it about the Explore, but this really is SUCH an awesome way to get you familiar with the machine. I wish other companies would do this.
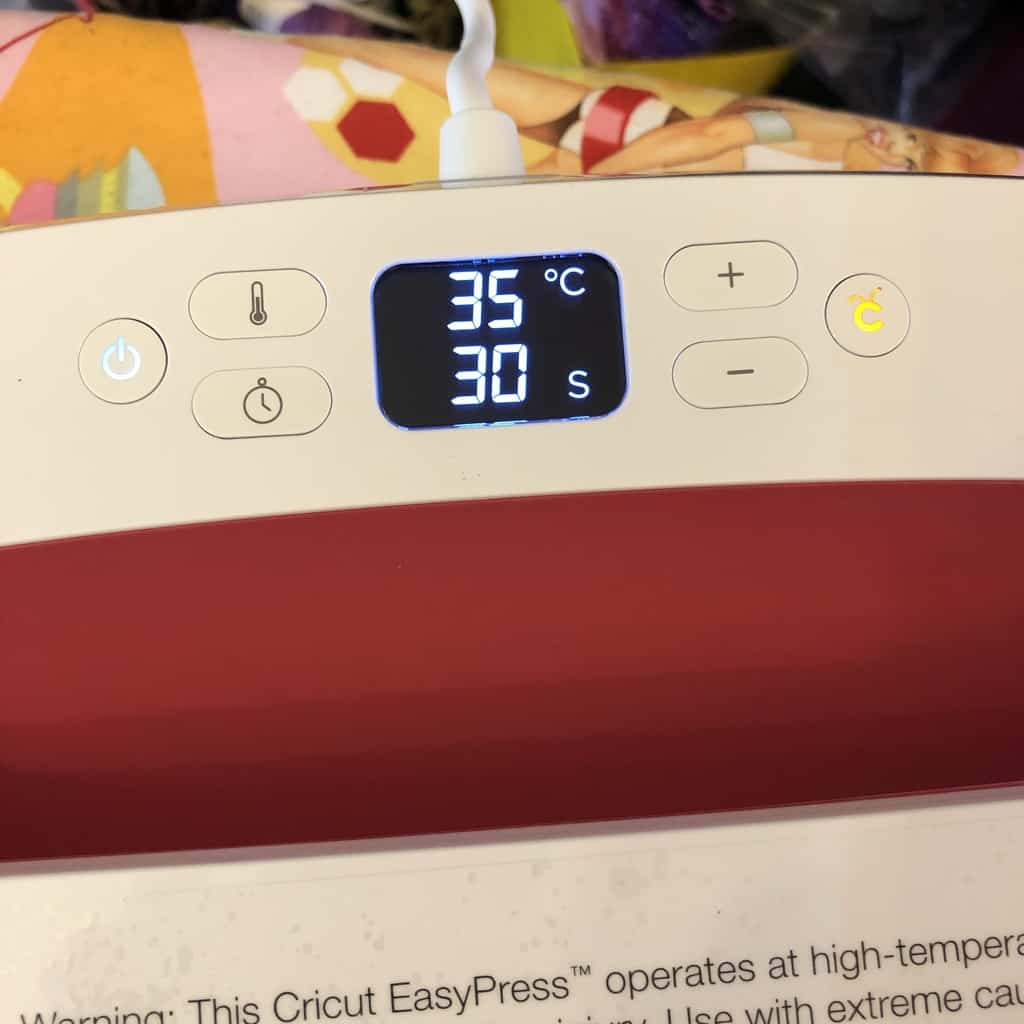
The EasyPress has a digital display showing you the current temperature and timer settings. It’s seriously easy to adjust the temperature, and you set the timer to the recommended length of time so that you don’t burn through your vinyl, material and/or ironing board.
Speaking of ironing boards – the guidebook specifically mentions flimsy ironing boards as not being a suitable surface for your iron-on application. Now, I’m not quite sure why this is (yet – I might figure it out after a few projects!) but I don’t consider my ironing board to be ‘flimsy’ (it’s a Brabantia one, it cost a bloody fortune and is proper sturdy) so I went with it and it seemed to be fine… ??♀️
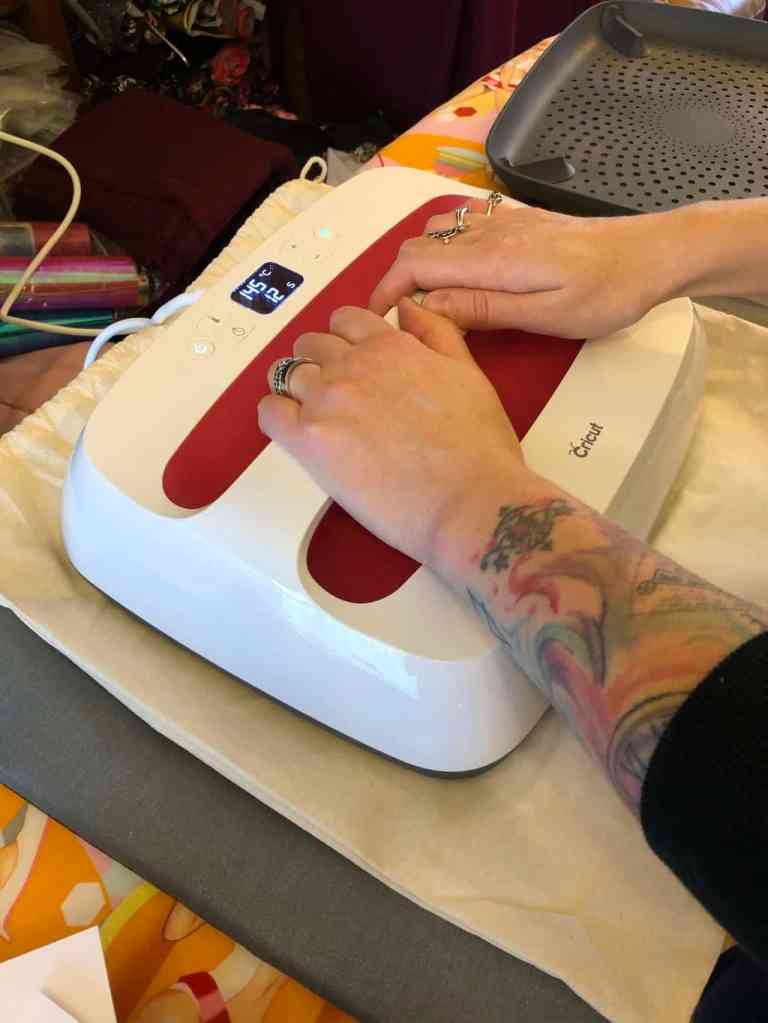
For the first little straight-out-of-the-box project, you’re told the EasyPress settings to use, and instructions as to the best method of application. You have to press your drawstring bag first, to remove wrinkles and get it nice and flat (and something to do with the pre-heating of the material helps with the adhesive process – you’re specifically told NOT to skip this!), and then place your little ‘C’ logo on the (now warm) bag. Then you’re ready for some EasyPress action – you pick it up off its special stand, and press (EasyPress!) down lightly. Start the timer, and wait for the beep that signals the time’s up. Simples. For good measure, you then flip over your item and press it from the back for half the time that you did the front.

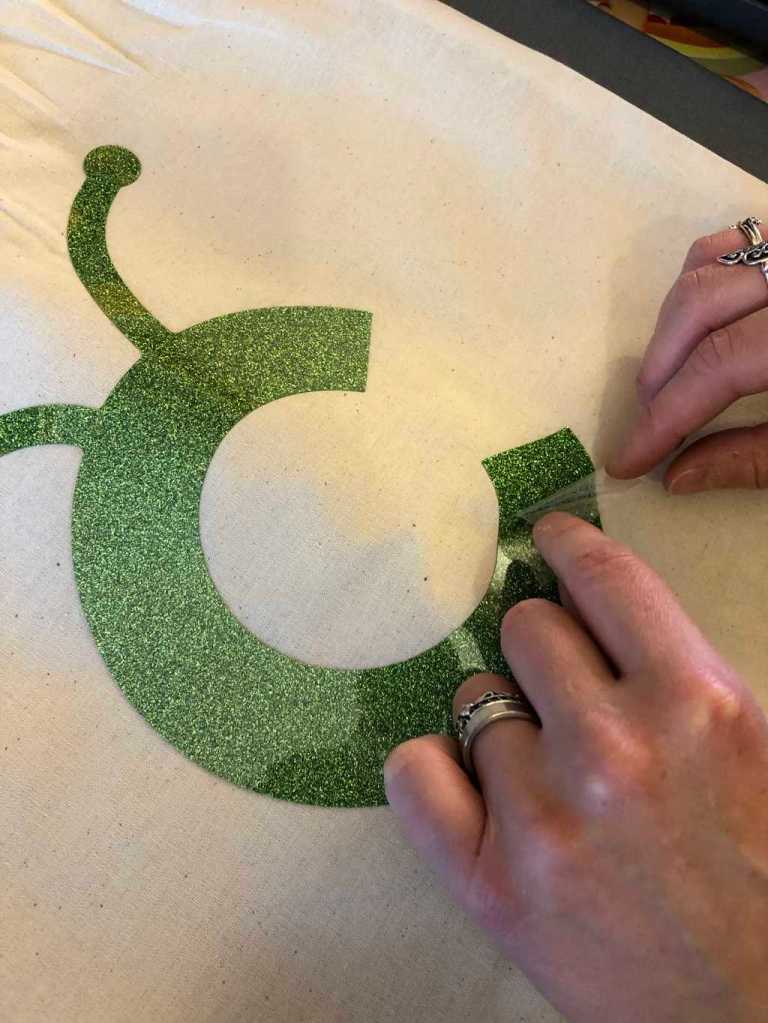
The vinyl you use will state ‘warm peel’ or ‘cold peel’ – this indicates whether you peel back the clear layer while it’s still warm, or after it’s cooled. The green C said warm, so I gave it a few seconds to cool a little and then started to peel it back. I was really nervous that it was going to pull the green away with it, but turns out these worries were unfounded – it stayed very much attached to the bag ??
Encouraged by the success of this first attempt, but not yet feeling confident enough to tackle my ‘proper’ project, I browsed the Cricut Design Space for a small motif that I could cut using my Explore Air 2, and then apply somewhere else on my drawstring bag.

I found a cute little cat which was designed for a phone stand, but I saw him poking his cute little cat-face out from the base of my bag. He was chosen ?
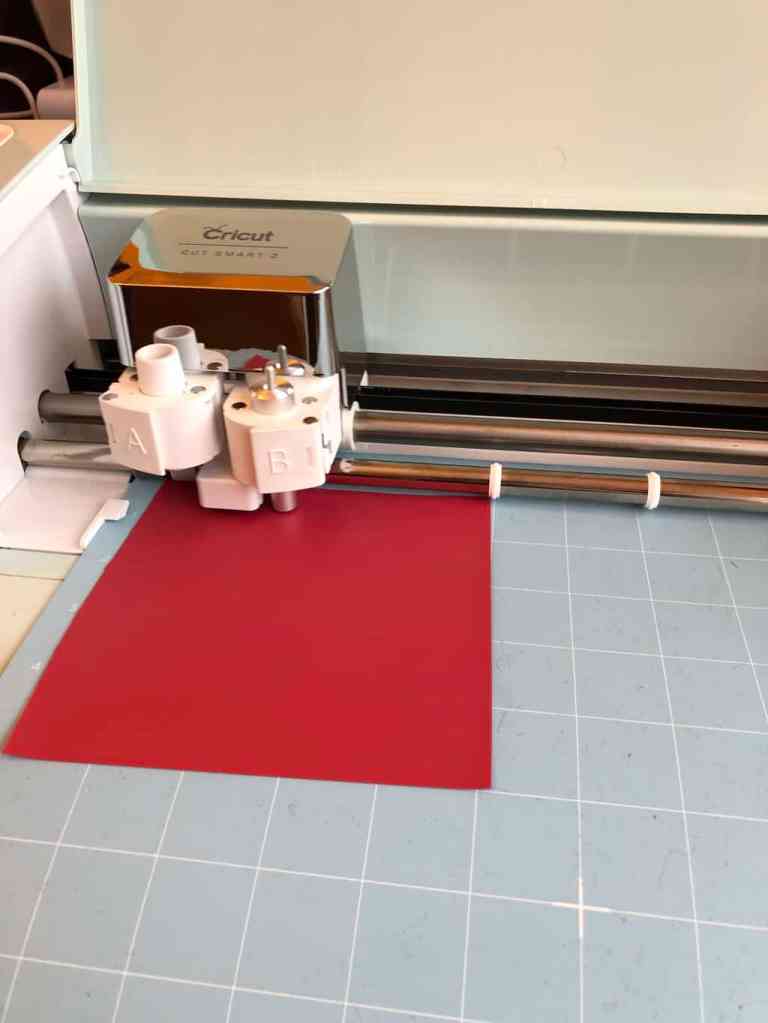
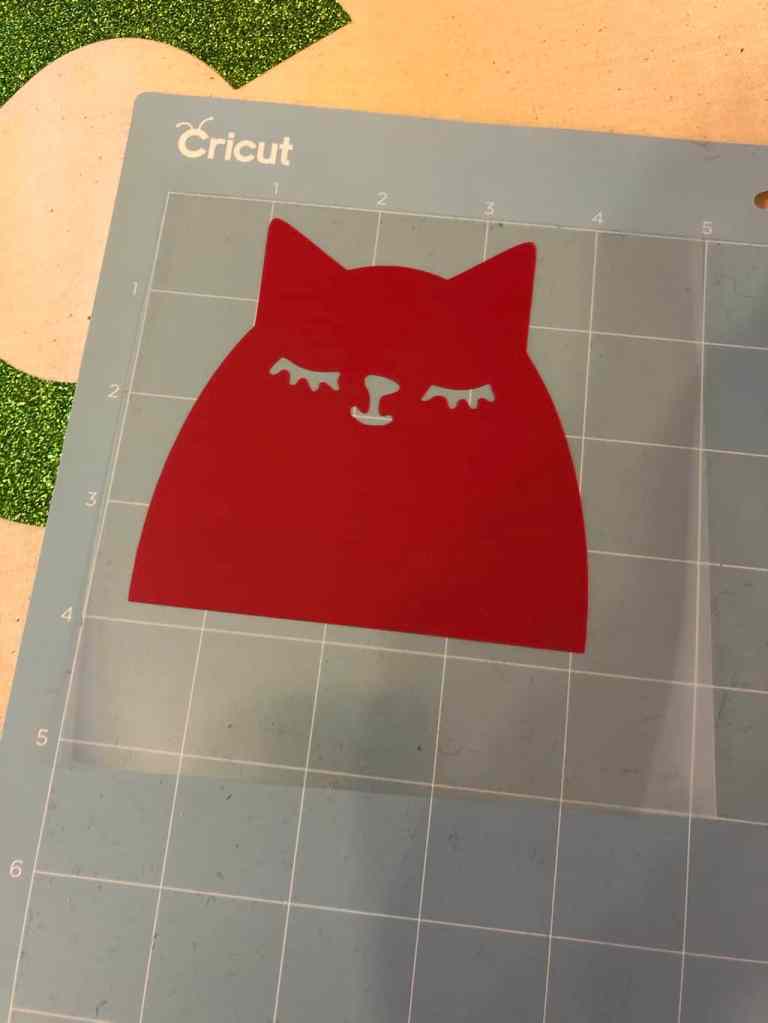
The design file came with feet – but since I didn’t need these I just deleted them from the on-screen canvas. I soon discovered from the prompts on the screen that if you’re cutting a design onto iron-on, you have to mirror the design. This is because the iron-on goes right side down onto the mat, rather than right side up like standard vinyl. The backing sheet of vinyl is on the back (funnily enough), but for iron on it’s on the front. It’s a little weird to get your head around the first time, but it’ll soon be second nature.

So the cat got mirrored, and the vinyl went onto the mat right side down. I remembered to set the machine to ‘iron-on’, not wanting to make the same mistake as when I first used the machine and forgot to change it from cardstock to vinyl and ended up with a right shambles ? He’s cut in about a minute, and then I’m peeling away the bits that shouldn’t be there (called ‘weeding’ in the vinyl-cutting world). Because it’s such a simple design, this takes about 30 seconds ?? (Unlike the feathers I cut for the outside of my sewing machine on my last post, which took about an hour ?)
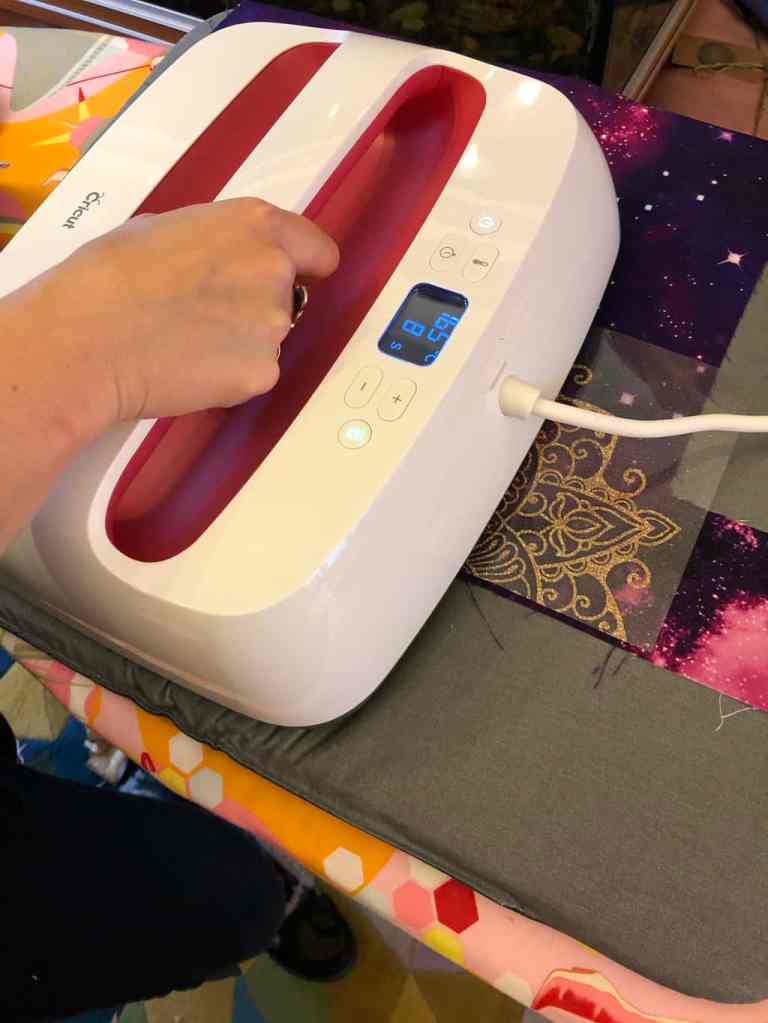
 I then realise that I don’t know which settings to use on the EasyPress – so I Google it. Turns out there’s a super handy tool online (the Cricut ‘heat guide’) where you input the type of vinyl you’re using, the fabric that it’s going on and the equipment you’re using, and it will tell you which settings you should use. Just pay attention to whether the temperature is in Celsius or Fahrenheit though, as I almost set my press to about 300 degrees centigrade (I did think woah that’s hot ? before common sense kicked in, lol) I’m not even sure it would go that hot, but still ???
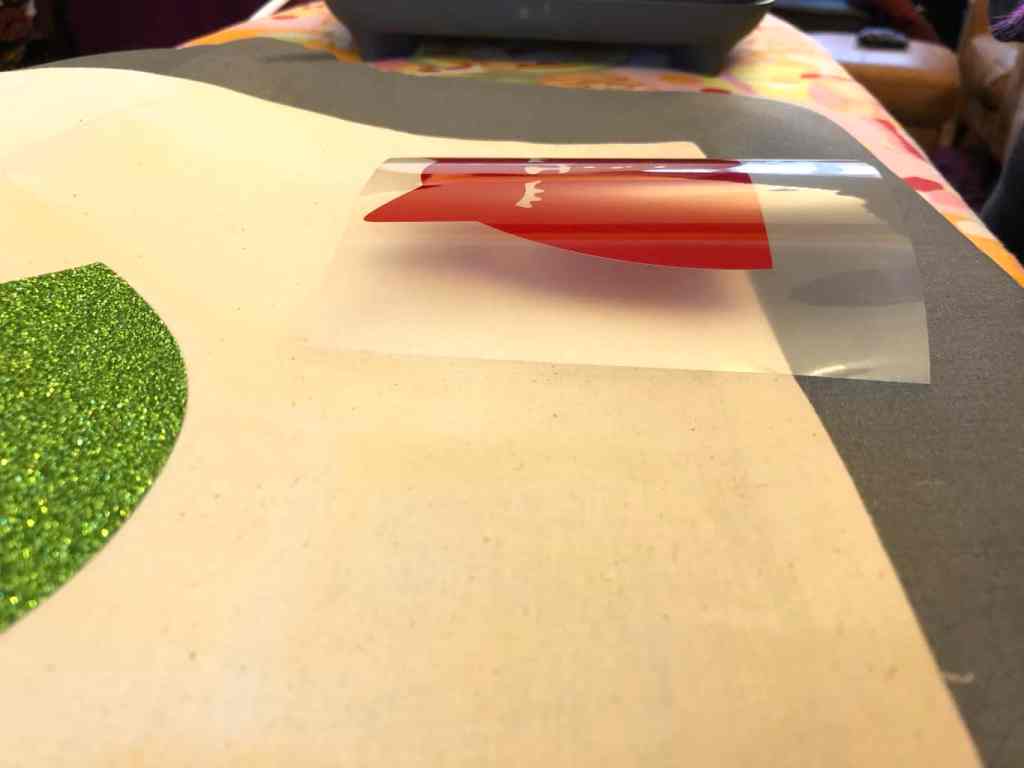
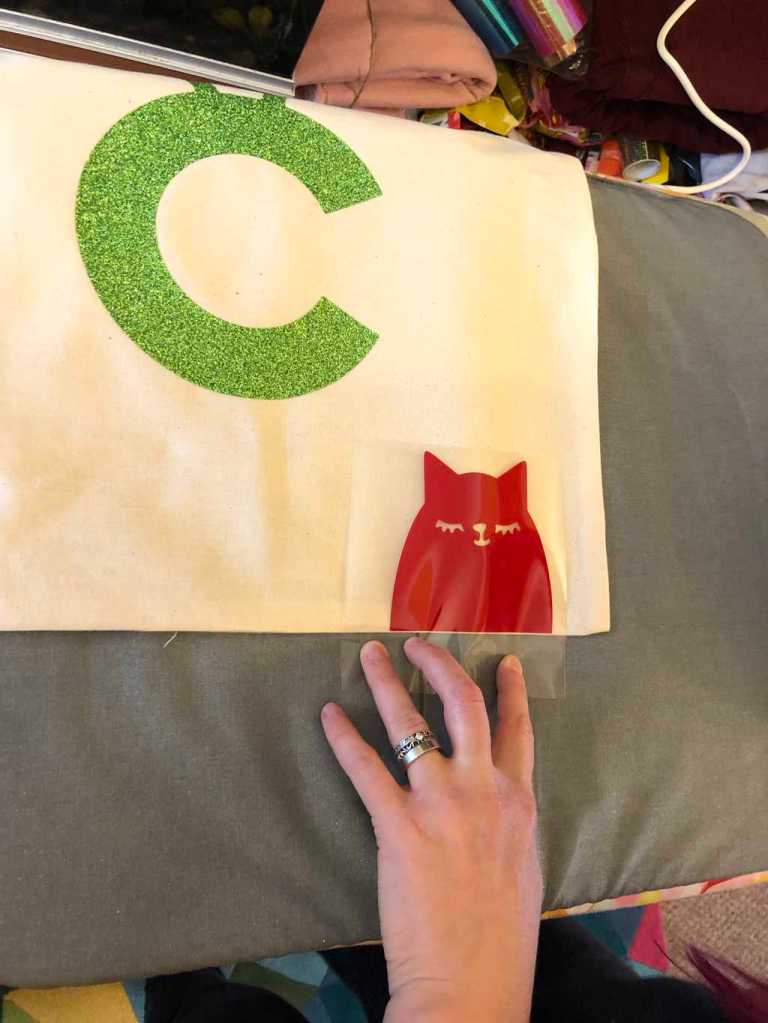
The backing sheet was a little bit curly after I peeled it off my mat, and I couldn’t get it flat on the bag before putting the press on it. I was worried that it would shift as I lowered the EasyPress down onto it, and obviously, you don’t really want to go putting your hands under there to hold it and whip them out at the last minute. Because burns. I rolled the vinyl the other way to try and get rid of the curve, which helped a little.
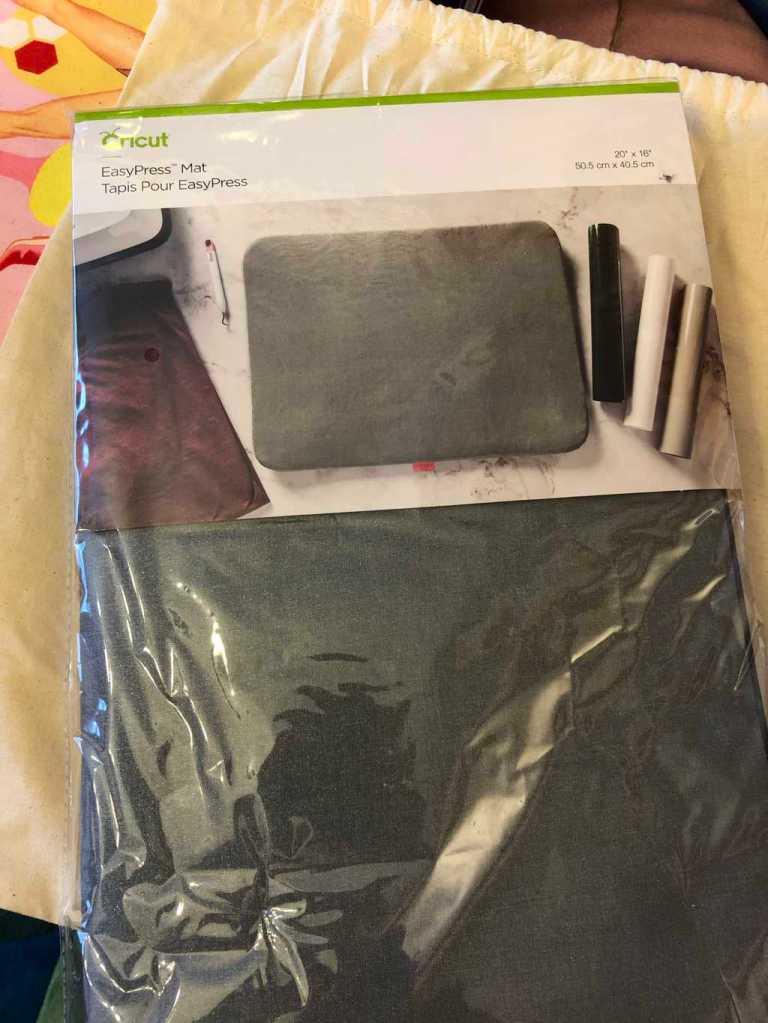
I used my EasyPress mat underneath my bag, but their literature also states that you can use a towel – so don’t panic if you don’t have the mat. I did find the mat to be considerably less faff than having to get a towel every time though, and it was easy to fold up and store away.
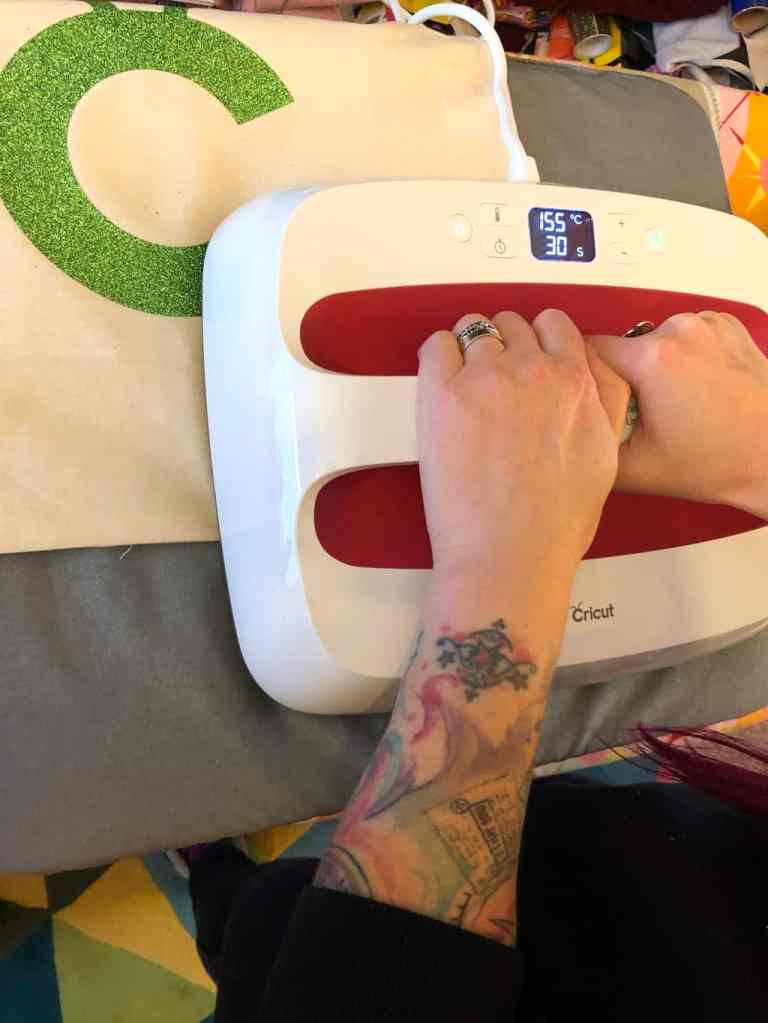
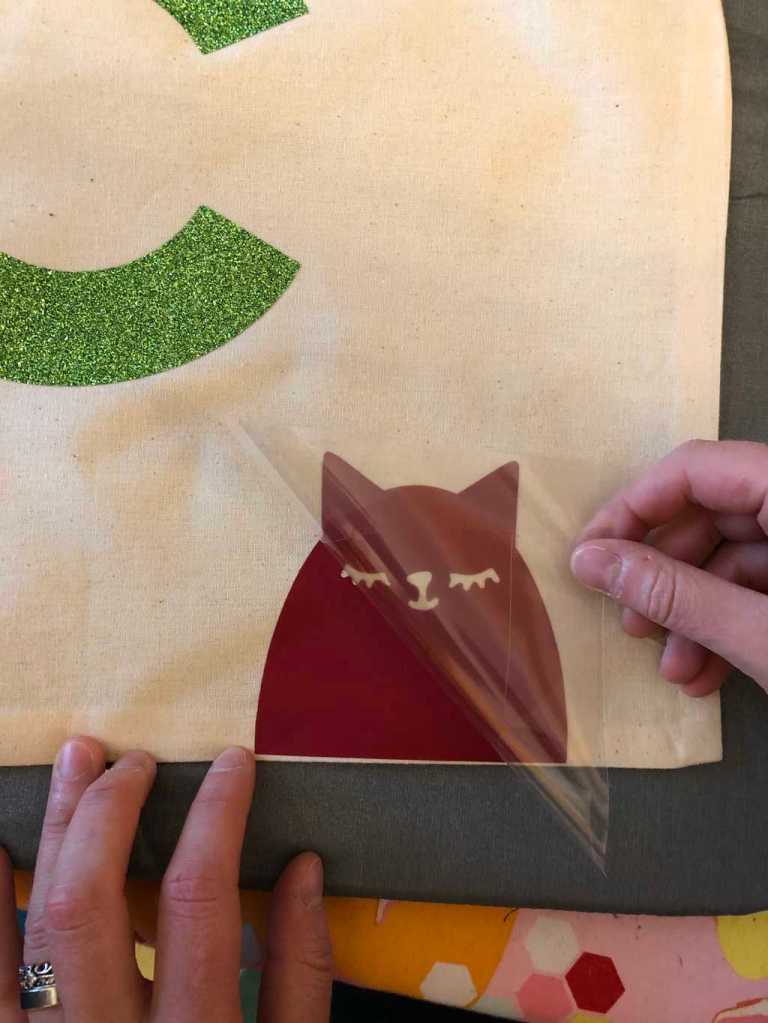
I was a little worried when pressing the cat about putting the hot surface of the EasyPress directly onto my green vinyl that I applied previously – would it melt it?! I figured that there was only one way to find out. I can report that it didn’t melt it, or even affect it in any way. Seems like this stuff is pretty bulletproof! (Or at least it is, if you follow the instructions ?)
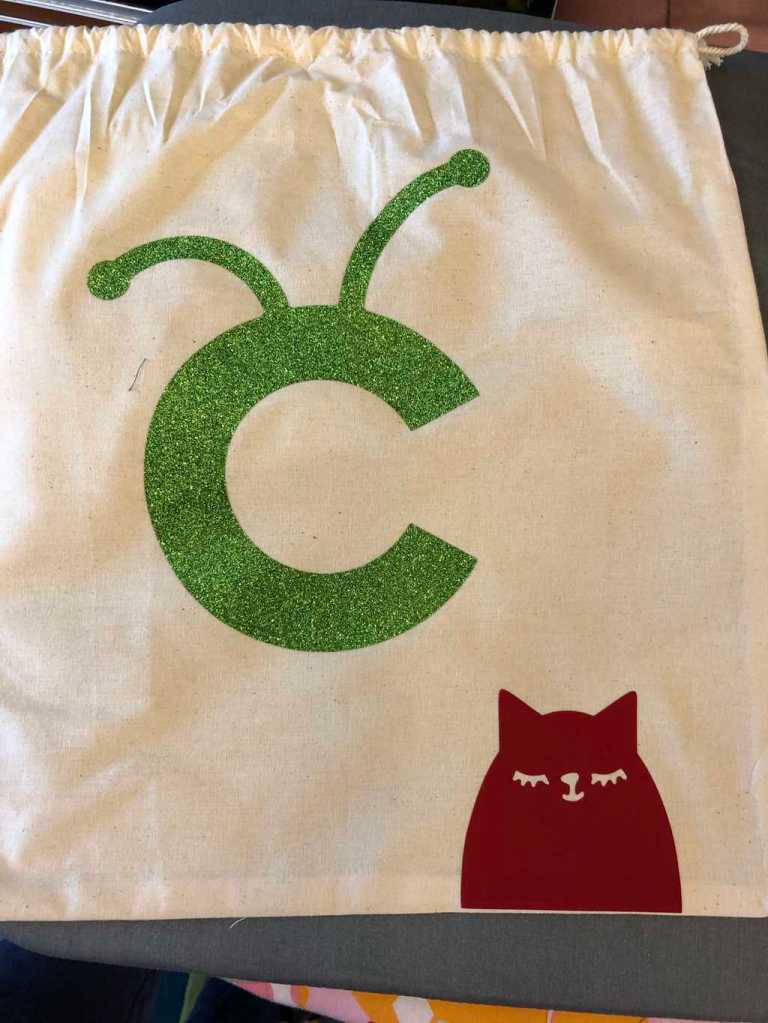
The cat went on successfully, and now I felt ready to tackle the real deal. My piece de resistance.
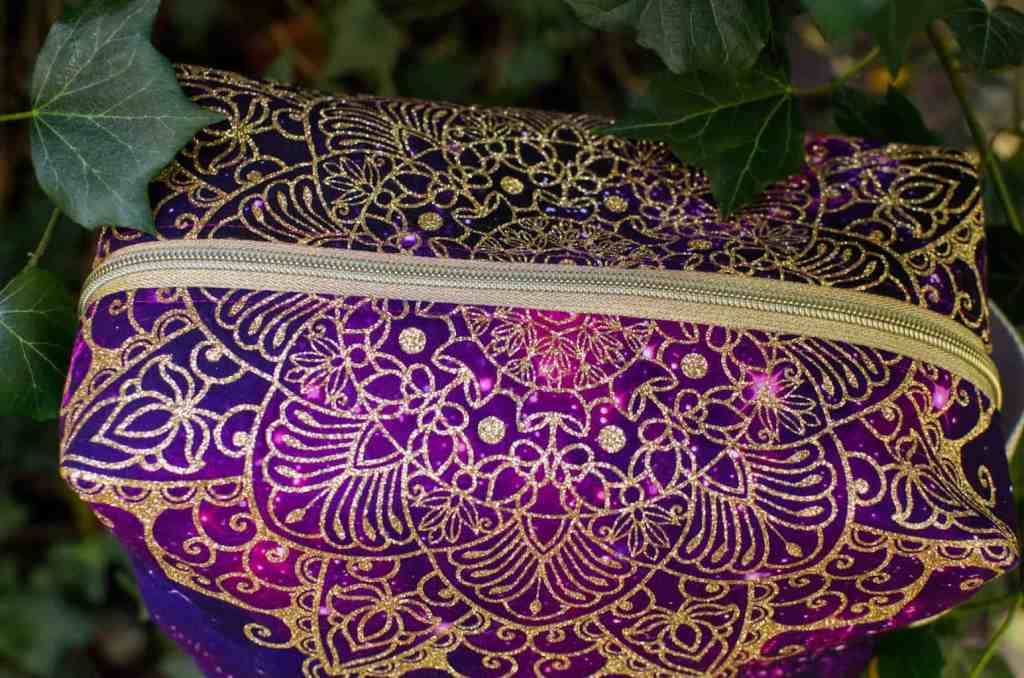
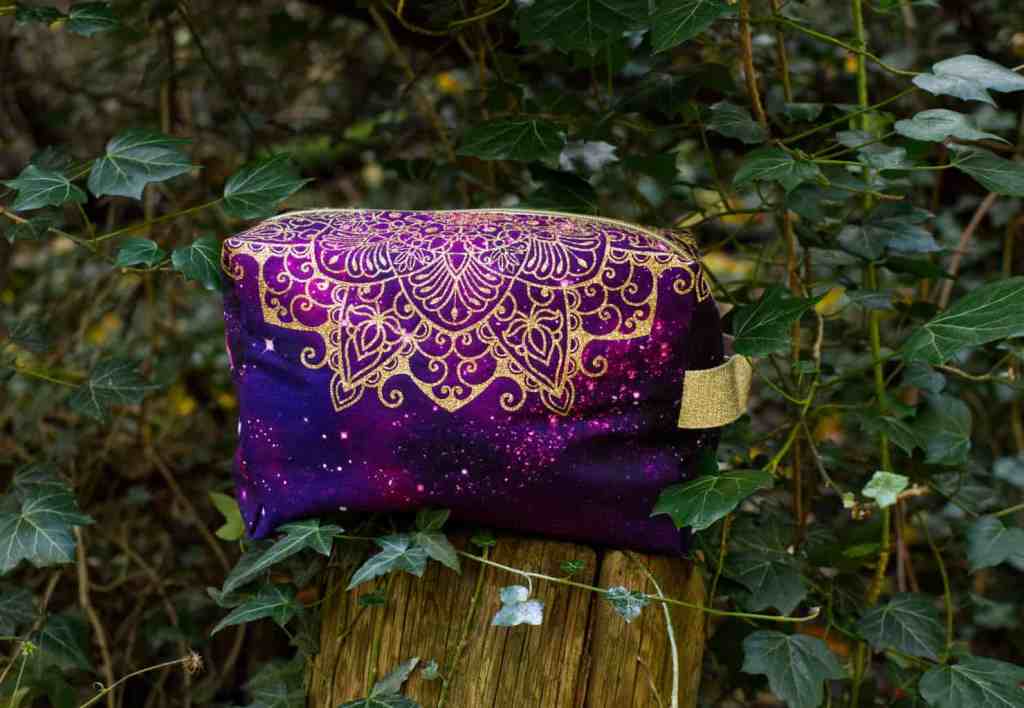
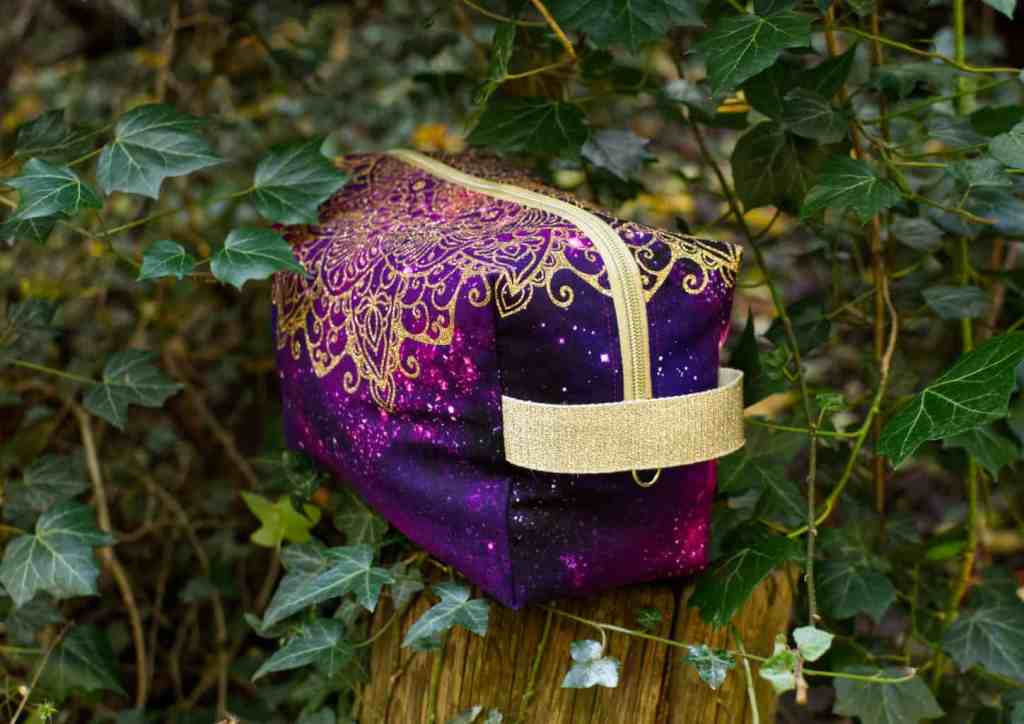
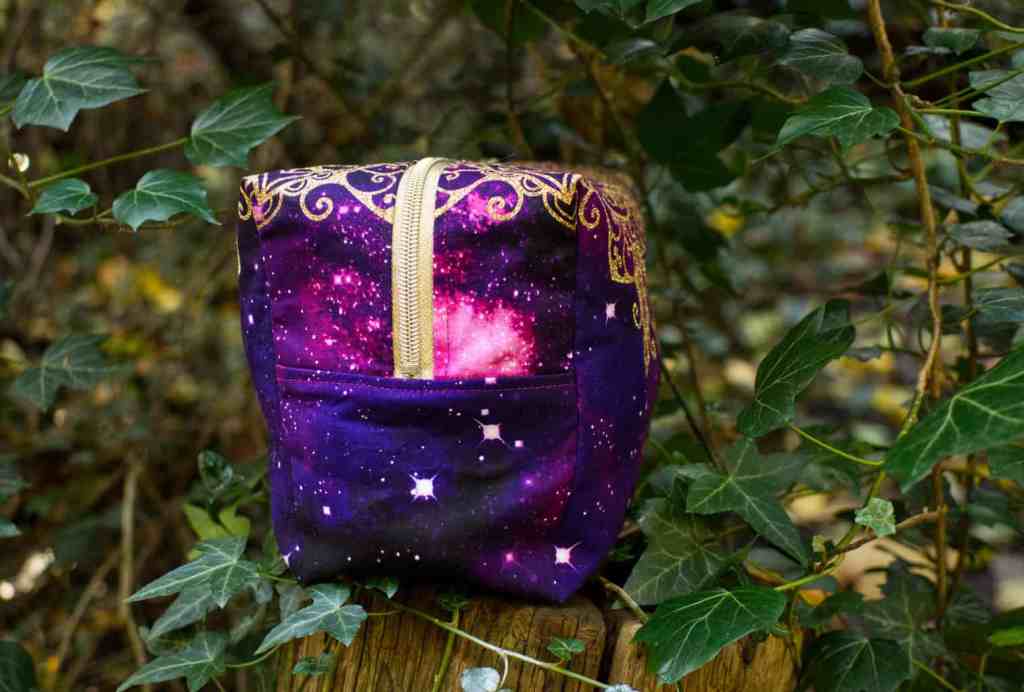
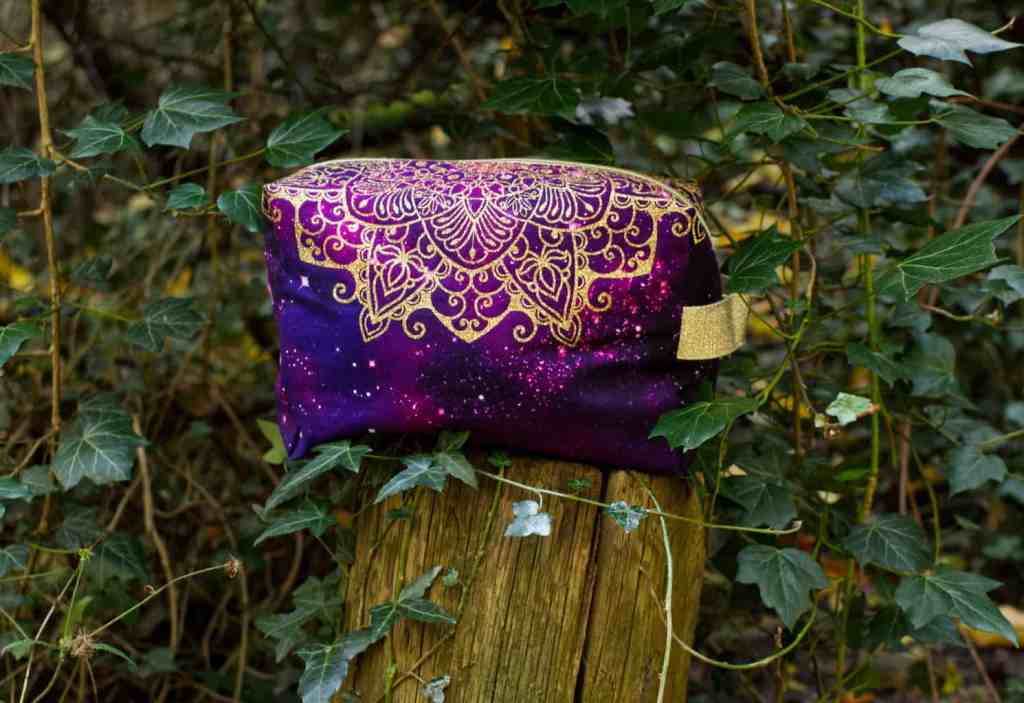
I have a thing for mandalas – something about their intricate design really appeales to me. My big idea was to make a small bag from the leftovers of my pink and purple galaxy print quilting cotton, with a sparkly gold mandala ironed on to it. I bought a mandala .svg file from Etsy, and uploaded it to the Design Space. My original plan was to place the centre of the mandala on the bottom of the bag, with the edges of it rising up the sides of the bag like a sunrise. Then the husbeast said that he thought it would be a waste of the mandala to have most of it hidden on the bottom of the bag (and it turned out that due to the size of the bag, you wouldn’t see much of it on the sides), so we thought about cutting the design in half and placing the edge along the bottom side edge of the bag so that there wasn’t any on the base of the bag – but I didn’t want to have a weird empty bit on the bottom. So in the end, I decided to have it radiating from the top of the bag, either side of the zip – and actually, I’m really pleased I went with this because I love it!

Since the mandala is symmetrical, it didn’t matter if the design came out ‘backwards’ or not so I didn’t bother mirroring it. I enlarged it as big as it would go (11.5 inches, as the cutting mat is only 12 inches wide), and cut my glittery vinyl to match – making doubly sure to put it face down on the mat. I only had one piece of this vinyl and didn’t want to mess it up!
I used my 12 x 12 ‘light grip’ mat, but it wasn’t quite strong enough to hold this glittery vinyl down at the edges. I had a ‘standard grip’ mat but it was 12x 24 inches – I figured it didn’t matter if the mat was too big, the rest of it just wouldn’t get used. If you remember from my last post, I didn’t push the mat in far enough the first time I used it and the blade started cutting on the mat rather than on the vinyl ? Well, the same thing happened this time – I loaded the mat, correctly, but the weight of the larger mat hanging freely pulled it back out and once again the blade started cutting on the mat ? It was then I realised that you’re probably meant to have enough table in front of the machine to support the length of mat you’re using, rather than just having the mat dangling, so the weight of itself doesn’t pull it down ? So this time I sat there supporting the end of the mat… but I soon realised that I was going to be there for a lonnnnnng time because the mandala was the most intricate design on the planet – the husbeast spared me by swapping me out for my sewing machine cover ? I didn’t time the cut (I wish I had) but it definitely took more than 30 minutes!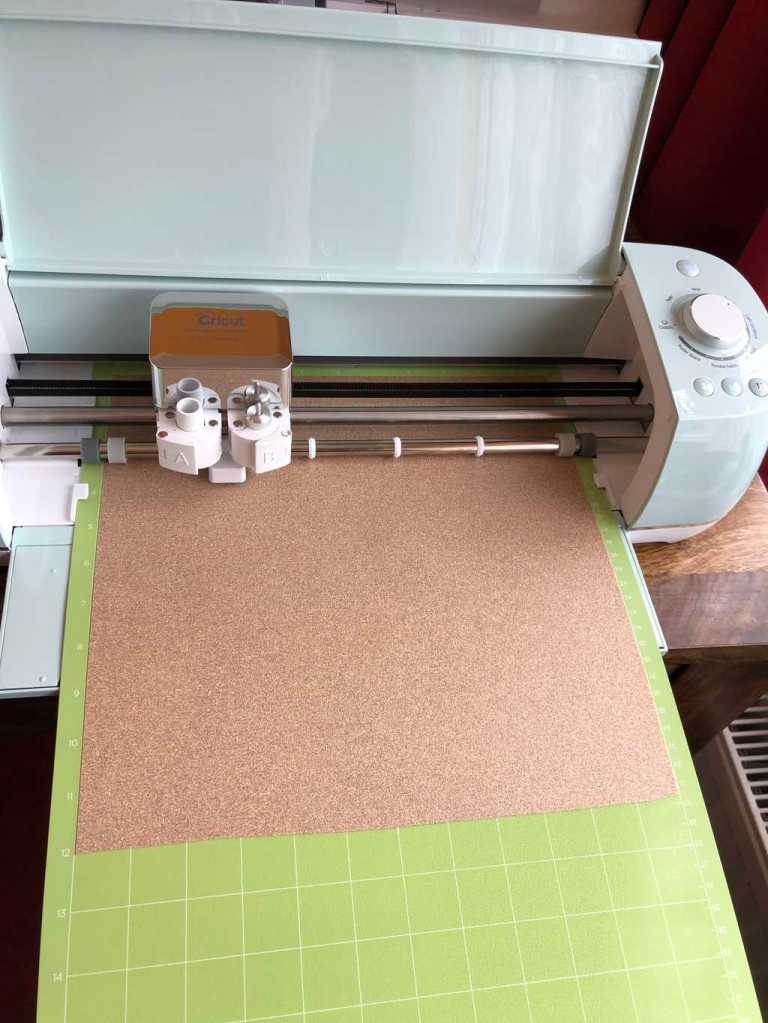
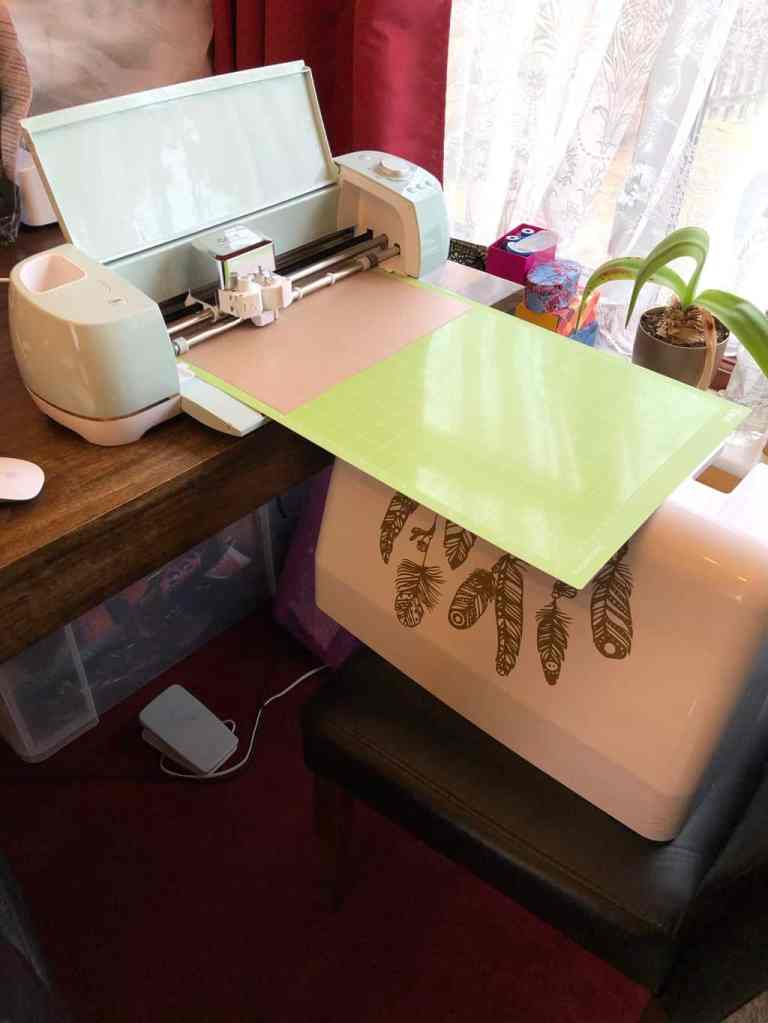
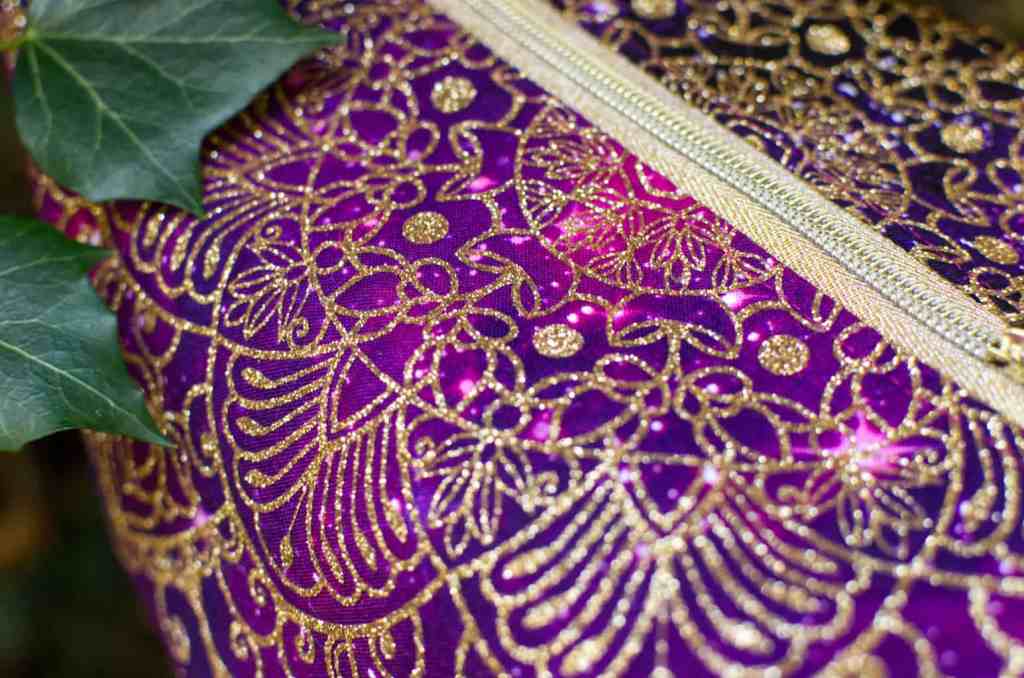
Once the cut was complete, I realised that the mottled background of the glittery iron-on vinyl obscured the cut lines so I couldn’t see where the sections were that I needed to remove ? I knew that there was an outer border to the design so I removed that first – a quick win. I then brought the design up on screen and sort of eyeballed where I thought the sections to remove were, and just stabbed and hoped, 90% of the time this worked, but sometimes it didn’t and I got the wrong bit and had to flatten the mangled strand back down on the mat ? It was slow going. Then shortly after, the husbeast discovered that if you sat at a certain angle to the window, you could see the lines. Trouble is, that angle was not conducive to good posture ? I did go a lot quicker after that though, and I was done in maybe 30 minutes (maybe 45).
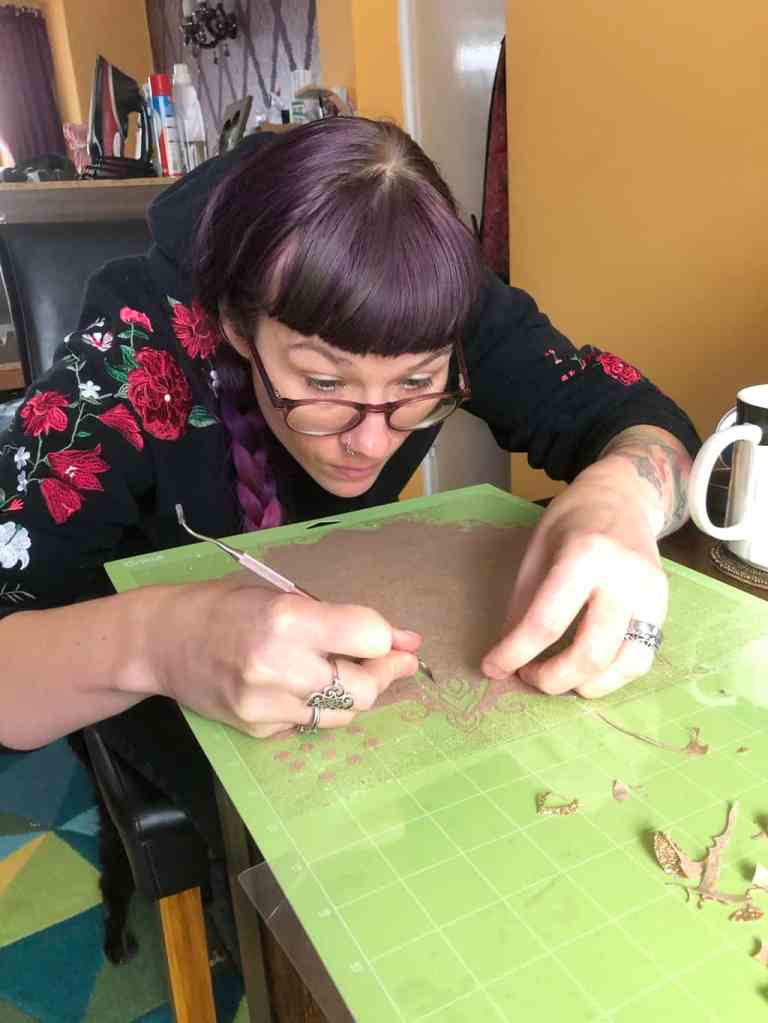

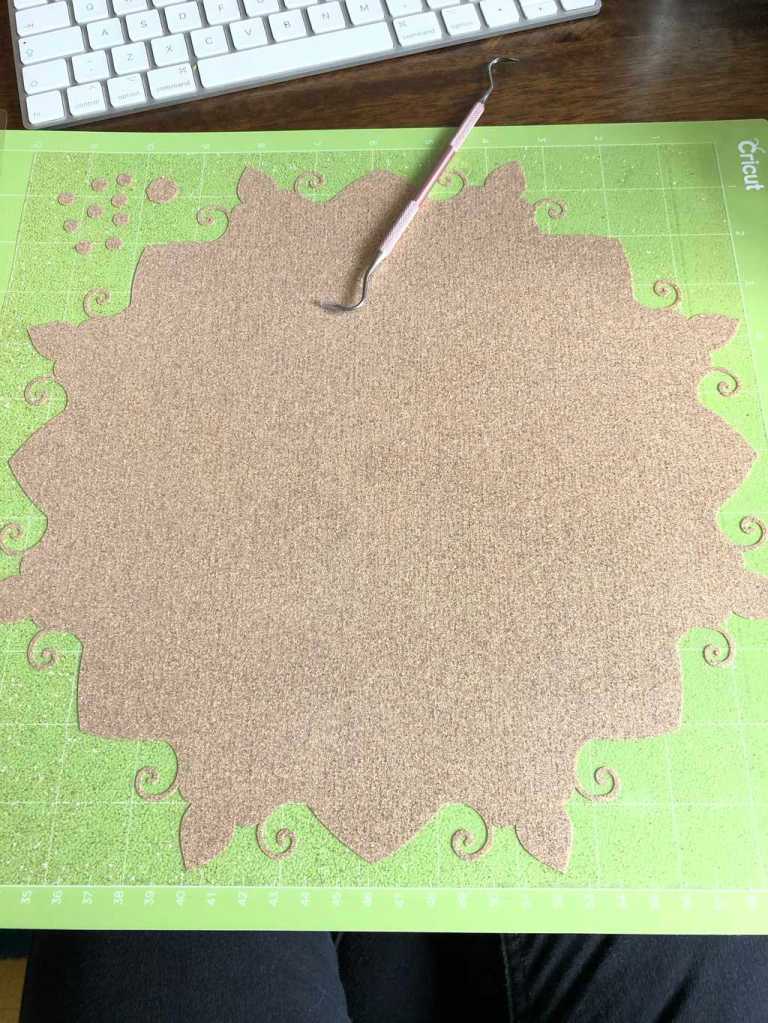
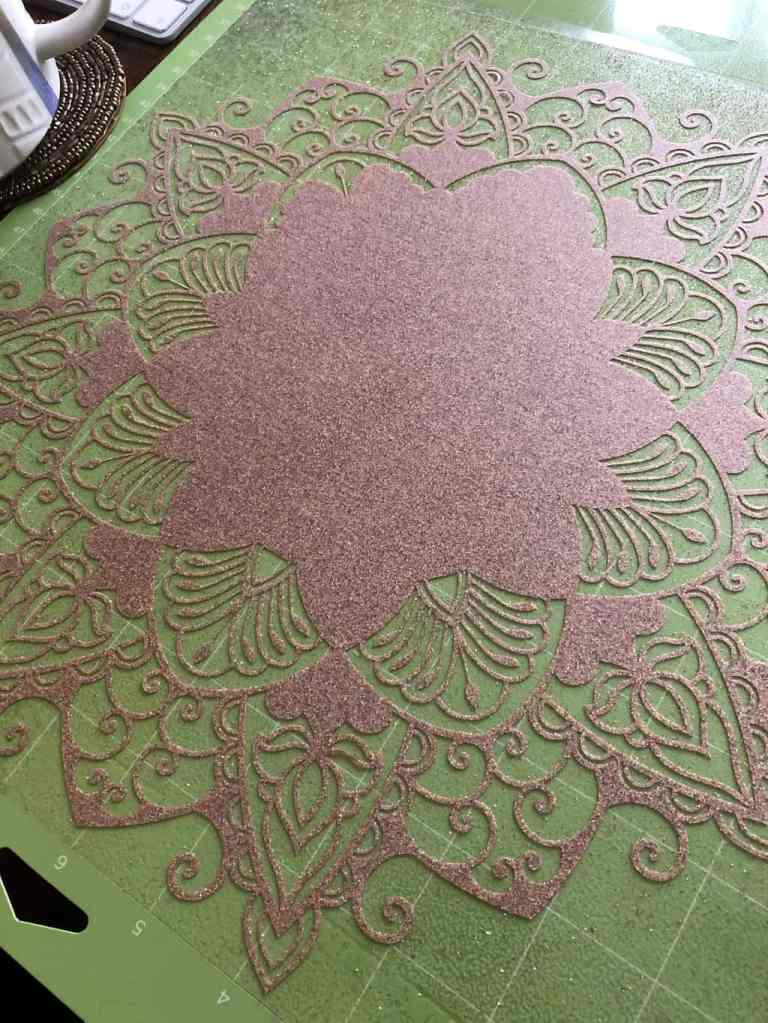
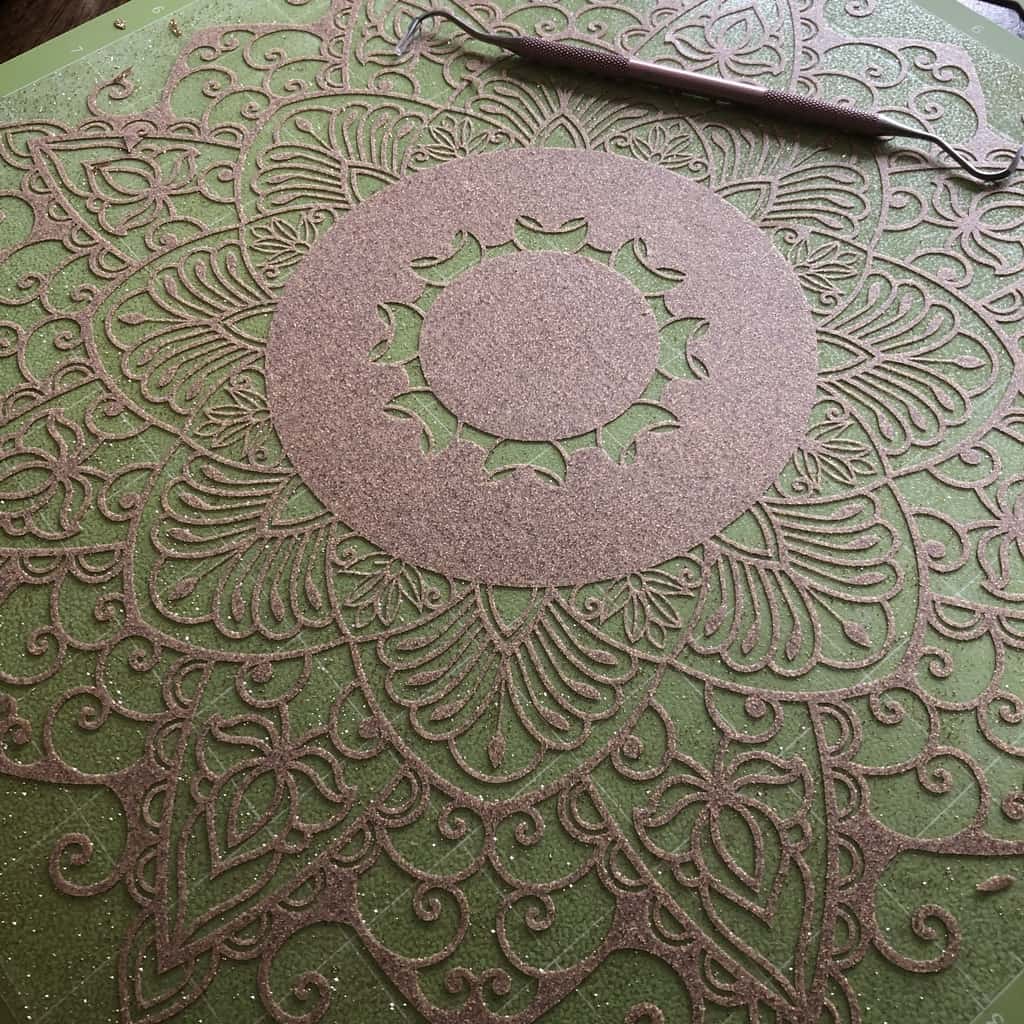
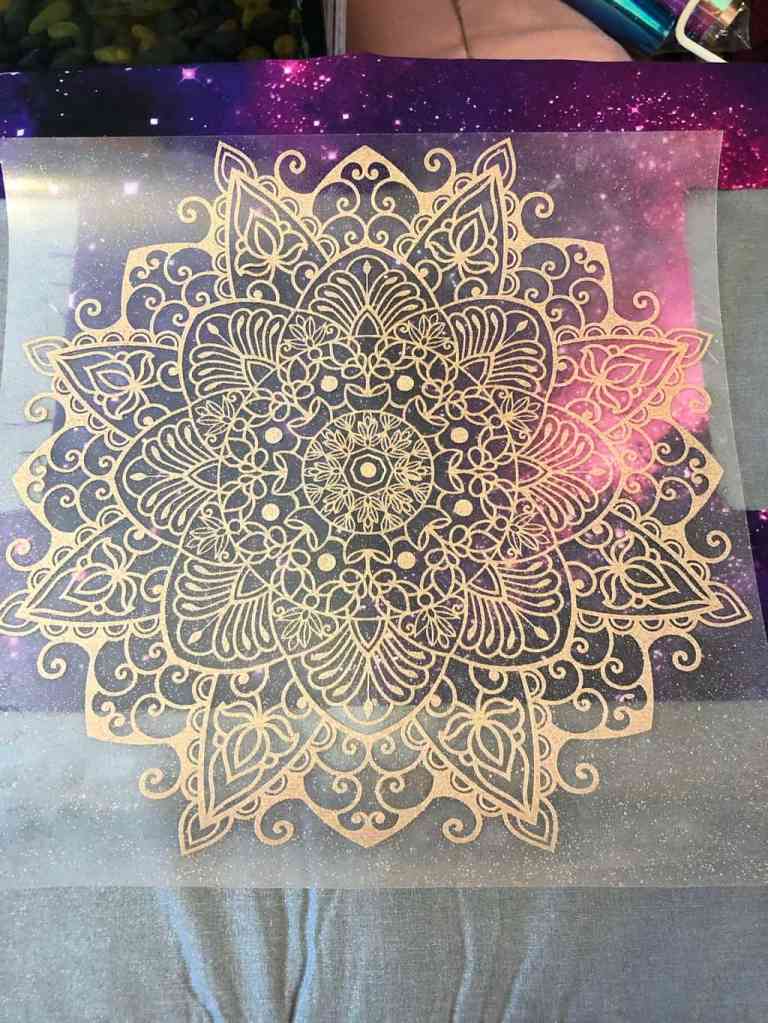
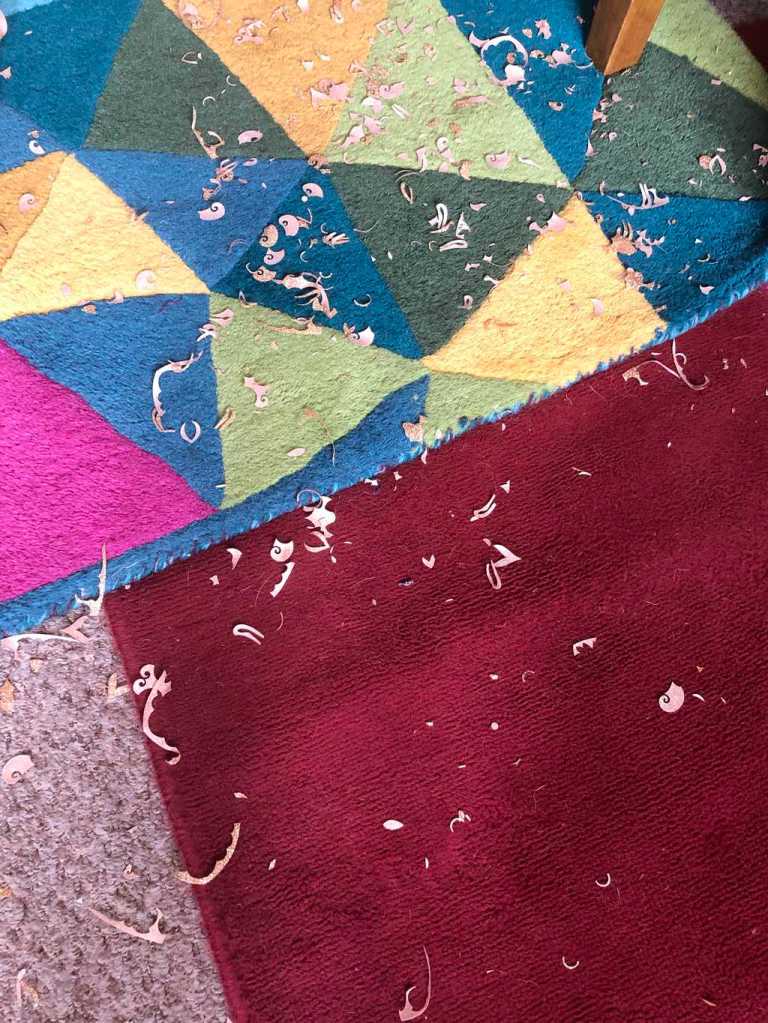
Your reward after carefully removing all those teeny tiny little bits is hoovering them all up off the floor ???
Once everything was removed that needed to be, I had the husbeast go over it with his eagle eye to weed out the last few stragglers and then we chopped the design in half.
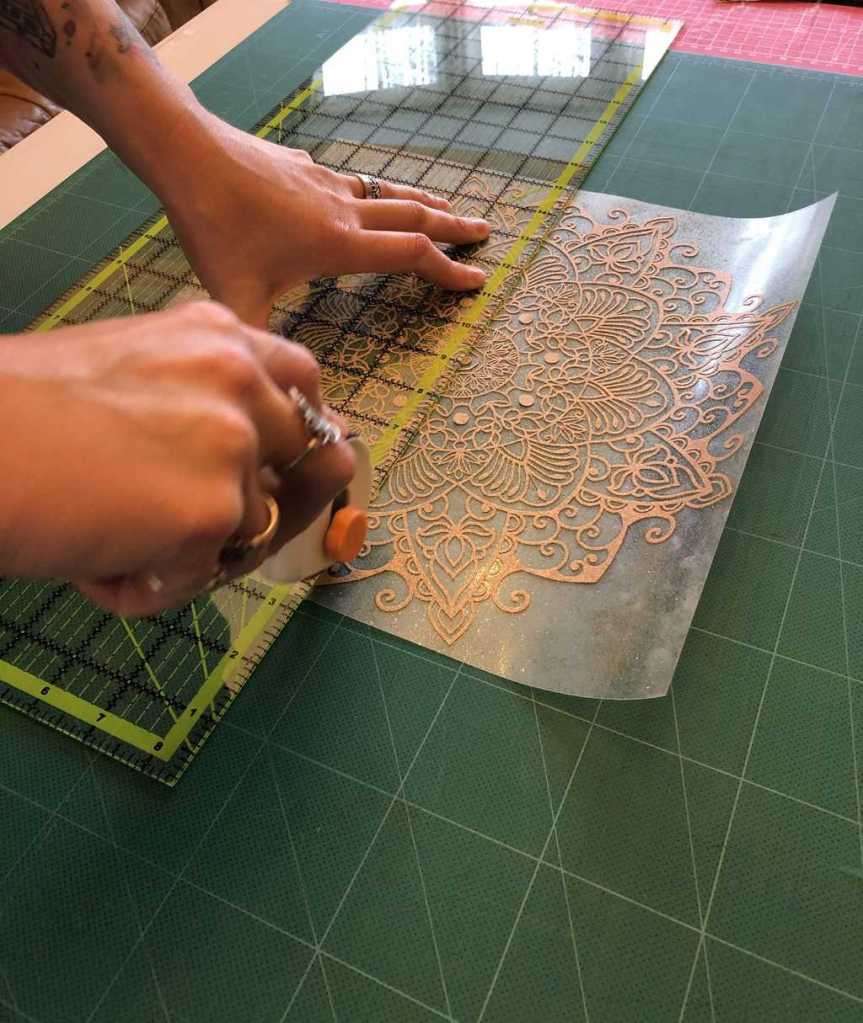
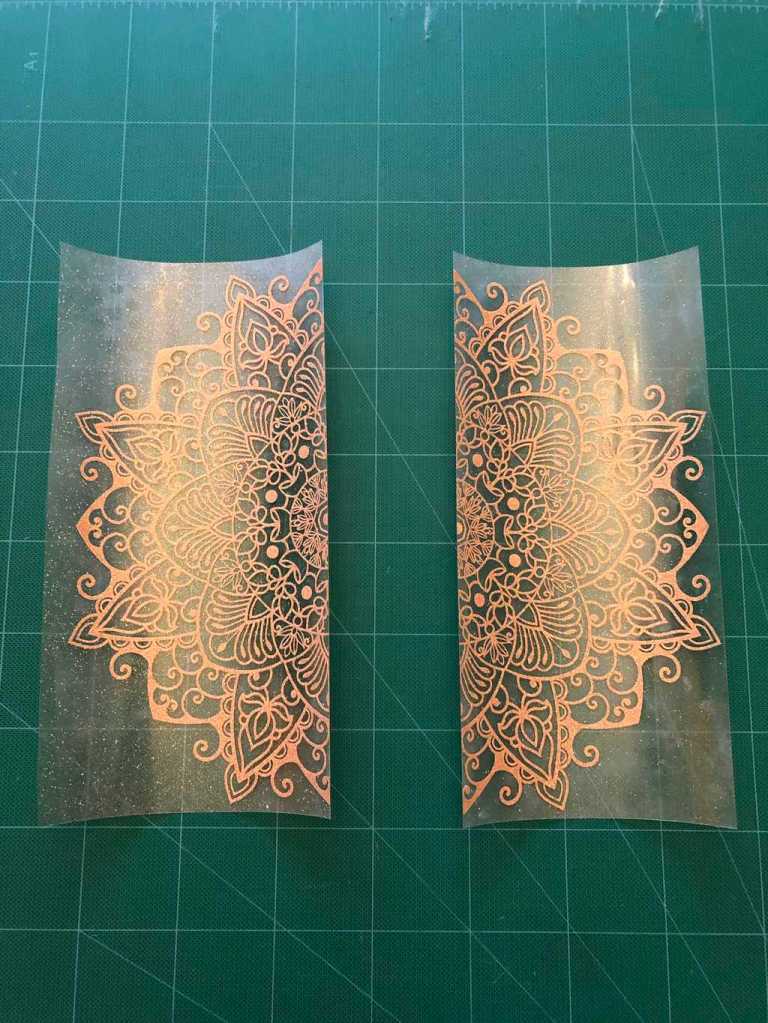
I went back to the online heat guide to see how hot the EasyPress should be and adjusted all the settings accordingly. The press heats up in around one minute (maybe less, I didn’t time it but it got there quite fast!) and you’re ready to go ?? I had zero dramas on any of my projects using the press – it stuck every time

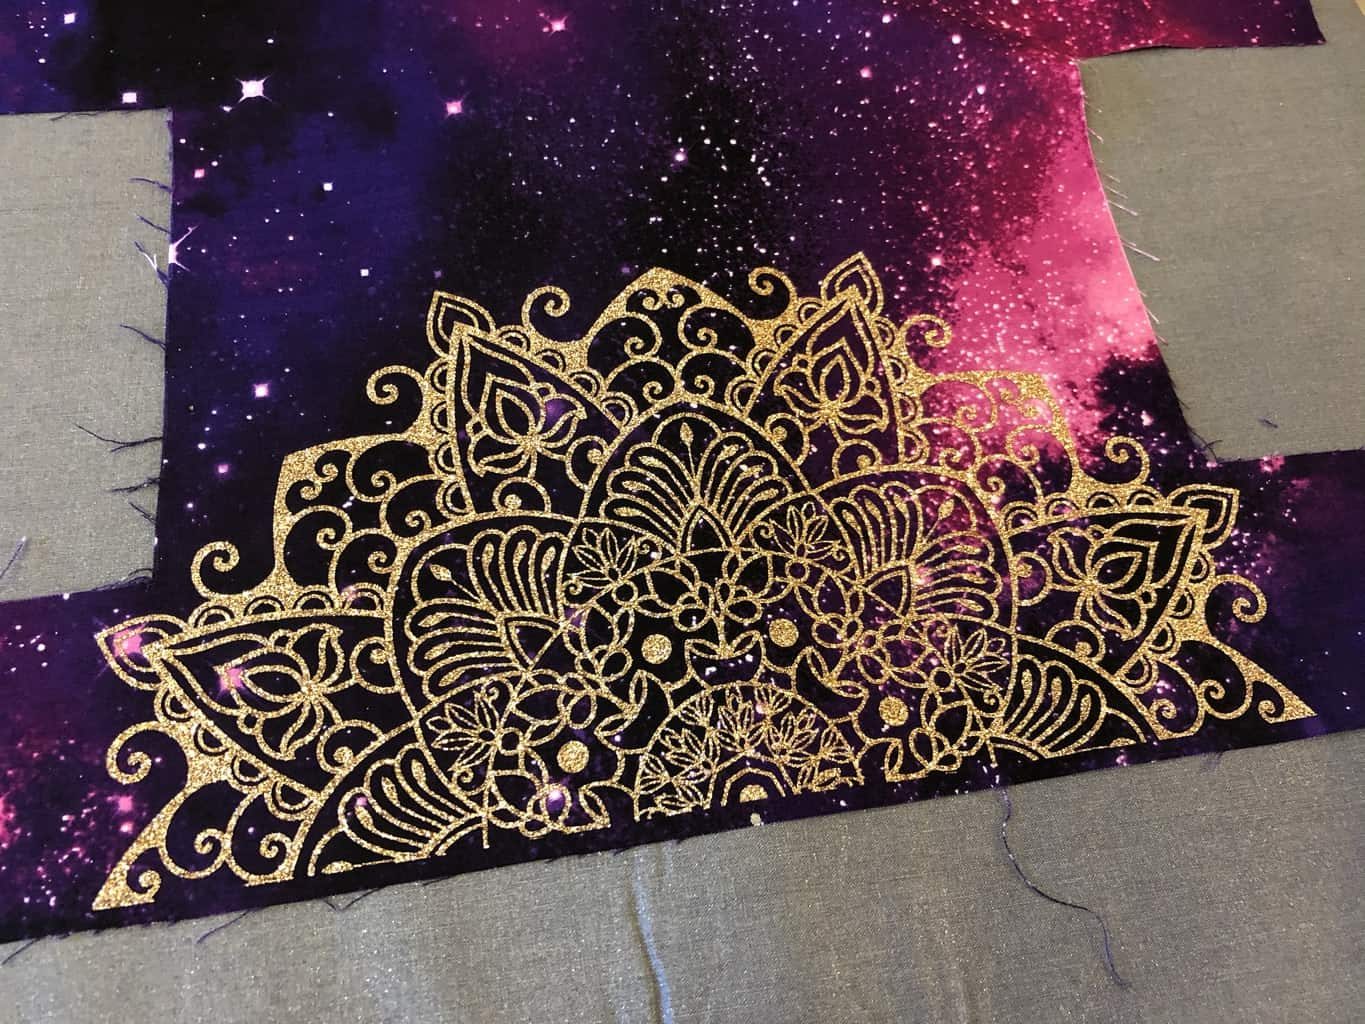
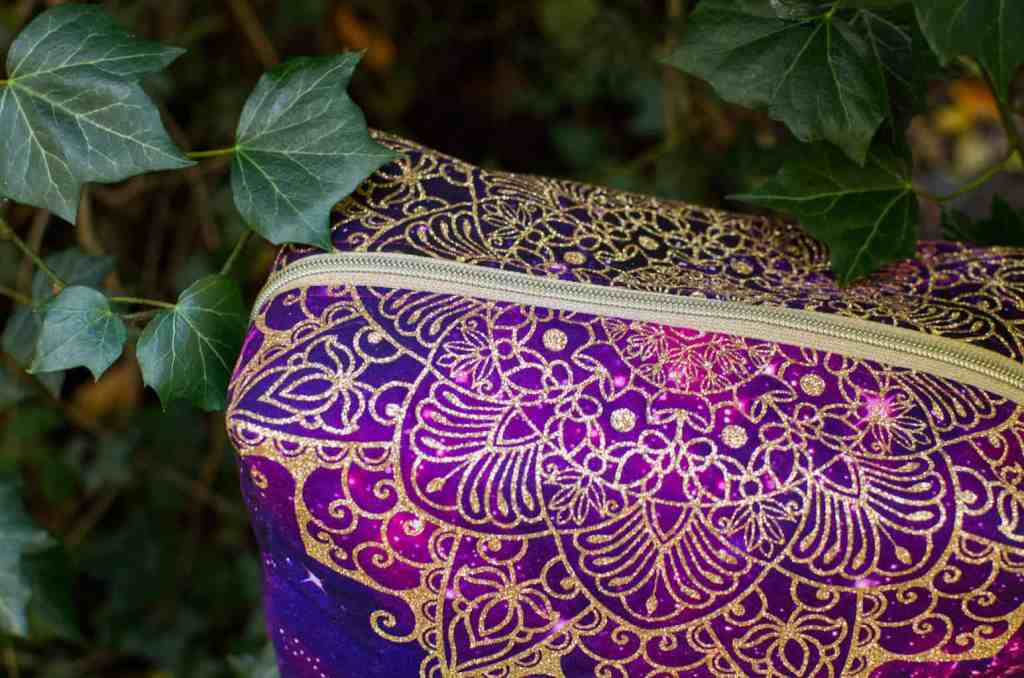
The mandala came out perfectly, and it was absolutely beautiful! It coordinated perfectly with the gold zip and webbing that I was going to use on the bag. The sparkle looks really lovely against the galaxy background ✨
I was going to make the aptly-named ‘Toiletry Bags’ from Stoff and Stil.
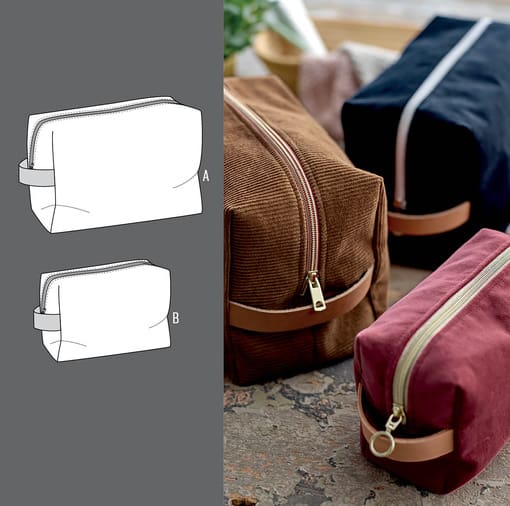
I’ve not used any of their patterns before, and I’ll say now that the instructions for the bag are almost certainly translated from another language and have not been proof-read by an English sewist ? I mean, I got the jist of what they were telling me to do, but if I was a beginner or had never made a bag before I’d have been doing some serious head-scratching!
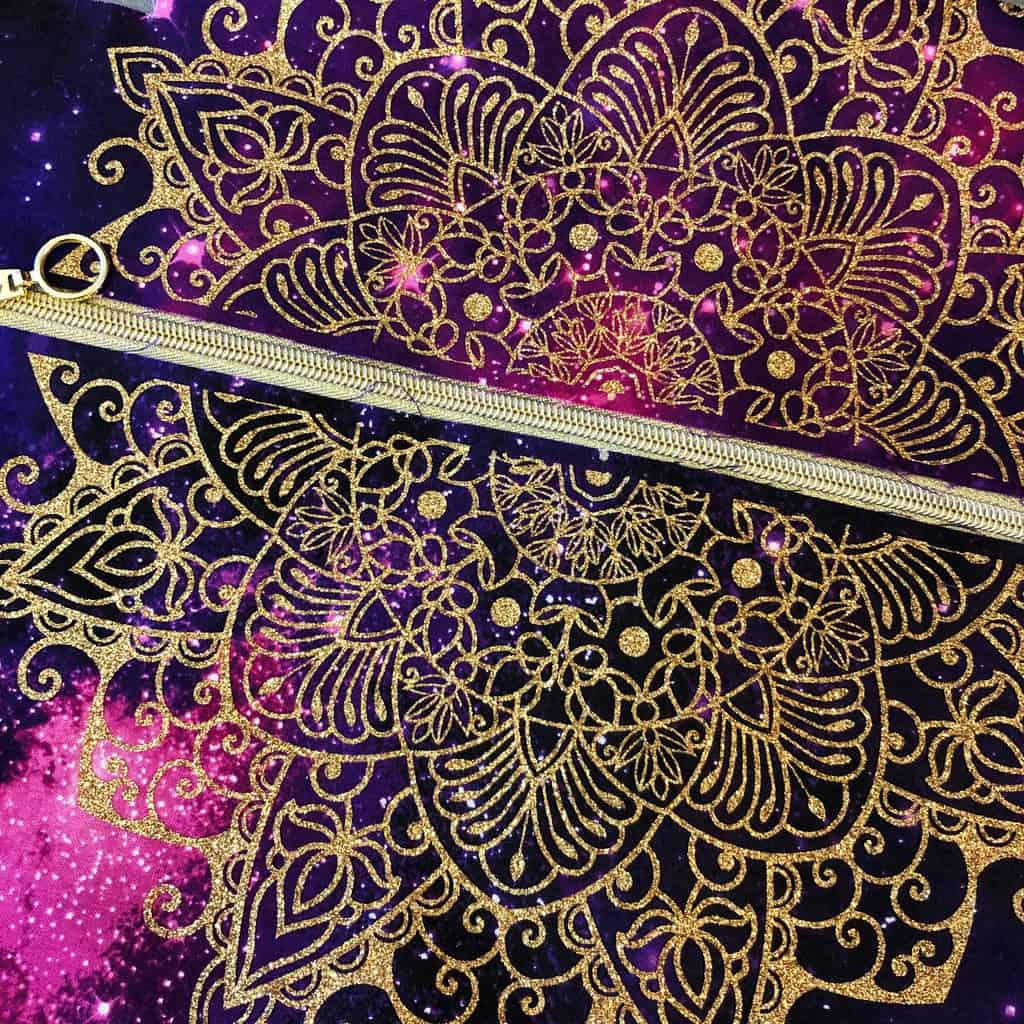
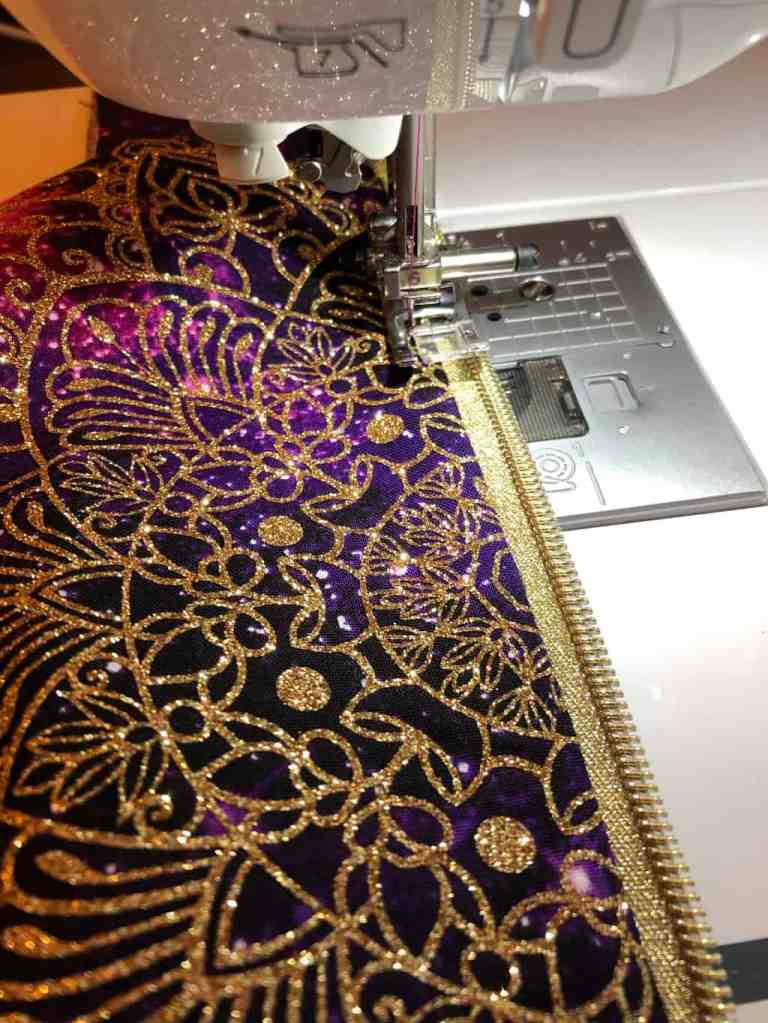
The galaxy fabric is a Timeless Treasures quilting cotton (‘Stardust’, which doesn’t seem to be available any more which is just terrible because I’d really like some more of it!) but the pattern is designed for heavier weight upholstery fabrics – I interfaced the fabric to try and compensate for this, but it’s still a little floppy. Next time, I’ll Use some compressed fleece as well as the interfacing to help give it more stability. Once you figure out the instructions and how everything comes together, the bag is actually a really good design – there’s a full lining and it looks really profesh. It’s the perfect size for my hanks of yarn!
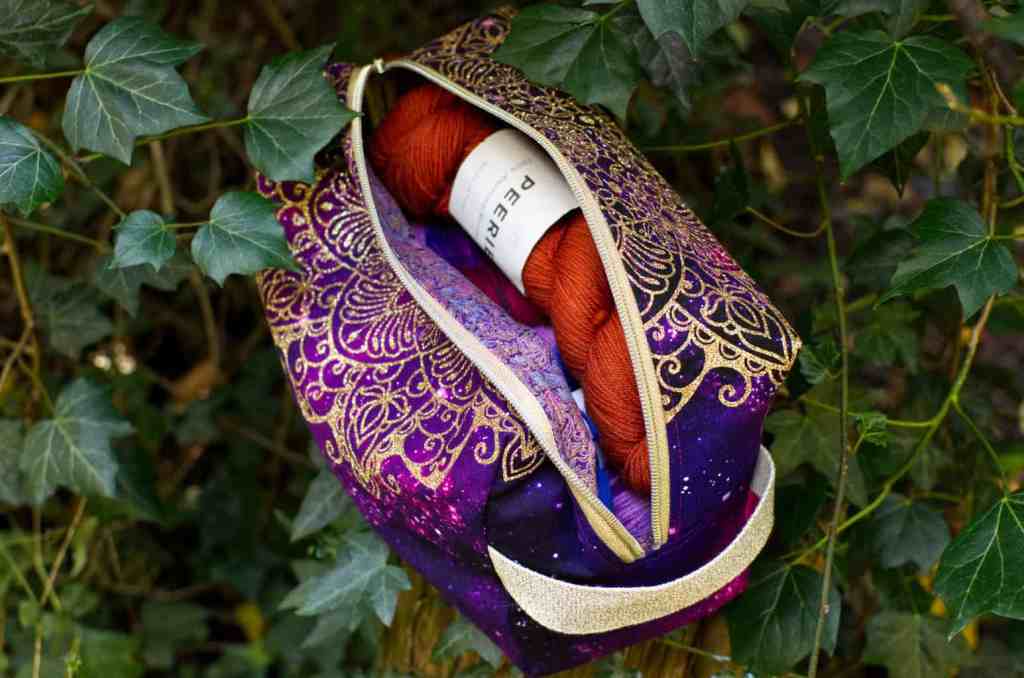
I definitely see more of these bags in my life, and I’ve already used my EasyPress to get a motif on a Linden sweatshirt that I’ve just made – it looks AWESOME. I’m so happy with it – it’ll be up on the blog in a few weeks so you don’t have too long to wait! I’ll also be using it to add smaller, more personal touches to things – maybe a monogram on a handmade birthday gift, or a favourite quote on a zipped pouch.
My Explore Air 2 and the EasyPress are definitely things that I didn’t know I needed in my life until now. I mean, I was quite happy going along without them, and I’m sure I would have been for a long time, but now that I have them I’ve realised what gamechangers they are. They open up a wholllllle new world of options! I’ve got some more things to play with – a couple of blank tote bags, some leather, and even a set of coasters which are going to get the Cricut/Wanderstitch treatment… and I will OF COURSE report back on how all these little things turn out!
In the meantime, LOOK AT MY SPARKLY BAG IT’S SO PRETTY I LOVE IT ??


Coming to you next week: the Hansome Husbeast is BACK! He’s written another guest post for your reading pleasure, and you won’t want to miss it ? Subscribe below to have the post drop straight into your inbox! ??

22 responses to “The Circle Of Life”
Wow that’s a great result, but dammit picking out those tiny bits looked painful! ? Well done ?? Xx
LikeLike
Thanks Donna! 😘 Yeahhhh picking out all the small bits can be a bit of a drag, especially when you can’t really see what you’re doing and end up pulling out the wrong bit or ripping it 😑
LikeLike
This is all kinds of amazing ? now I need a Cricut!
LikeLike
Thanks Ruth! 😘 Before I got my Cricut, I actually had zero interest in them… now I have it, I bloody love it! 😂
LikeLike
Stunning, just stunning. The only limit is your imagination. I now have a Cricut on my Christmas list – thanks to your posts! 😀
LikeLike
Ahh thank you!! I honestly had no idea how much I needed one of these machines until I got it! I even just used it for the Uber-boring (but very necessary) job of putting my cat’s name and my mobile number on his cat box for a trip to the vet’s next week!
LikeLike
The bag is gorgeous and you describe the process so well, I now feel that I could also do it. Love this post
LikeLike
Thank you! So glad you enjoyed the post 💜 You know I’m a total nerd for details 🤓
LikeLike
I LOVE LOVE LOVE this bag. It’s just so awesome!
LikeLike
Thank you! I really love how it turned out… sometimes I just sit and stare at it because it’s so pretty 😍😂
LikeLike
WOW!!?? I think thats the most beautiful bag I have ever seen. I dont have a cricket(?) but a Silhouette Cameo, almost the same thing. Used with the software on a computer. It’s so fun to use, but I don’t use is that much . I bought an embroiderymachine this summer, and THATS so fun! I guess I don’t use the cameo that much because I really need a heatpresser to use it properly. ?♀️ And that is VERY exspensive in Norway.(> 5000,- Norwegian kroner , > 500£ ?)
Lee-Anne ?
LikeLike
Hi Lee-Anne! I’m glad you love the bag 💜 Yes, I think a heat press does open up a whole new world of projects – that sounds very expensive though! 😨 I think the EasyPress is around £200, maybe there is an option to buy one from a UK seller and have it shipped across to you? That might work out cheaper, I’m not sure.
How do you find the embroidery machine? I would LOVE one of those, but I only have a few ideas of what I would use it for… though I bet it’s like the Cricut (cricket 😂) and you only discover all the things you can use it for once you have it?!
LikeLike
Wow Sarah that mandala is awesome and the bag is amazing
LikeLike
Thank you Maureen! 💜 I do really love it, and now I want to make about ten more 😂
LikeLike
That turned out gorgeous♡
Would a light box work for the “picking” process?
LikeLike
Thanks Theresa! 💜
I actually started thinking about a Lightbox when I read your comment… and then discovered that Cricut actually sell one 😂 So yes, I think it would be! I also watched a YouTube video of a lady that suggested rolling the vinyl which encourages little edges to peel up so that you can see them easier. It’s definitely a learning curve, for sure!
LikeLike
First, thank you for such detailed posts, I love them. And now I want the Cricut machines. The bag looks awesome.
LikeLike
I’m so glad you enjoy the posts! 💜 I literally had zero interest in Cricut machines before I got one, and now I don’t think I can live without mine 😂
LikeLike
I definitely need an EasyPress 2 in my life. Fabulous bag. Do you have to weed the design before removing it from the mat? I’d have thought it would leave a lot of the unnecessary bits behind if you peeled the design from the mat first, but maybe you can’t do it that way?
LikeLike
That’s definitely an interesting approach… looking at the design, most of it is connected as a whole piece. If you peeled it away from the clear liner rather than weeding out the small bits, you would then need to stick it back to the liner afterwards to iron it onto the bag. So either way, you’d still need to remove anything unnecessary from the liner… and you’d have to (accurately) replace any floating elements of the design. Maybe you can buy replacement clear liner, I’m not sure. It would definitely be easier if you could lift up what you wanted rather than weeding out all the small bits, but I think it depends on how the design is made up 🤔
LikeLike
Purple AND sparkles? That’s killer good! I love how the bag turned out – definitely worth the time and effort, if you ask me. =)
LikeLike
PURPLE AND SPARKLES 💜✨
I love the colour combo – now I just want to make more!!!
LikeLike